A full kitchen remodel in Auburn — from the first phone call to happy tears on handoff day. We pulled every permit, passed every inspection, and found one very unpleasant surprise hiding under the old tile. Here’s the whole story.
Linsy called us in late October. Her voice was calm, a little tired — the kind of tired you hear from someone who’s already gotten a handful of bids and hasn’t loved what they’ve heard. She wasn’t asking for anything crazy. “I’m 62,” she told us. “The kids are grown, they’ve all moved out. It’s just me and Dan now. I just want to actually enjoy cooking in my own kitchen. I just want it to feel bright.”
Two days later, we were at her place off Coronado Drive. Classic Auburn late-90s build — warm, lived-in, a little tight in the kitchen area. Linsy met us at the door with coffee and walked us straight to the island. “This is where I spend all my time,” she said. “But honestly? Every morning when I walk in here, I feel a little sad.”
We got it immediately. The dark honey-stained cabinets were eating every bit of natural light. The white appliances were pushing twenty years old. The tile floor had grout lines that hadn’t been the same color in a decade. And the tiled countertop on the island — sure, it was practical once. Now it just looked like 2003 refused to leave. We knew exactly what needed to happen.
“Every morning when I walk in here, I feel a little sad.”
— Linsy, homeowner
The good news: the layout actually worked. The island was in the right spot, the work triangle between the range, sink, and fridge made sense. No walls coming down — that’s always a win for the budget. But a few things caught our eye right away, and we told her about all of them on the spot.
The outlets on the island had no GFCI protection. Under California Building Code and the NEC, that’s required for any outlet within six feet of a sink — including island outlets, no exceptions. The moment we touched the electrical, everything had to come up to current code.
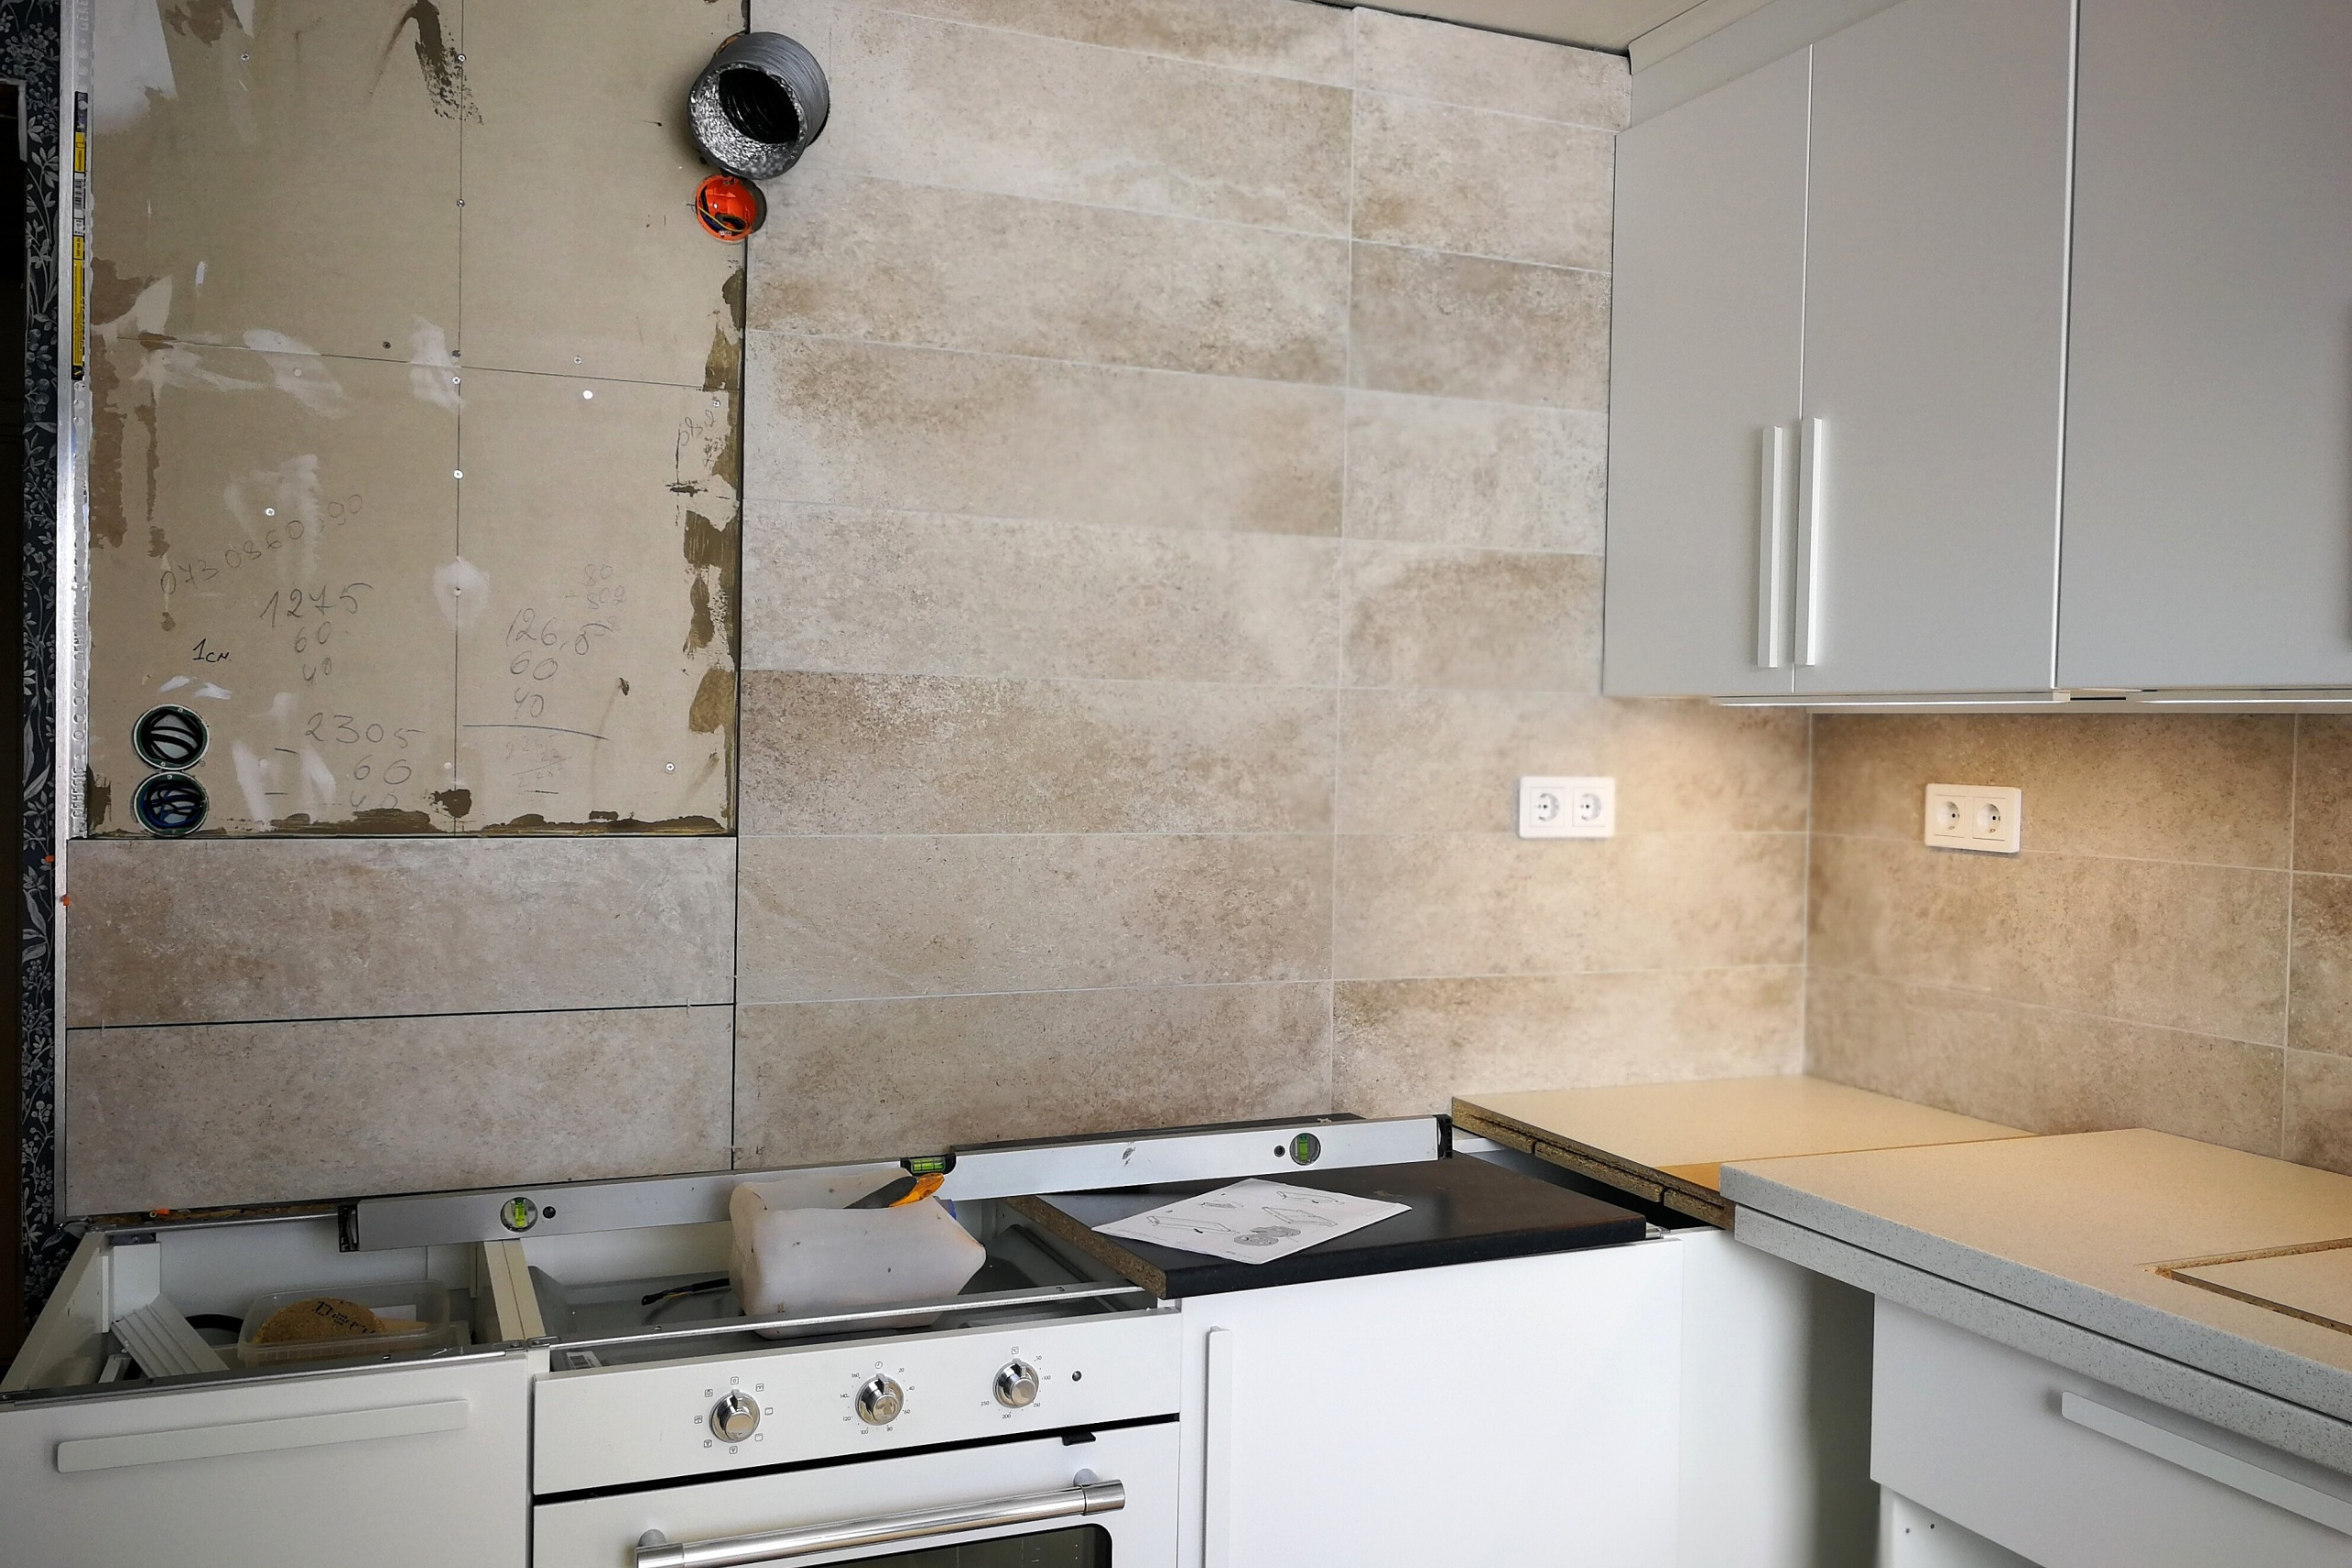
The over-the-range microwave was running in recirculation mode — basically pushing air through a charcoal filter and blowing it right back into the kitchen. Linsy wanted a real exhaust hood that vented outside. That meant a new duct run and a mechanical permit.
The kitchen tile butted right up against the living room carpet. If we were replacing the floor — and we were — the transition detail had to be done right. A sloppy threshold is one of those things that bugs you every single day for the next ten years.
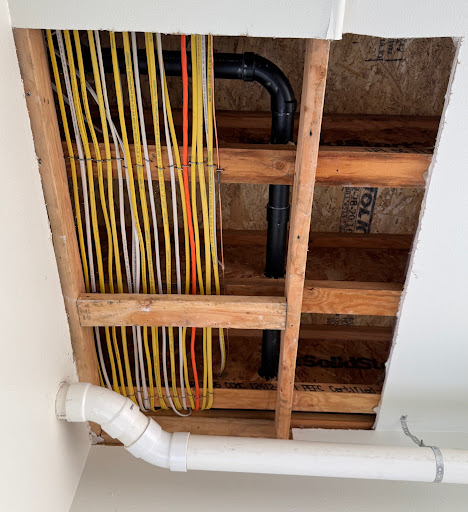
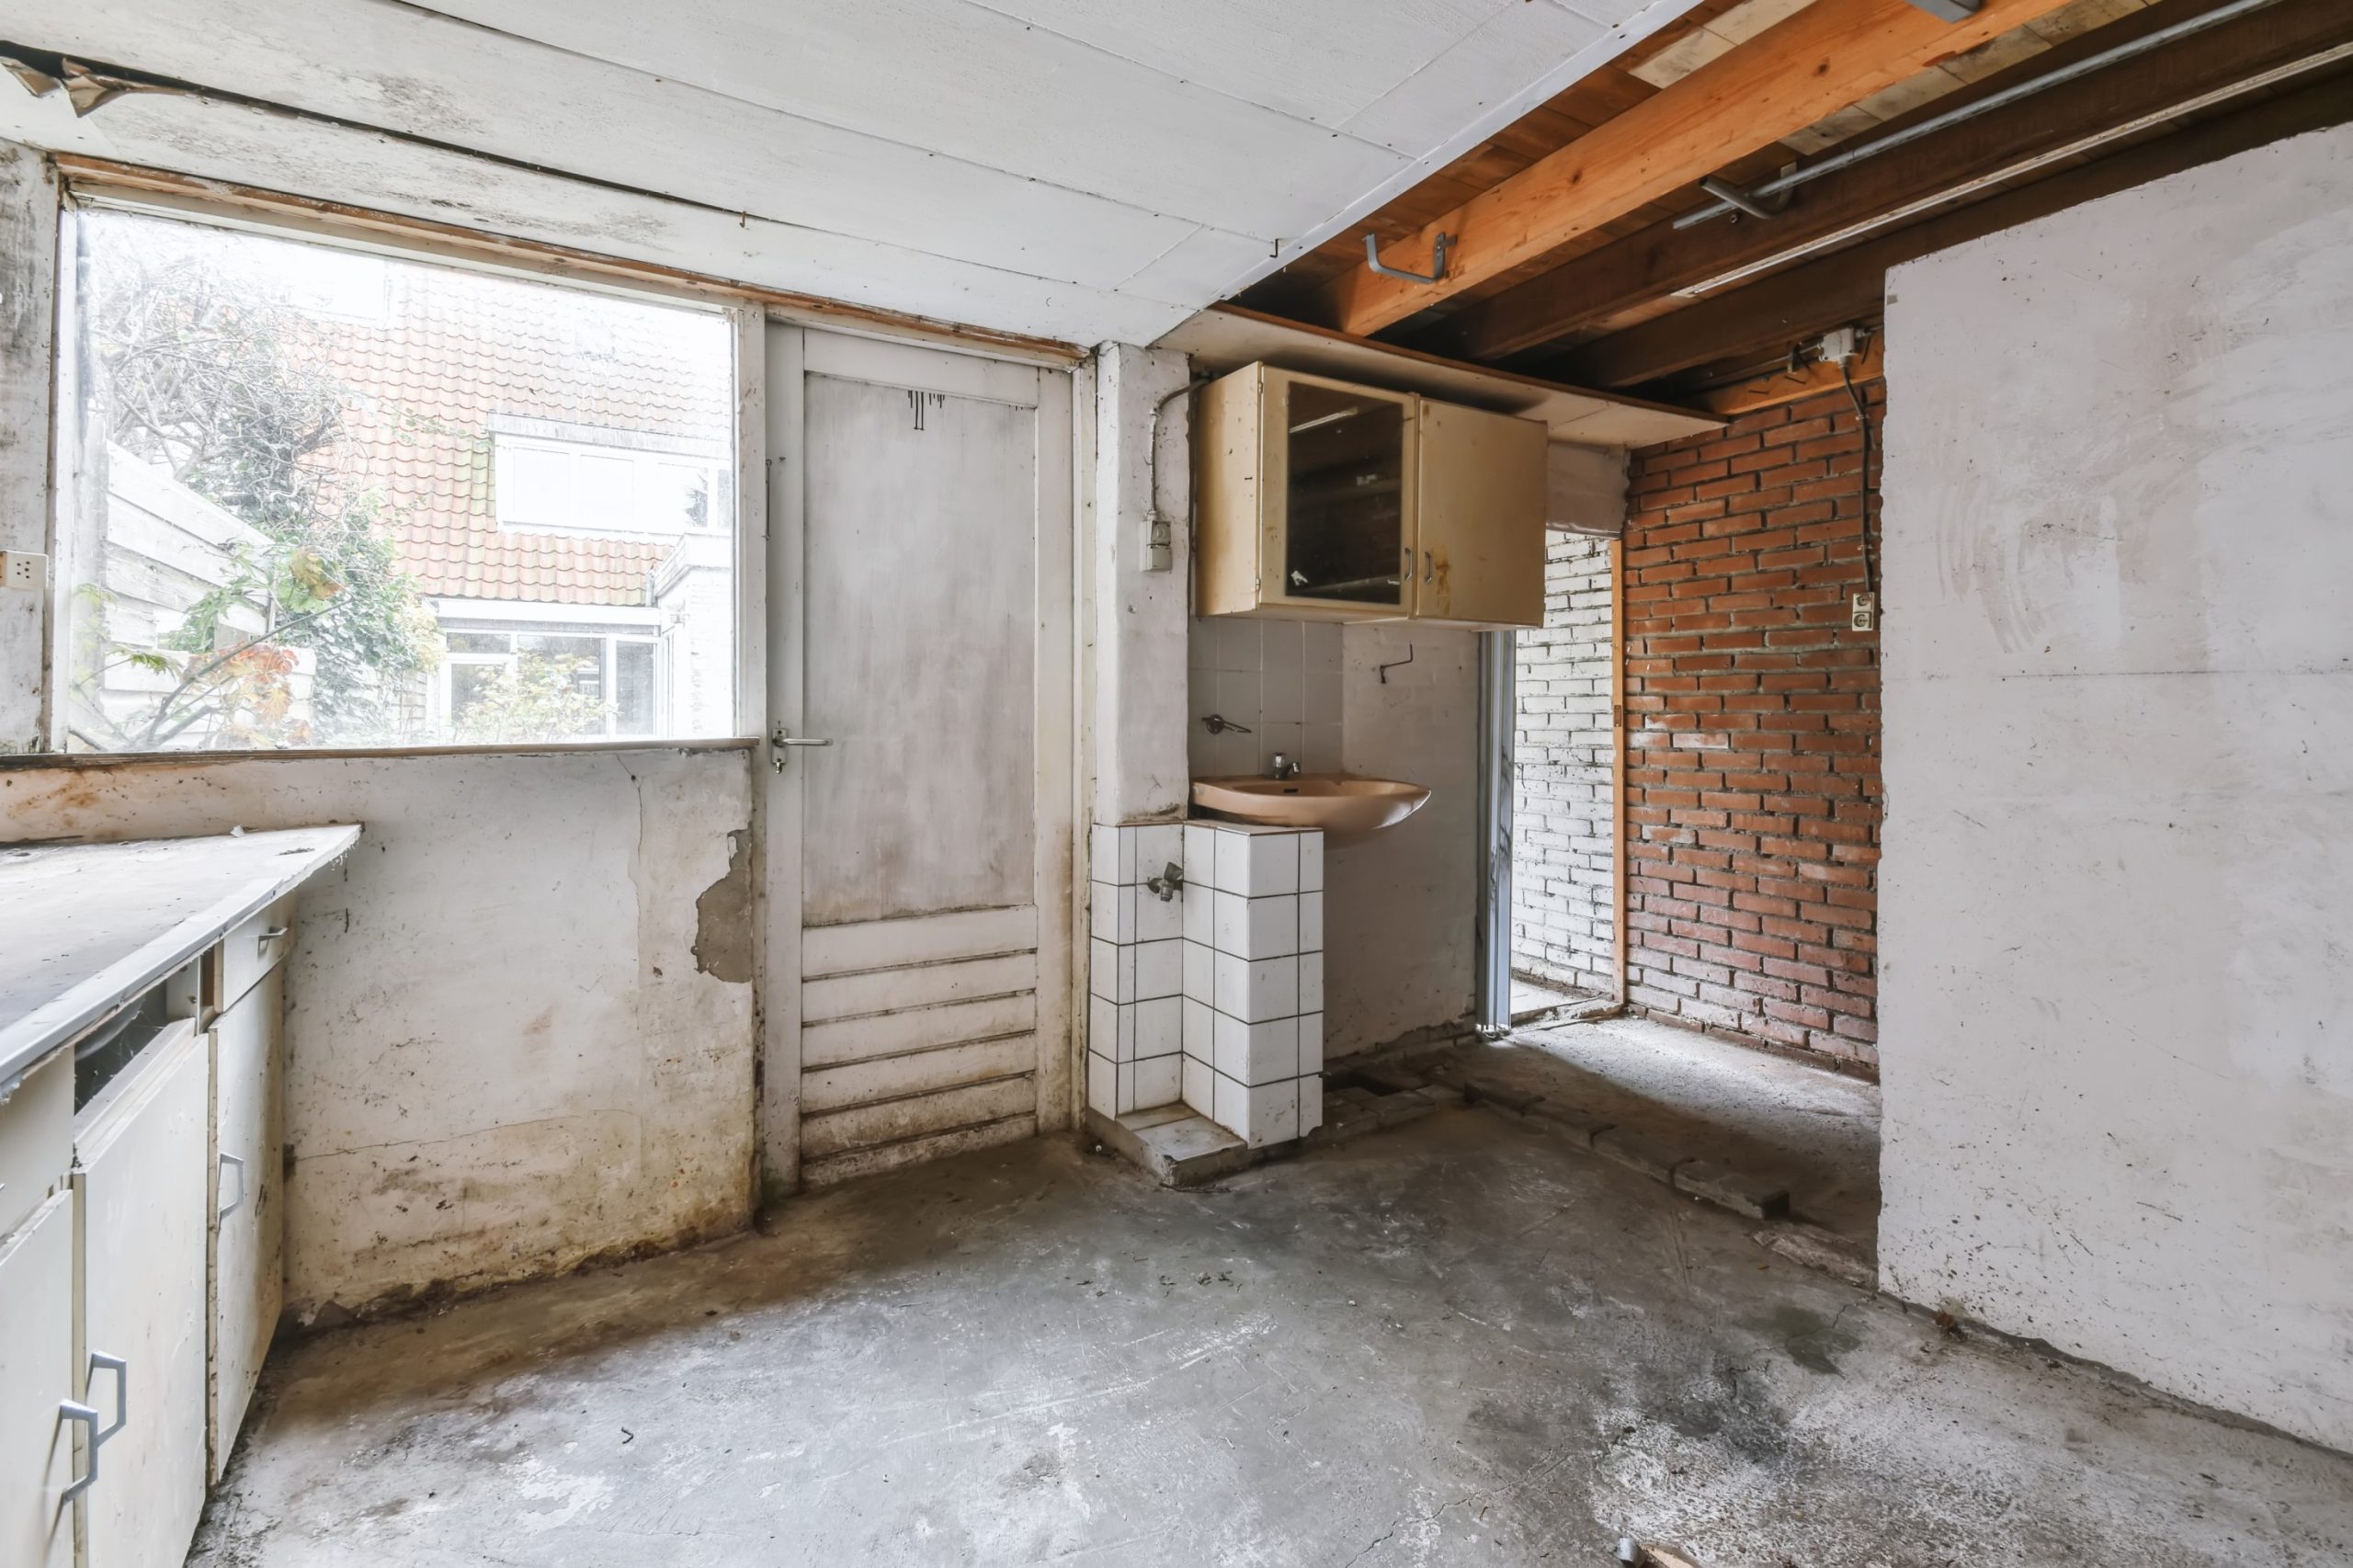
First day on the job always has that “let’s see what we’re actually dealing with” energy. You never really know what’s hiding behind old finishes. Once the cabinets were out and the walls were open, you could see everything — the old wiring, the plumbing rough-in, the framing. This is the moment we love and dread at the same time.
When we pulled the tile off the island countertop, we found what we’d been hoping we wouldn’t — a patch of moisture damage under the substrate. Old sink leak, someone “fixed” it by just tiling over it. The wood hadn’t rotted all the way through — lucky break — but it needed to be dried out, treated with antimicrobial primer, and partially replaced.
We called Linsy that same afternoon. Sent her photos, explained exactly what we found, and gave her the additional cost upfront. She went quiet for a second, then said: “Good thing you found it. Go ahead.” That’s how trust actually gets built — not with slick presentations, but with an honest phone call at an inconvenient moment.

The day before the official final inspection, we ran our own. Checked every cabinet for level and alignment. Pressed on every tile. Tested every GFCI outlet. Ran the faucet and checked under the island for drips. Ran the dishwasher through a full cycle. Held a piece of paper over the range and turned on the hood — it pulled the paper flat against the filter in under a second.
We found one thing: a piece of crown molding above the upper cabinets had a hairline gap at an inside corner. Re-caulked and touched it up that same evening. By the time Linsy walked in, it didn’t exist.
The City of Auburn inspector arrived the following morning. He went through all four permits — checked the outlets, looked under the island at the trap and air gap, went up into the attic to verify the duct connection. Signed off on everything. No corrections, no call-backs. All four permits closed out clean.
Linsy came by on a Friday morning around 10. We’d asked her to stay off the job site for the last three days — we wanted the reveal to land all at once. She stood in the doorway for a solid ten seconds, just taking it in. Then she walked to the island, ran her hand across the quartz countertop — right where that old cracked tile used to be — and turned around to face us.
“You built what I had in my head but couldn’t explain,” she said. And then she cried. The good kind.
Dan had been standing a few steps behind her the whole time. He’s not a big talker. He just walked up and shook our hands. Firm grip. That was enough.
Tell us what you have in mind and when suits you. We come out, measure, talk through the options and follow up with an itemized written estimate — no charge and no pressure.
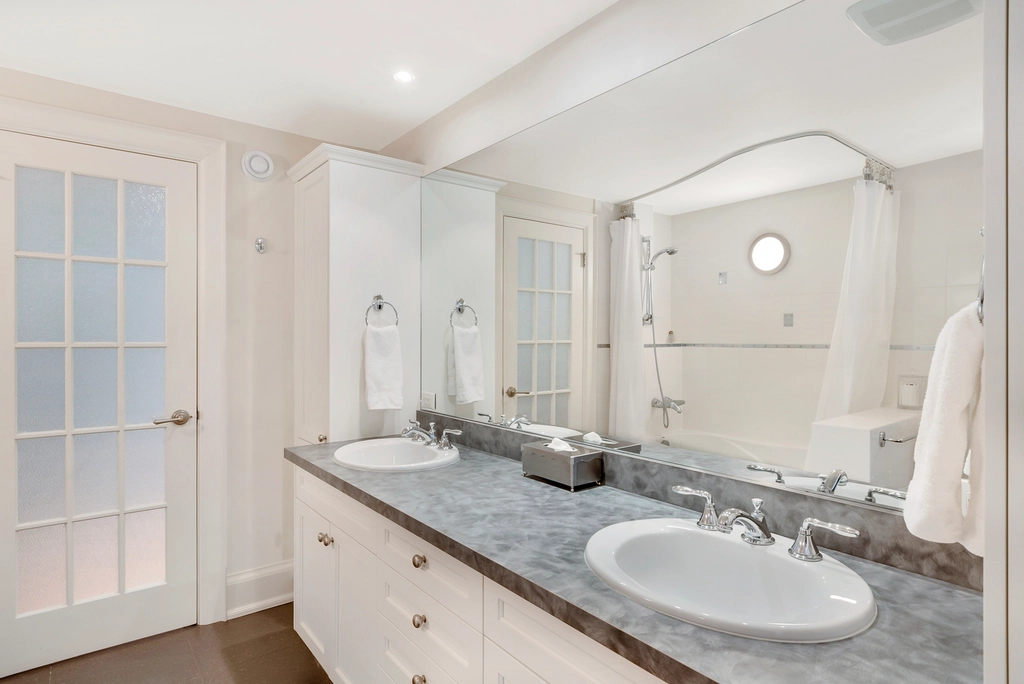
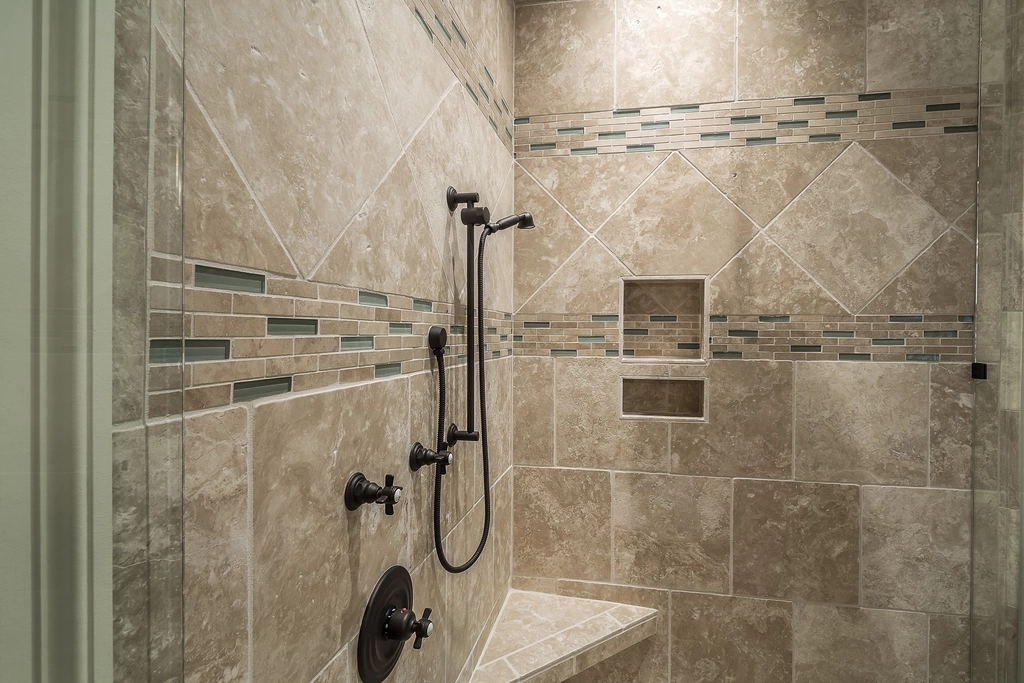
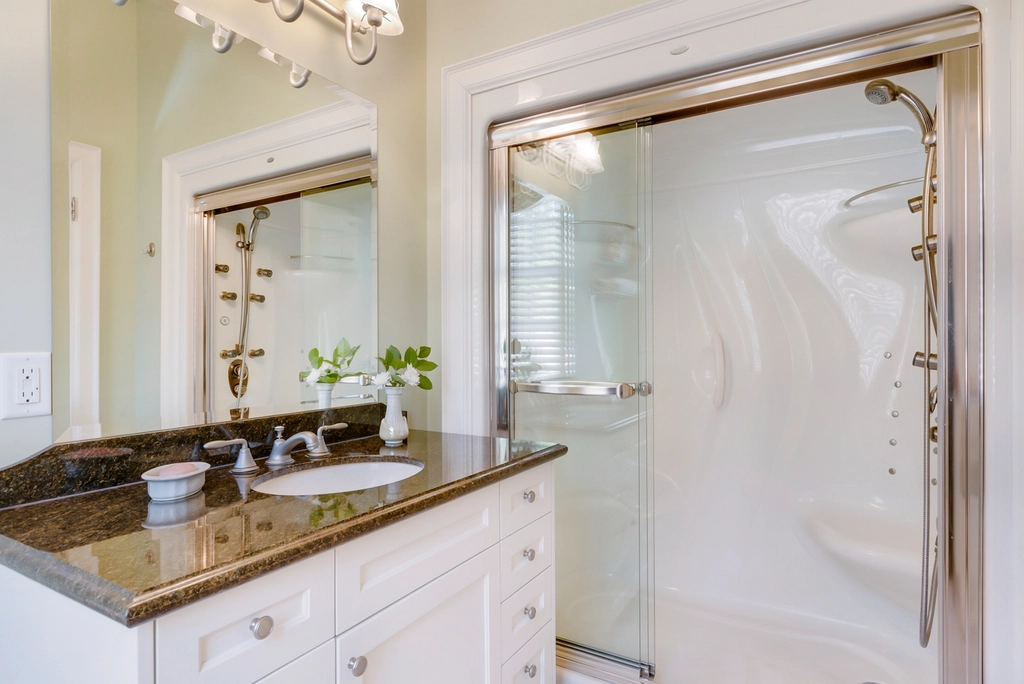
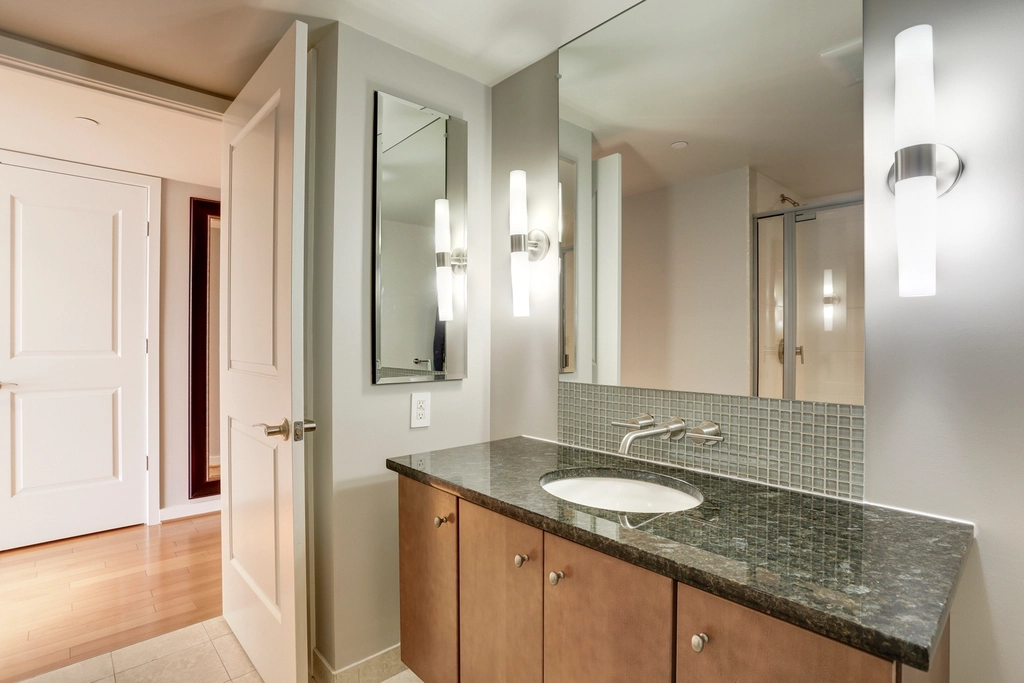
A guest bathroom remodel in a Covington home: updated finishes, a refreshed vanity, improved lighting, new flooring and a more functional shower area, designed around the existing space.
The bathroom layout already worked, so there was no need for major structural changes. What held the room back were dated finishes, an aging vanity, worn flooring and lighting that did not provide the function or look the homeowners wanted. The goal was a cleaner, brighter guest bathroom that felt comfortable and fit naturally with the rest of the home.
“We didn’t need a bigger bathroom. We needed one that finally worked for us.”
— Homeowner
The good news: the layout actually worked. The island was in the right spot, the work triangle between the range, sink, and fridge made sense. No walls coming down — that’s always a win for the budget. But a few things caught our eye right away, and we told her about all of them on the spot.
The existing tub was rarely used, so replacing it with a more practical shower created a better use of the available space.
The existing vanity didn’t provide enough storage or the lighting they wanted. We planned the new vanity and lighting together so the area would be more functional.
The existing finishes had been installed at different times and no longer felt connected. The new tile, fixtures, vanity, and hardware were selected to work together as one design.
Once the existing finishes and fixtures were removed, we inspected the areas behind them before moving forward. Any conditions that required attention were addressed as part of the remodel so the new finishes could be installed over a properly prepared space.


A refreshed guest bathroom with updated finishes, a clean vanity, improved lighting, refreshed flooring and a more functional shower area. The footprint stayed familiar, while the room became brighter, cleaner and easier to use.
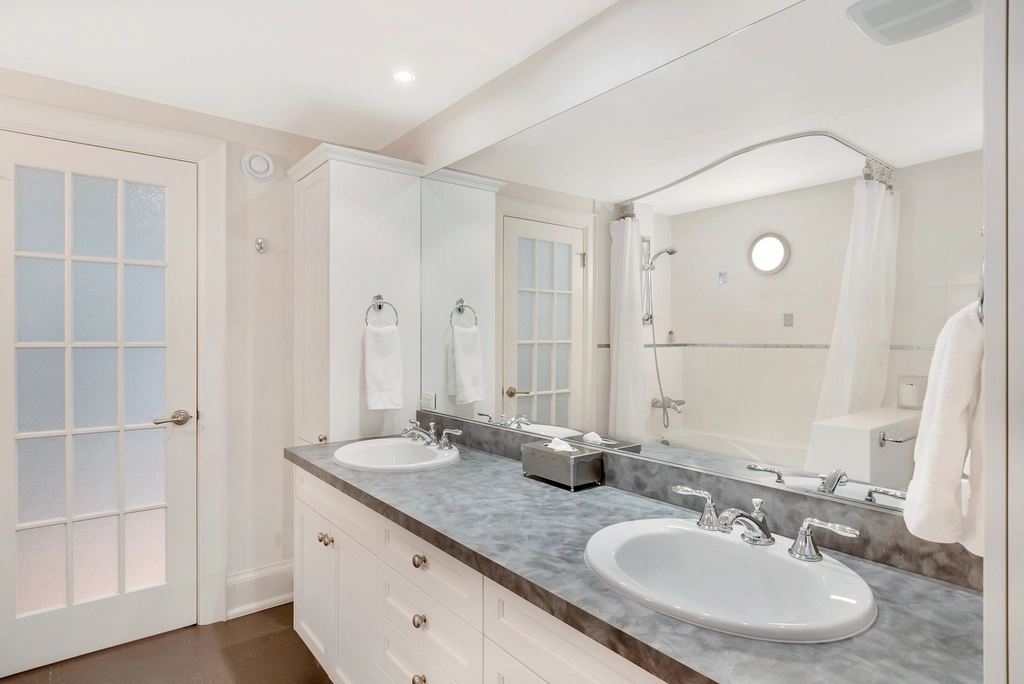
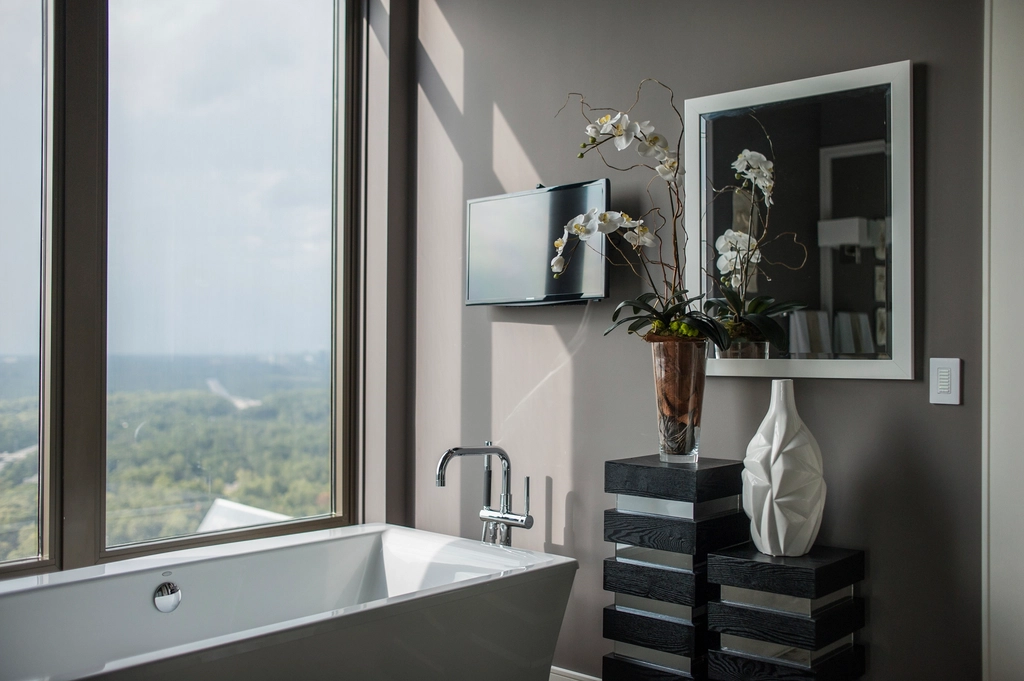
A primary bathroom remodel in a Gig Harbor home: updated finishes, a refreshed vanity, improved lighting, new flooring, and a more functional shower area designed around the existing space.
The existing bathroom had a practical layout but needed an updated look and improved functionality. Dated finishes, an aging vanity, and outdated lighting kept the space from feeling as comfortable and polished as the homeowners wanted. The goal was to create a brighter, more comfortable primary bathroom while working within the existing footprint.
“We didn’t need a bigger bathroom. We needed one that finally worked for us.”
— Homeowner
The good news was that the existing bathroom had a workable layout. We didn’t need to completely change the footprint to make a noticeable difference. The bigger opportunity was improving how the existing space was being used.
The existing tub had become more of a visual obstacle than a feature. Rachel and her husband rarely used it, so replacing it with a more practical shower allowed us to open up the room and give the space a cleaner, more functional feel.
The existing vanity didn’t provide the storage or counter space they wanted. We planned a new vanity around how both homeowners actually used the bathroom, with better storage, a more generous countertop, and improved lighting around the mirrors.
The bathroom had adequate lighting, but it wasn’t doing the room any favors. We wanted the finished space to feel brighter without making it harsh, so lighting became part of the overall design rather than something added at the very end.
After the existing fixtures and finishes were removed, we inspected the underlying areas before continuing with the remodel. Any conditions requiring attention were addressed before the new bathroom finishes were installed.


A refreshed primary bathroom with updated finishes, a functional vanity, improved lighting, new flooring, and an updated shower area. The existing footprint was preserved while creating a cleaner, brighter, and more comfortable space.
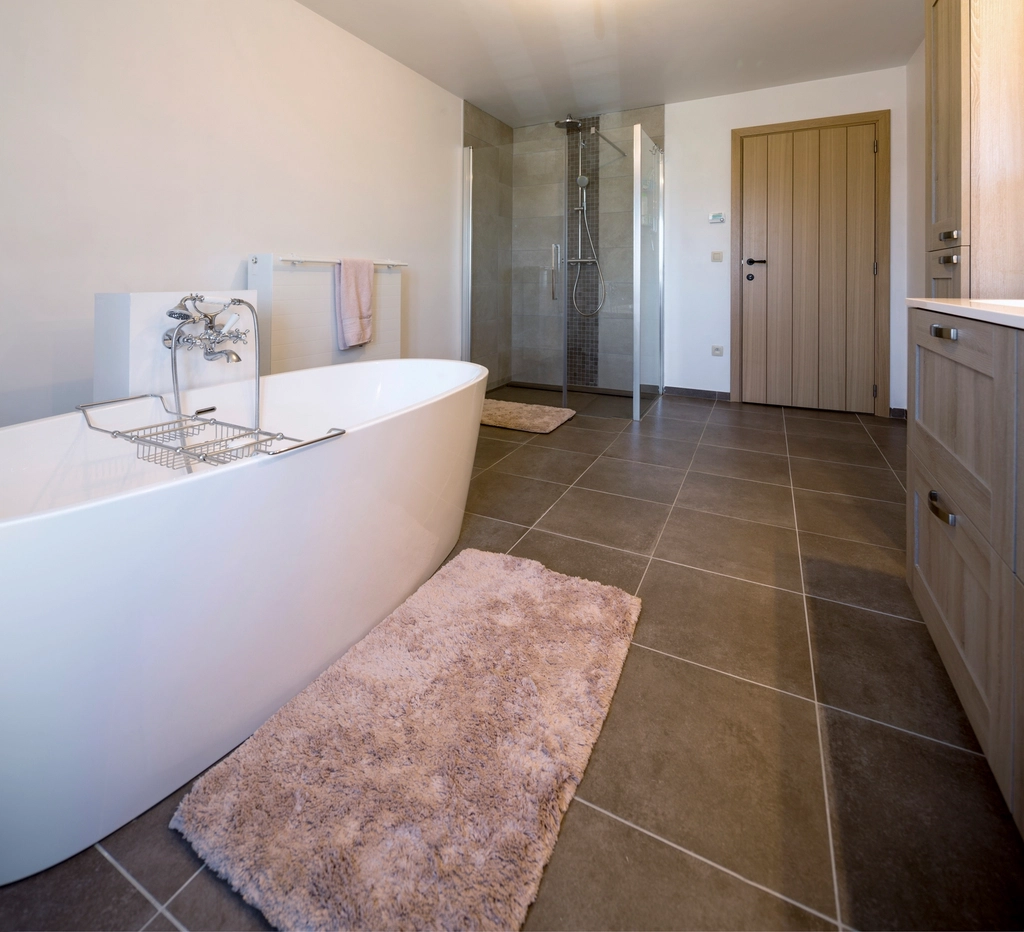
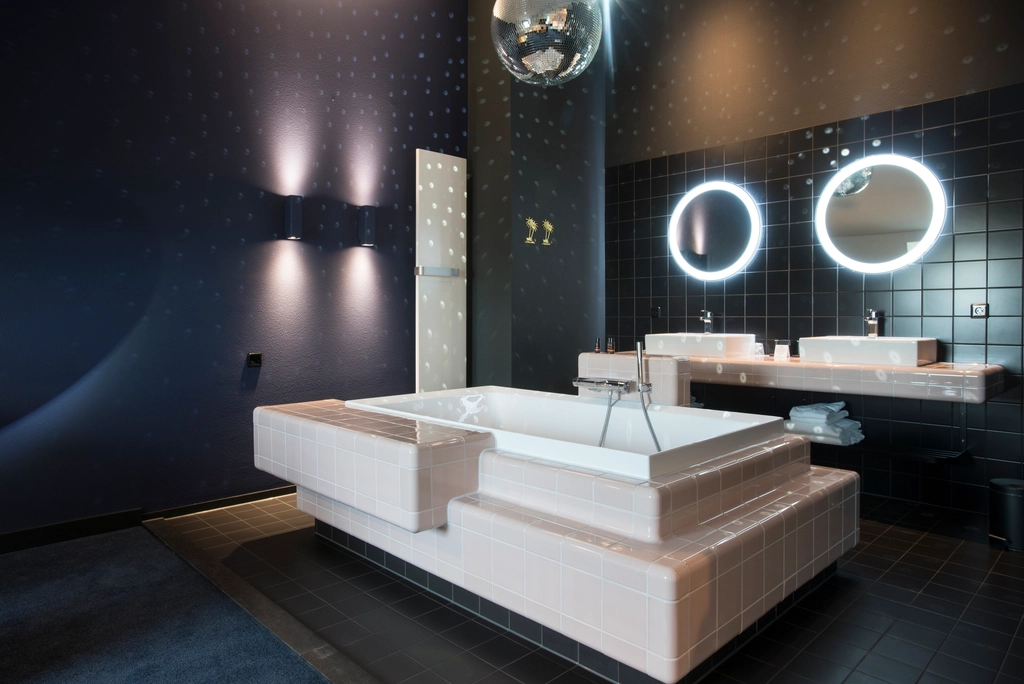
A guest bathroom remodel in a Bonney Lake home: updated finishes, a refreshed vanity, improved lighting, new flooring, and a more functional shower area designed around the existing space.
The existing bathroom layout was practical, but dated finishes, an aging vanity, worn flooring, and outdated lighting kept the space from feeling as comfortable and finished as the homeowners wanted. The goal was to create a cleaner, brighter guest bathroom without changing the room’s overall footprint.
“We didn’t need a bigger bathroom. We needed one that finally worked for us.”
— Homeowner
The good news was that the existing layout gave us a solid starting point. There was no need to completely reconfigure the room. Instead, we could focus on the things that would make the biggest difference in how the bathroom looked and functioned.
The original tub/shower combination was no longer serving the way Daniel and his wife used the bathroom. Replacing it with a walk-in shower opened up the room visually and created a more comfortable everyday setup without requiring a larger footprint.
The existing lighting left the vanity feeling darker than it needed to be. Better lighting became an important part of the remodel, along with a new vanity and mirror that gave the space a cleaner, more finished appearance.
The existing finishes came from different eras of the house. Rather than chasing a highly trendy design, we focused on a simple combination of materials, fixtures, lighting, and finishes that would feel current while still fitting naturally with the home.
Once the existing fixtures and finishes were removed, we inspected the areas behind them before continuing. Any conditions requiring attention were addressed as part of the remodel so the new finishes could be installed over a properly prepared space.


A refreshed guest bathroom with updated finishes, a clean vanity, improved lighting, refreshed flooring, and a more functional shower area. The familiar footprint remains, but the room feels brighter, cleaner, and easier to use.
A full kitchen remodel in a late-1990s Auburn home: new cabinets, quartz countertops,
flooring, lighting and a properly vented range hood, built around a layout that already worked.
The layout was sound. The island, sink, range and refrigerator were all in sensible places, so no walls needed to move. What held the room back was everything else: dark stained cabinets, a tiled island top with worn grout, ageing appliances and a tile floor that had seen better days. The goal was a lighter, easier kitchen that fit the rest of the house.
— Homeowner
The good news: the layout actually worked. The island was in the right spot, the work triangle between the range, sink, and fridge made sense. No walls coming down — that’s always a win for the budget. But a few things caught our eye right away, and we told her about all of them on the spot.
Outlets and circuits affected by the remodel were brought up to current requirements.
The recirculating over-range microwave was replaced with a range hood ducted to the outside.
The new kitchen floor was planned to meet the living-room flooring with a deliberate, finished edge.
With the cabinets, countertops and flooring removed, we found moisture damage under part of the old island, left by an earlier sink leak. The damage was limited. We stopped, photographed it, explained the repair and gave the homeowners the price before continuing. The affected material was replaced before any new cabinets went in, with no surprises on the final invoice.


Before handover we tested every outlet and circuit that was part of the work, ran the hood to confirm it vents outside, checked every door and drawer for alignment, and walked the floor transitions. Anything that wasn’t right was fixed before the homeowners saw the finished room.
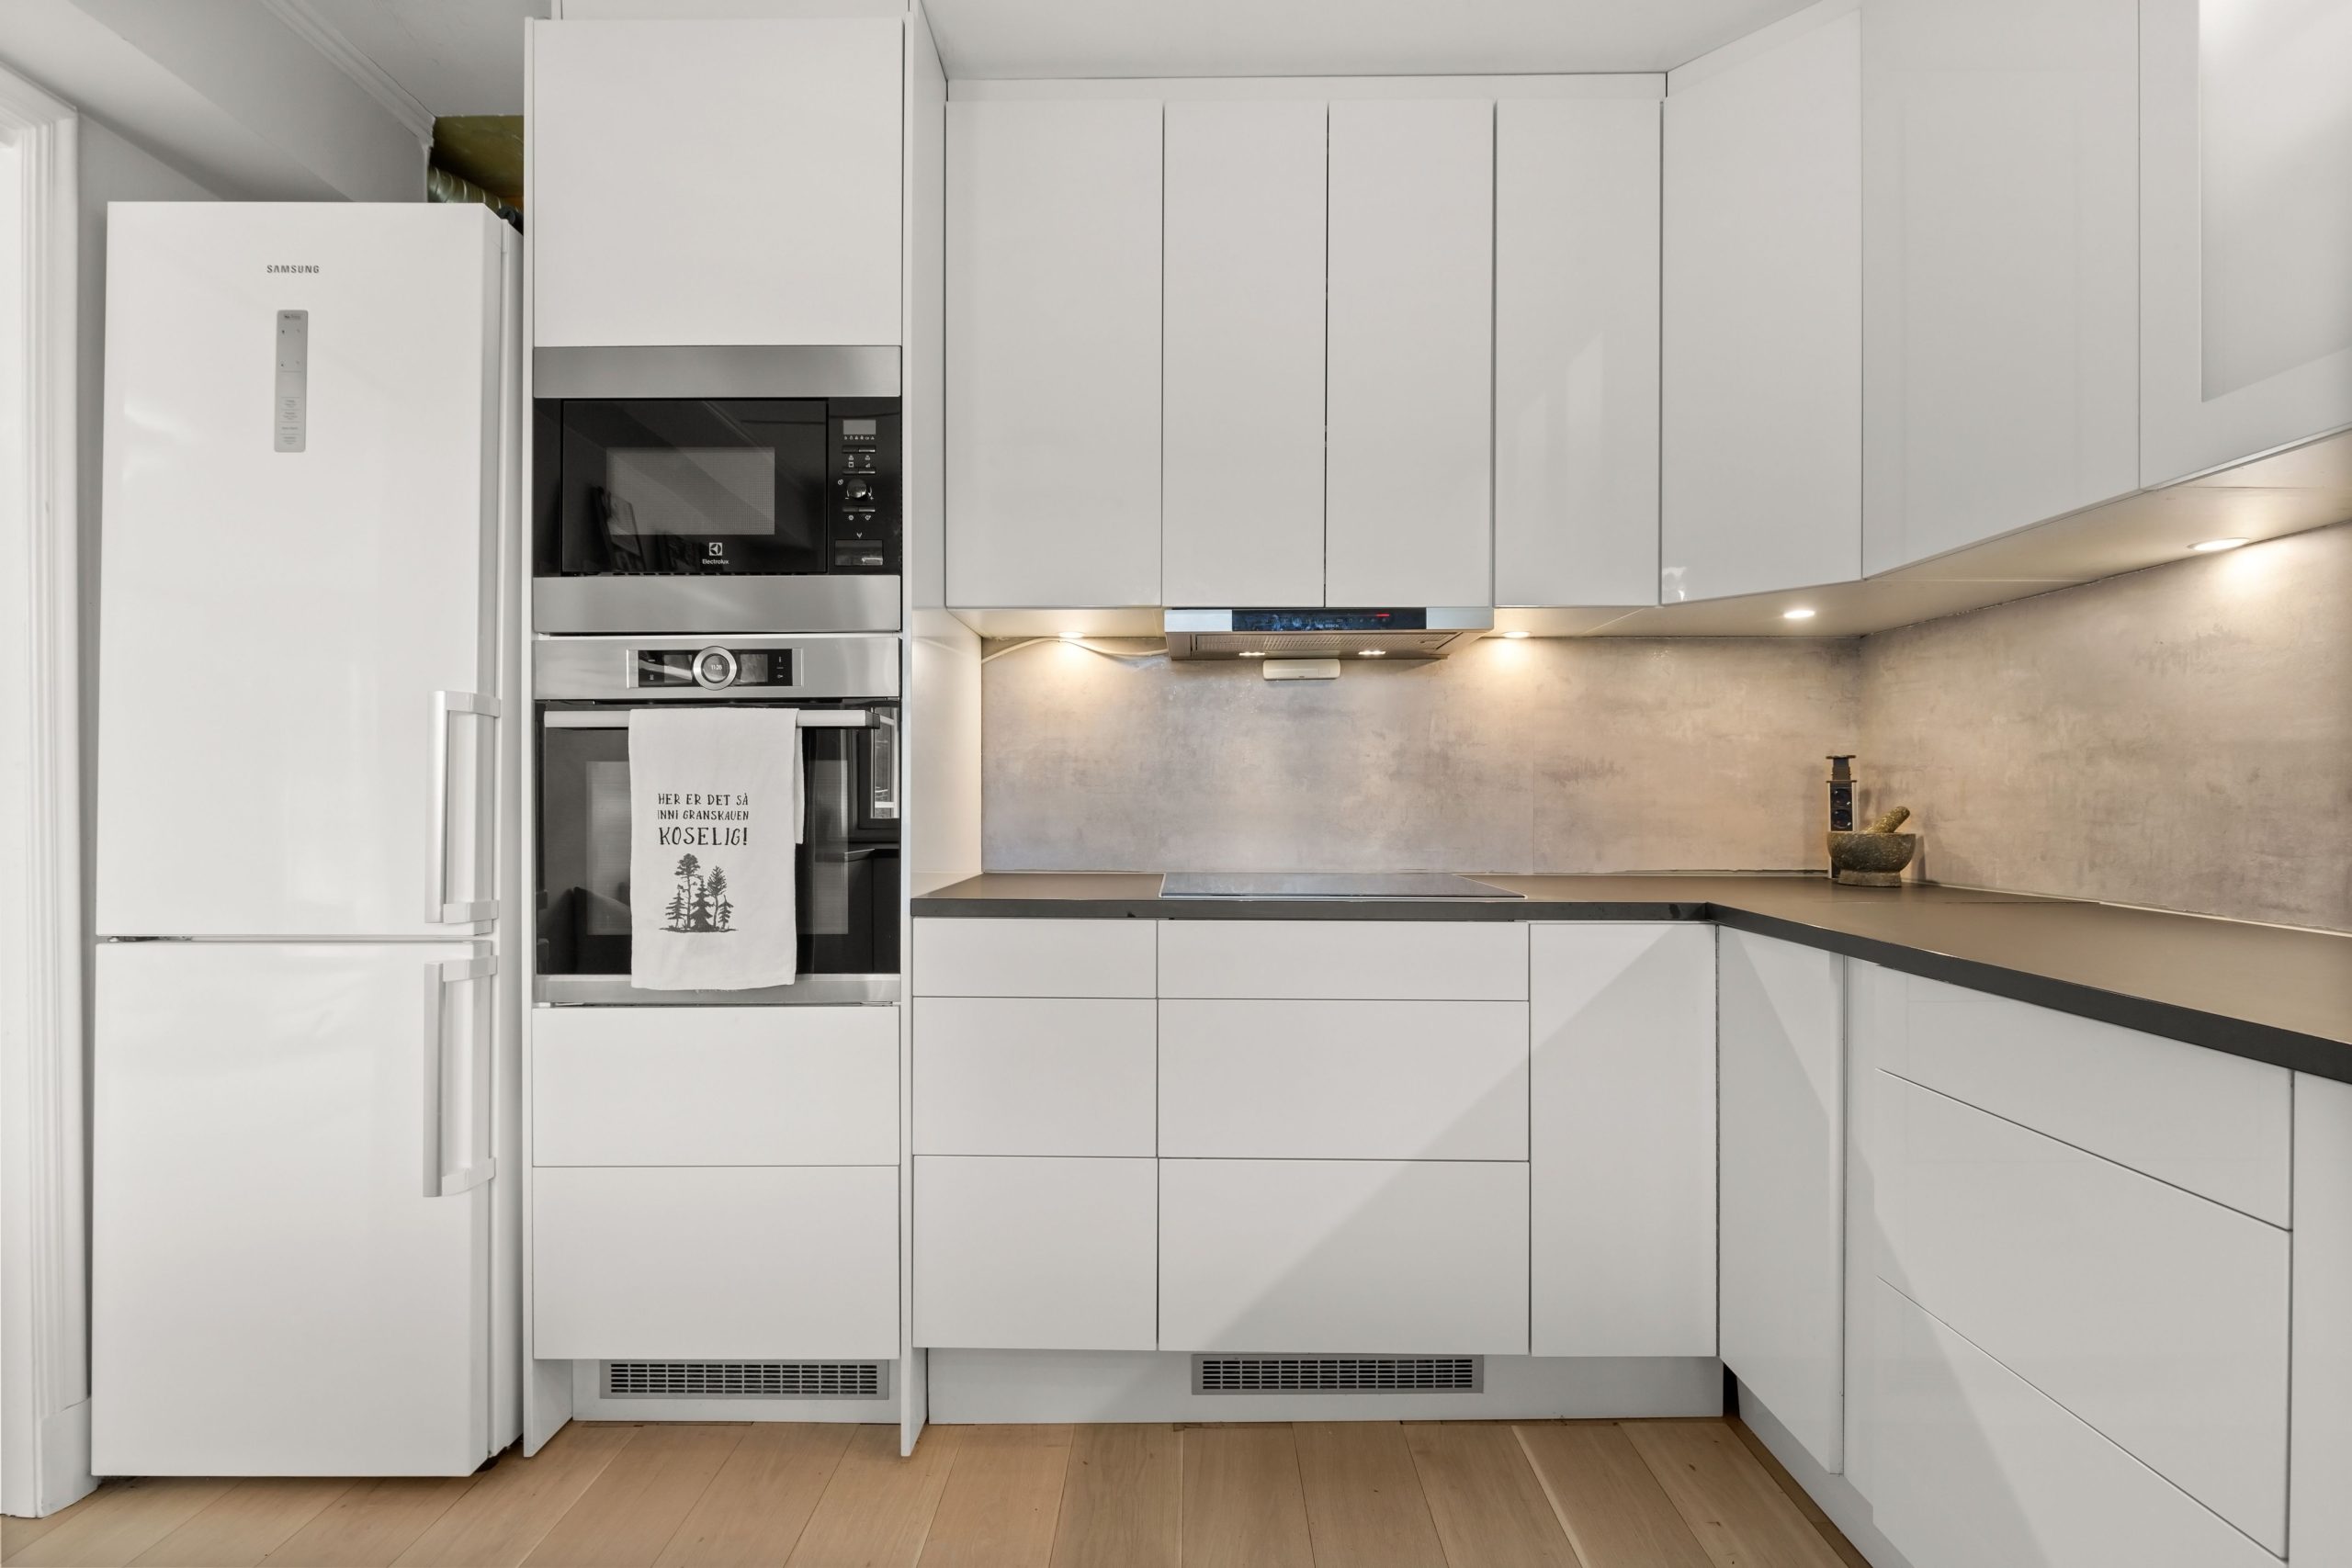
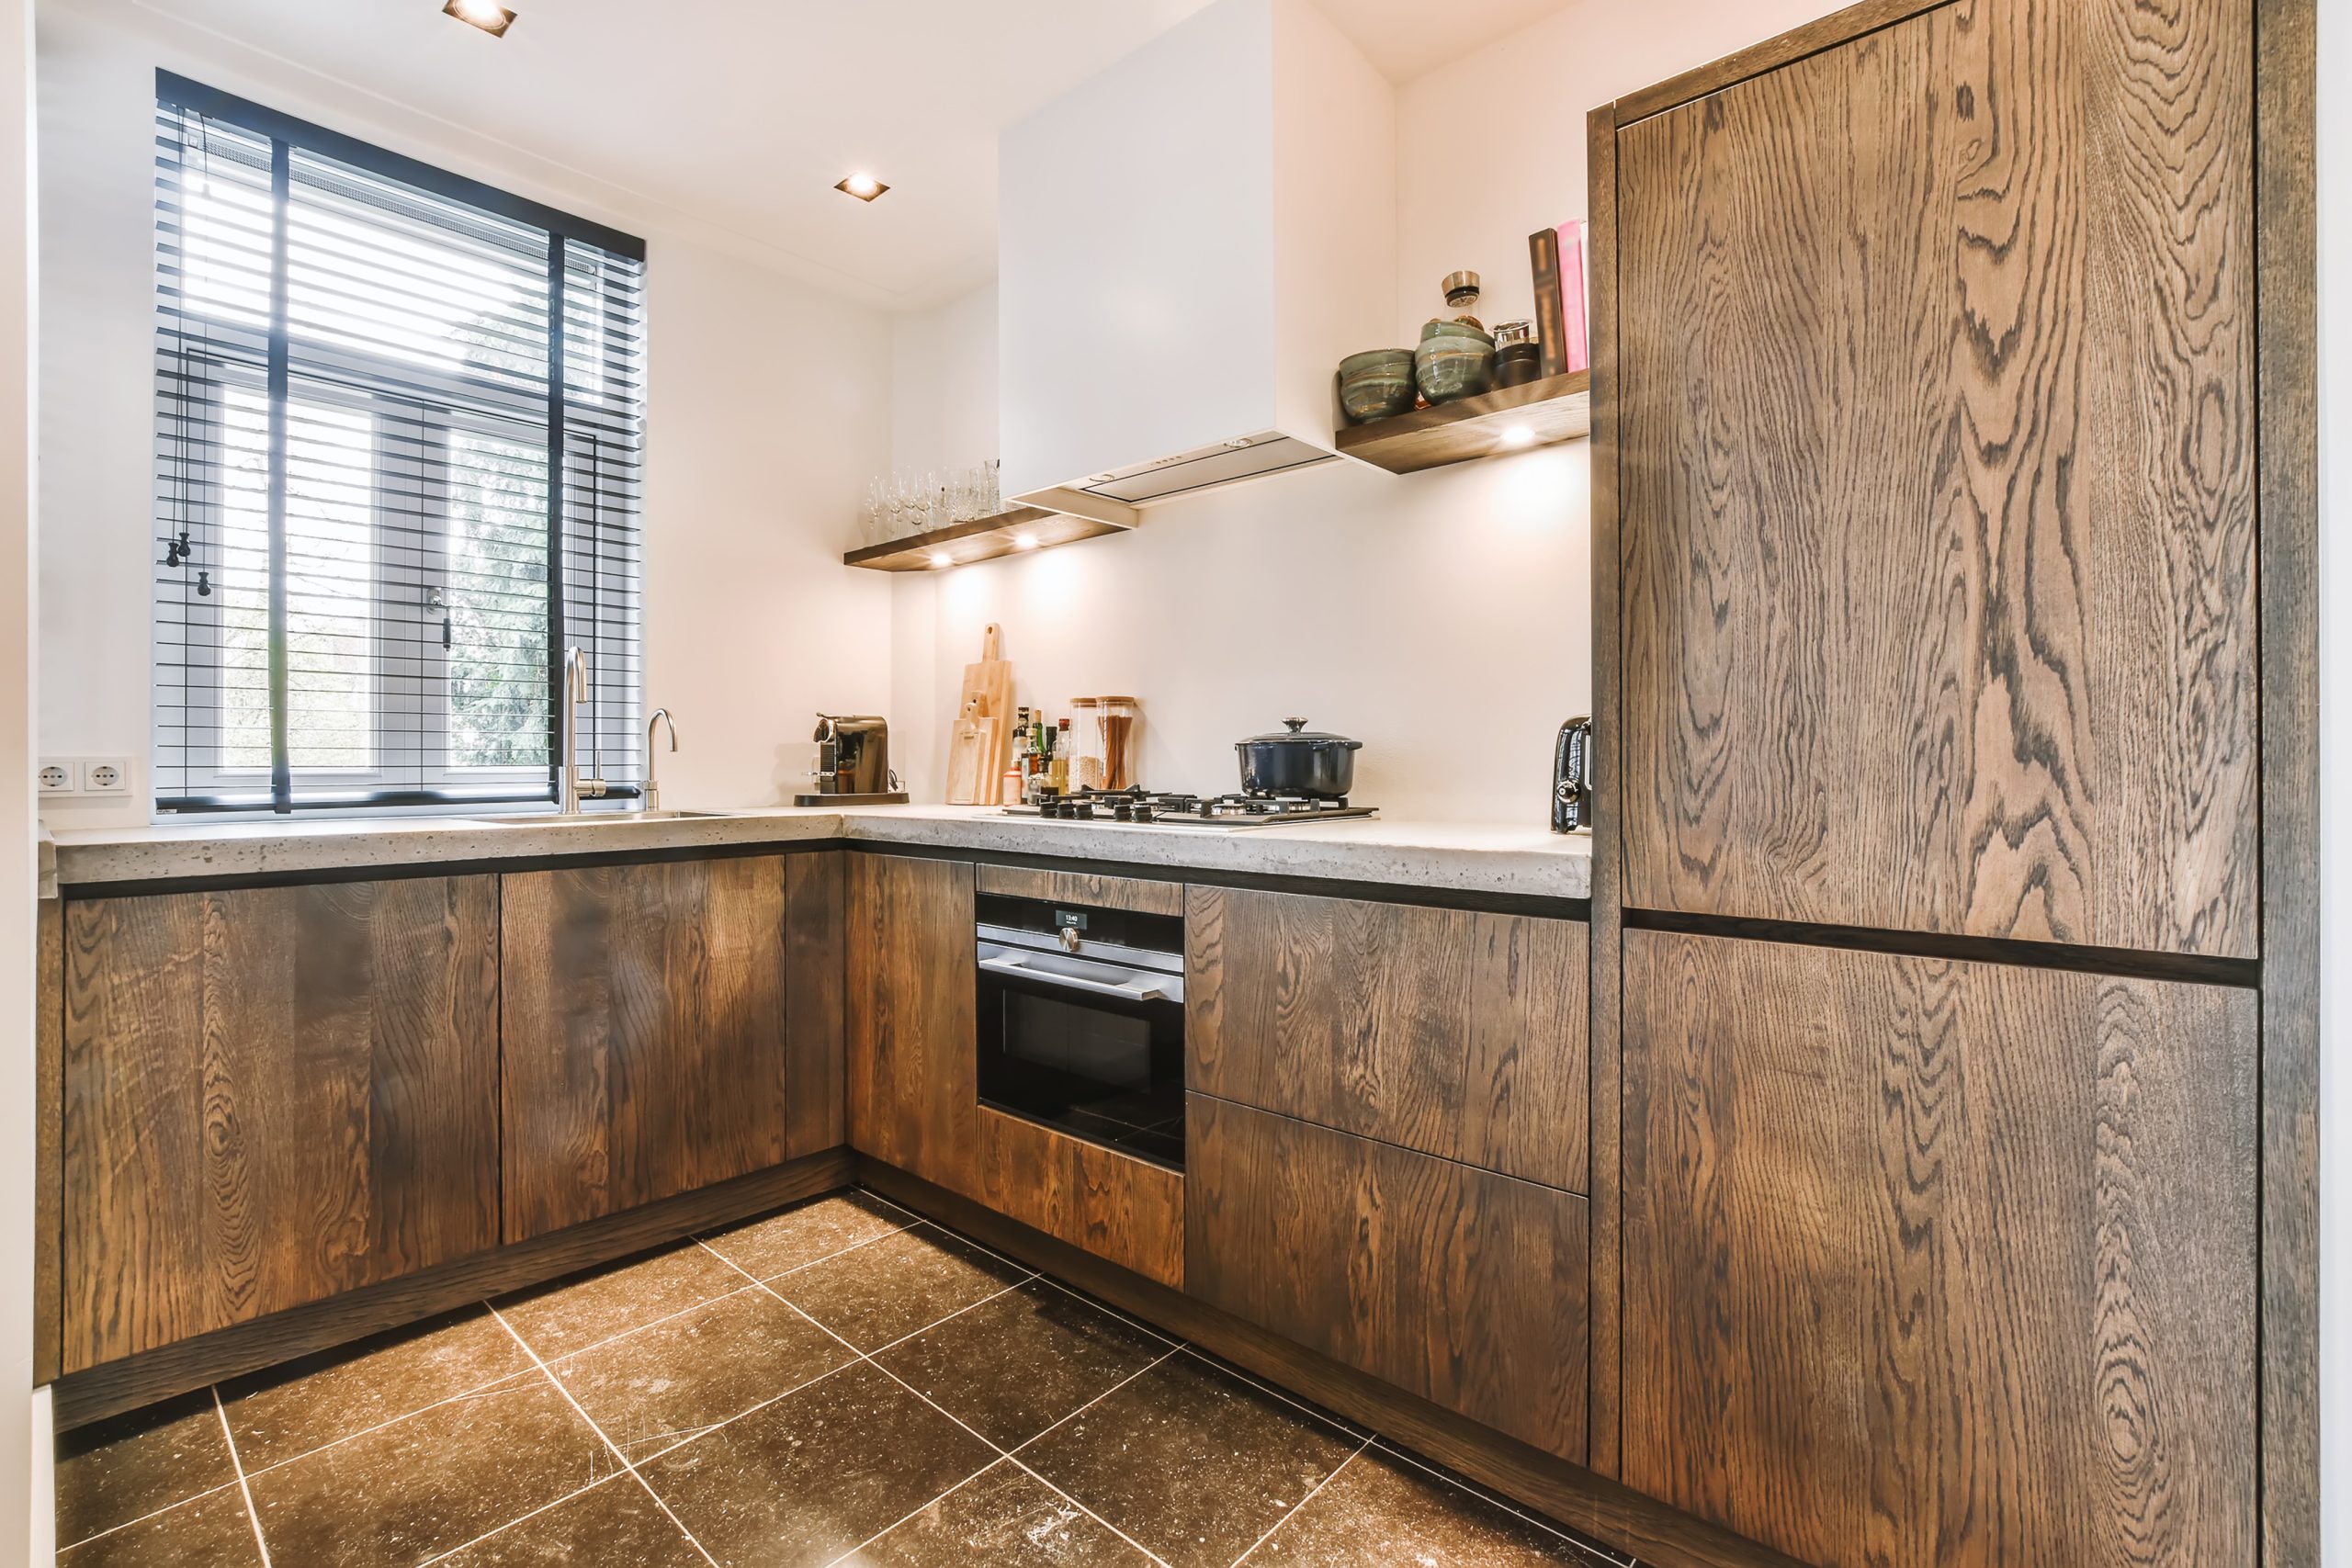
Light painted cabinets, a quartz island, new flooring carried cleanly into the living room, under-cabinet lighting and a range hood that finally clears the air. Same footprint, a completely different kitchen.