
Walk-in showers, new vanities, tile and ventilation — built by a team that spends the rest of its week drying out bathrooms that were built badly.
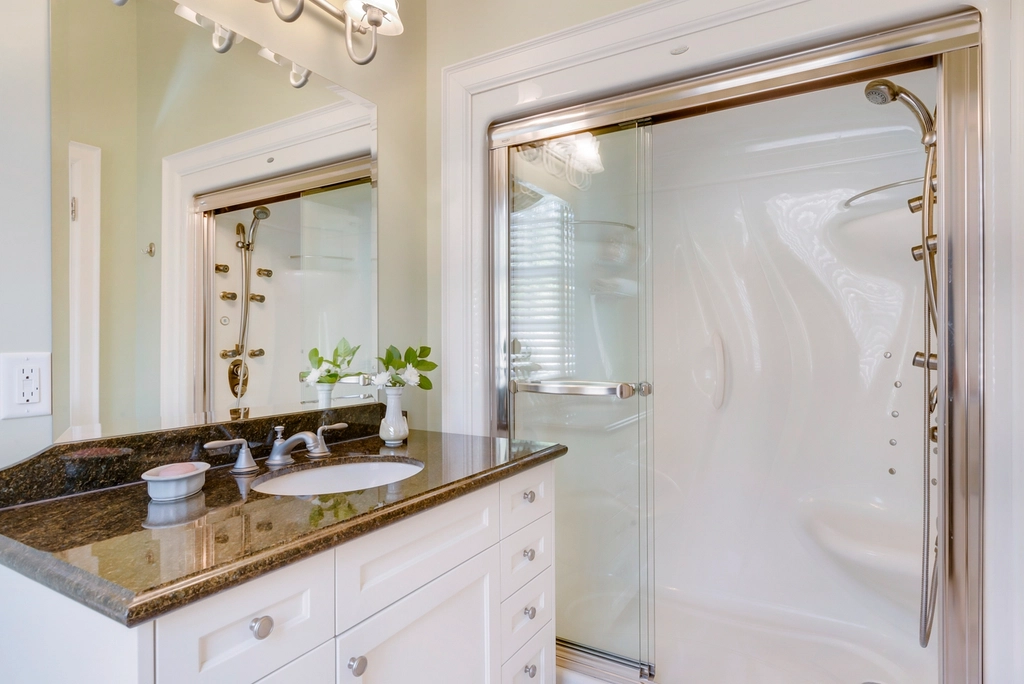
A bathroom is the smallest room in most houses and the one that asks the most of its construction. Every day it takes steam, splashes and standing water, and when it is built badly the damage stays hidden behind the tile until it reaches the floor joists or the ceiling below. Our restoration crews see the results every week.
That experience shapes every ProRevive bathroom remodel. We use waterproofing membranes behind shower tile, slope shower pans correctly, seal every penetration and duct fans to the outside rather than into the attic. The finishes are what you see; the waterproofing is what you are really paying for.
From a hall bath refresh to a full primary suite with a walk-in shower and freestanding tub, we plan the room with you, show you options on the iPad at your consultation, and give you an itemized estimate before any work begins.
If the structure is still wet, ProRevive Restoration handles extraction and drying first. We do not close a wall until the readings say it is dry.
What homeowners are choosing for bathrooms right now. Licensed inspiration photos, not ProRevive projects.
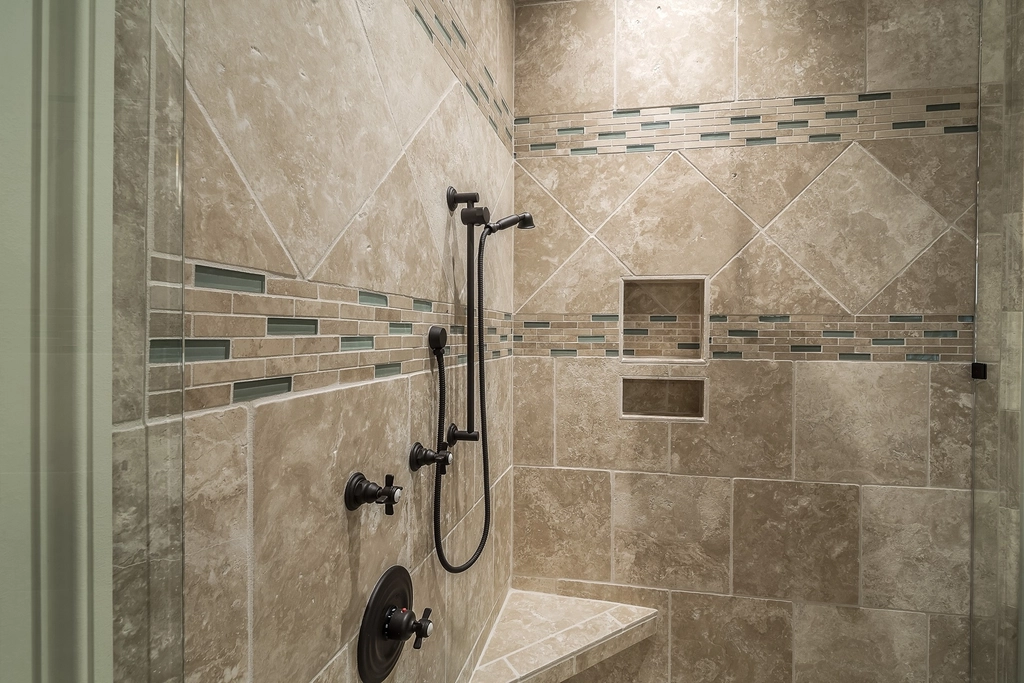
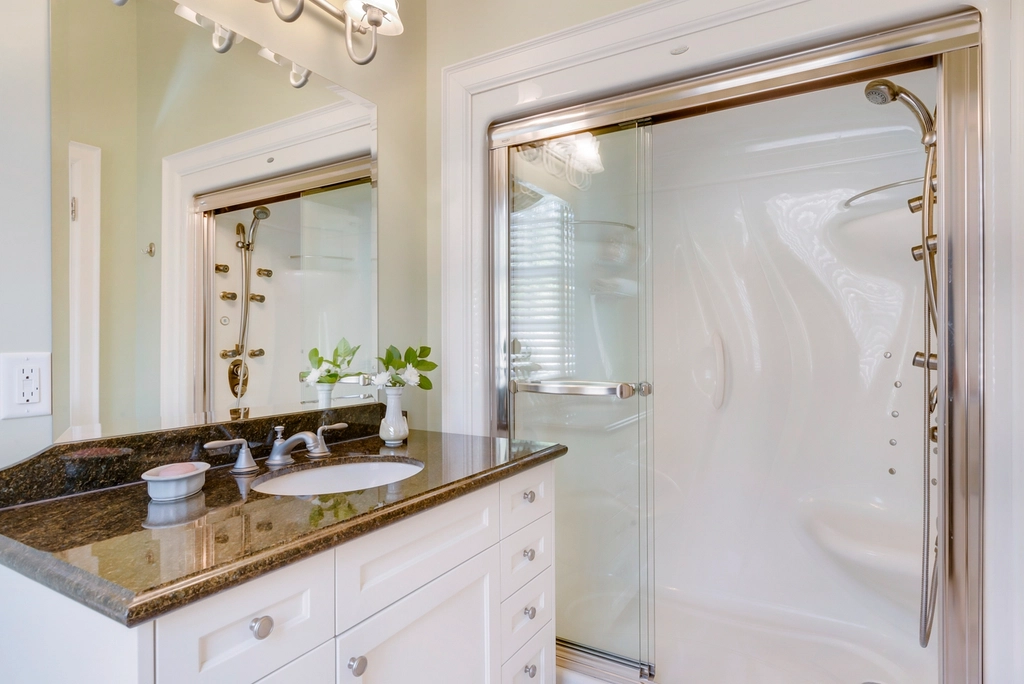
A built-in bench, a recessed niche and a handheld wand make a shower safer and far easier to use.
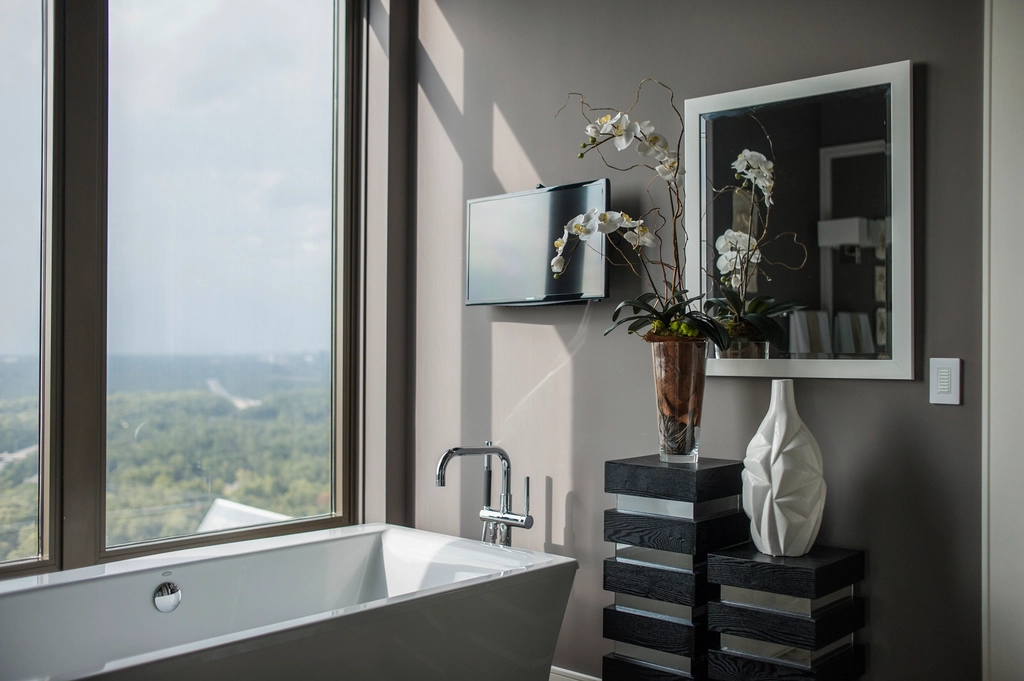
A freestanding tub with its own floor-mounted filler, beside a separate glass shower.
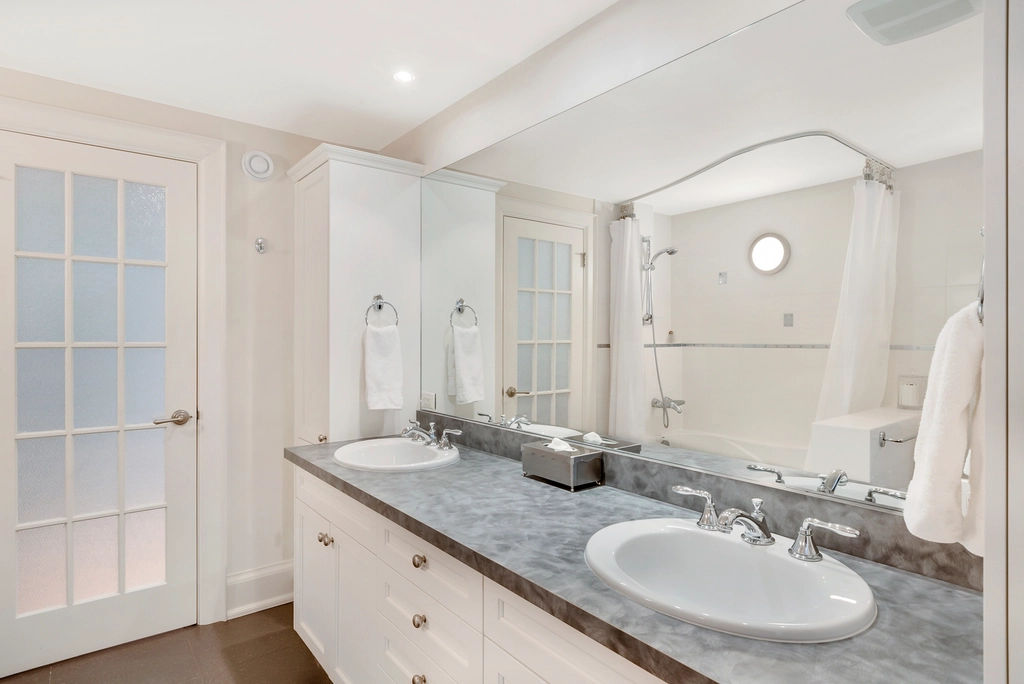
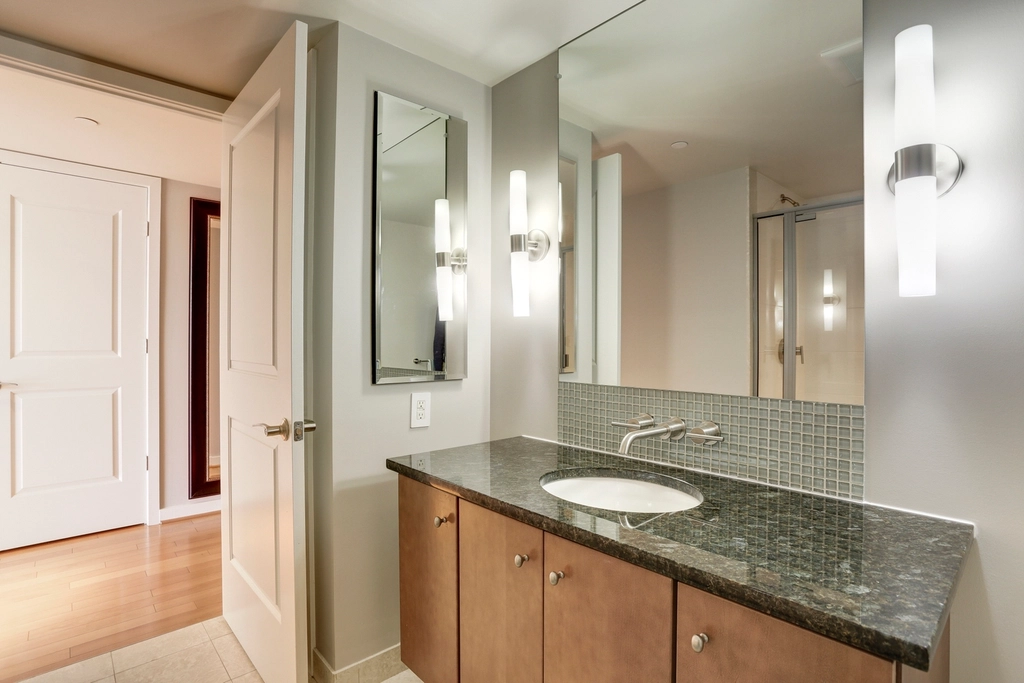
Two sinks, one long counter and a lot more storage — the most requested upgrade in shared bathrooms.
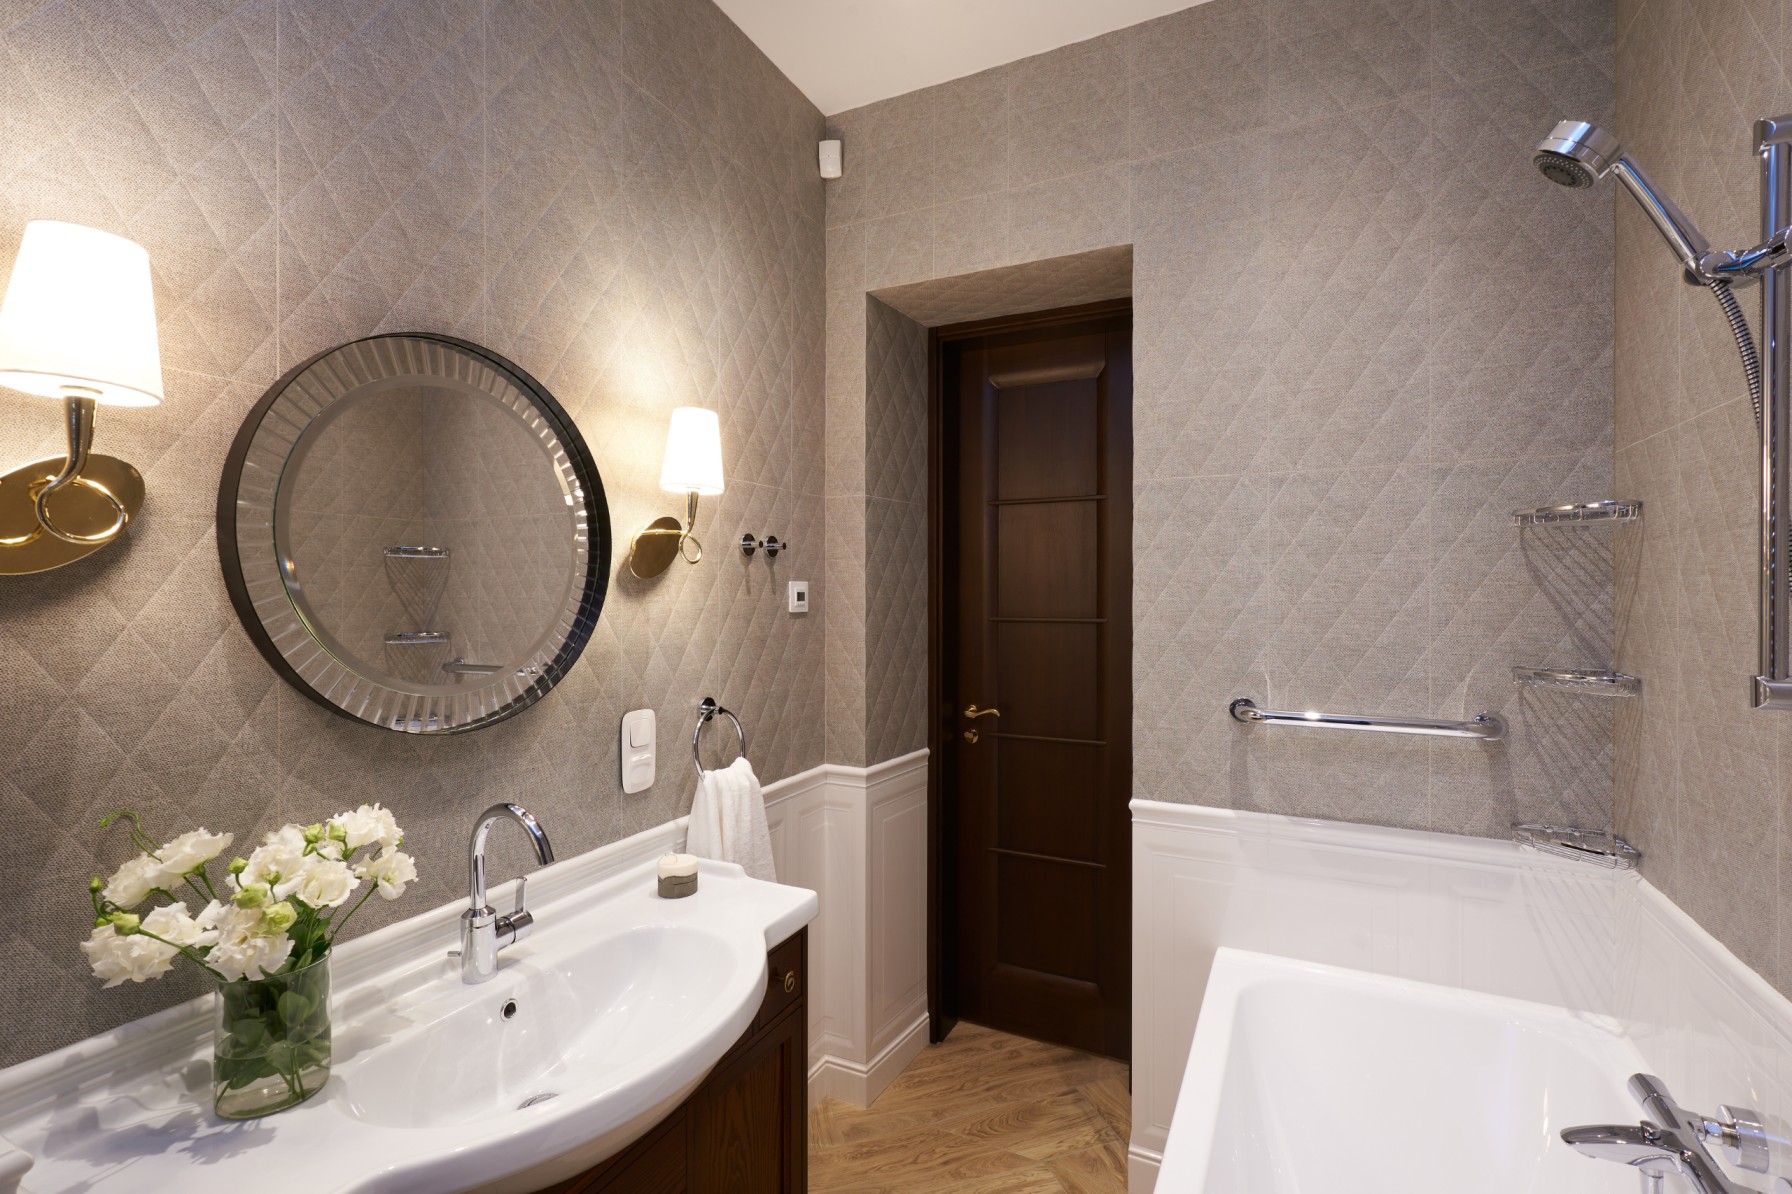
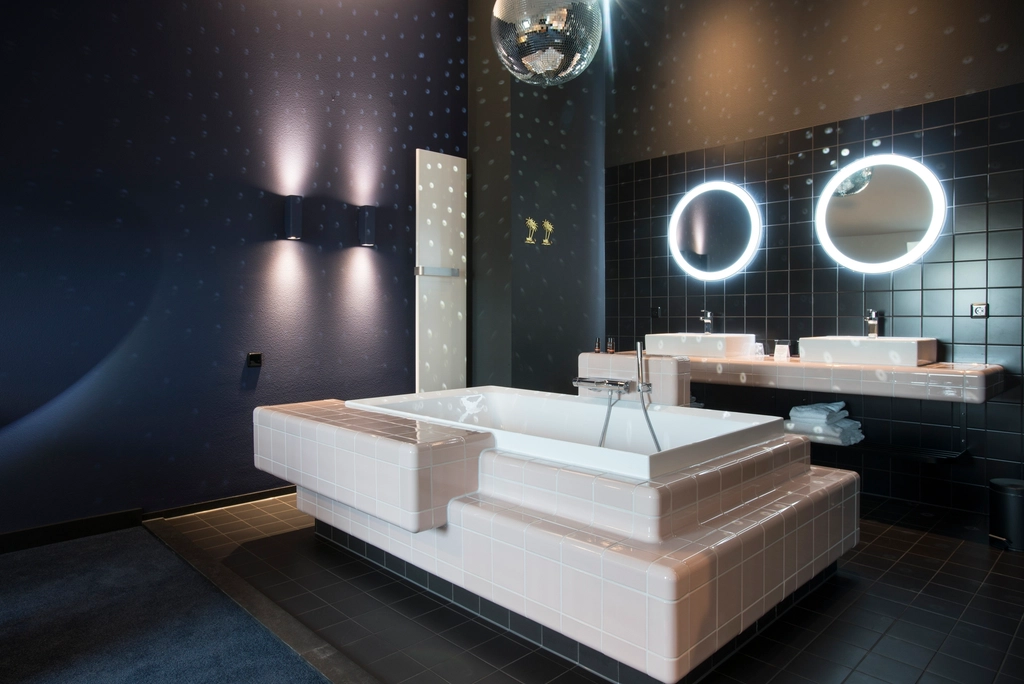
Dark tile, warm lighting and backlit mirrors for a bathroom that feels like a retreat.
Six steps and one project lead, from consultation to final walkthrough.
We come to you, measure the space, check what is behind the problem if there is one, and talk through what you want the room to do.
You receive a line-by-line estimate and a proposed schedule. For insurance work, we prepare the rebuild scope for your adjuster.
Layout, cabinets, counters, tile, fixtures and lighting — chosen with you, using samples and our design gallery on the iPad.
Where the work needs a permit, we apply for it and book the inspections. You get a start date and the order of work.
Protected floors, dust control, a tidy site at the end of every day, and one project lead you can call with any question.
We walk the finished room with you, complete anything on the punch list, and hand over care and warranty information.
Bathroom prices vary widely, so we price every project on its own after seeing the room. The biggest factors are whether plumbing moves — relocating a toilet or turning a tub into a walk-in shower costs more than replacing fixtures in place — the amount and type of tile, custom glass, and the vanity you choose.
Hidden conditions matter more in bathrooms than anywhere else. A soft floor near the toilet or a stained ceiling below the shower usually means a slow leak, and the damaged subfloor or framing has to be repaired before anything new goes in. We check for this at the consultation, and if we find more once the room is opened, you get photos and a price before we continue.
Your estimate lists every item, so you can see where a different tile, vanity or fixture would change the total.
Tap to compare. Real ProRevive bathrooms only.
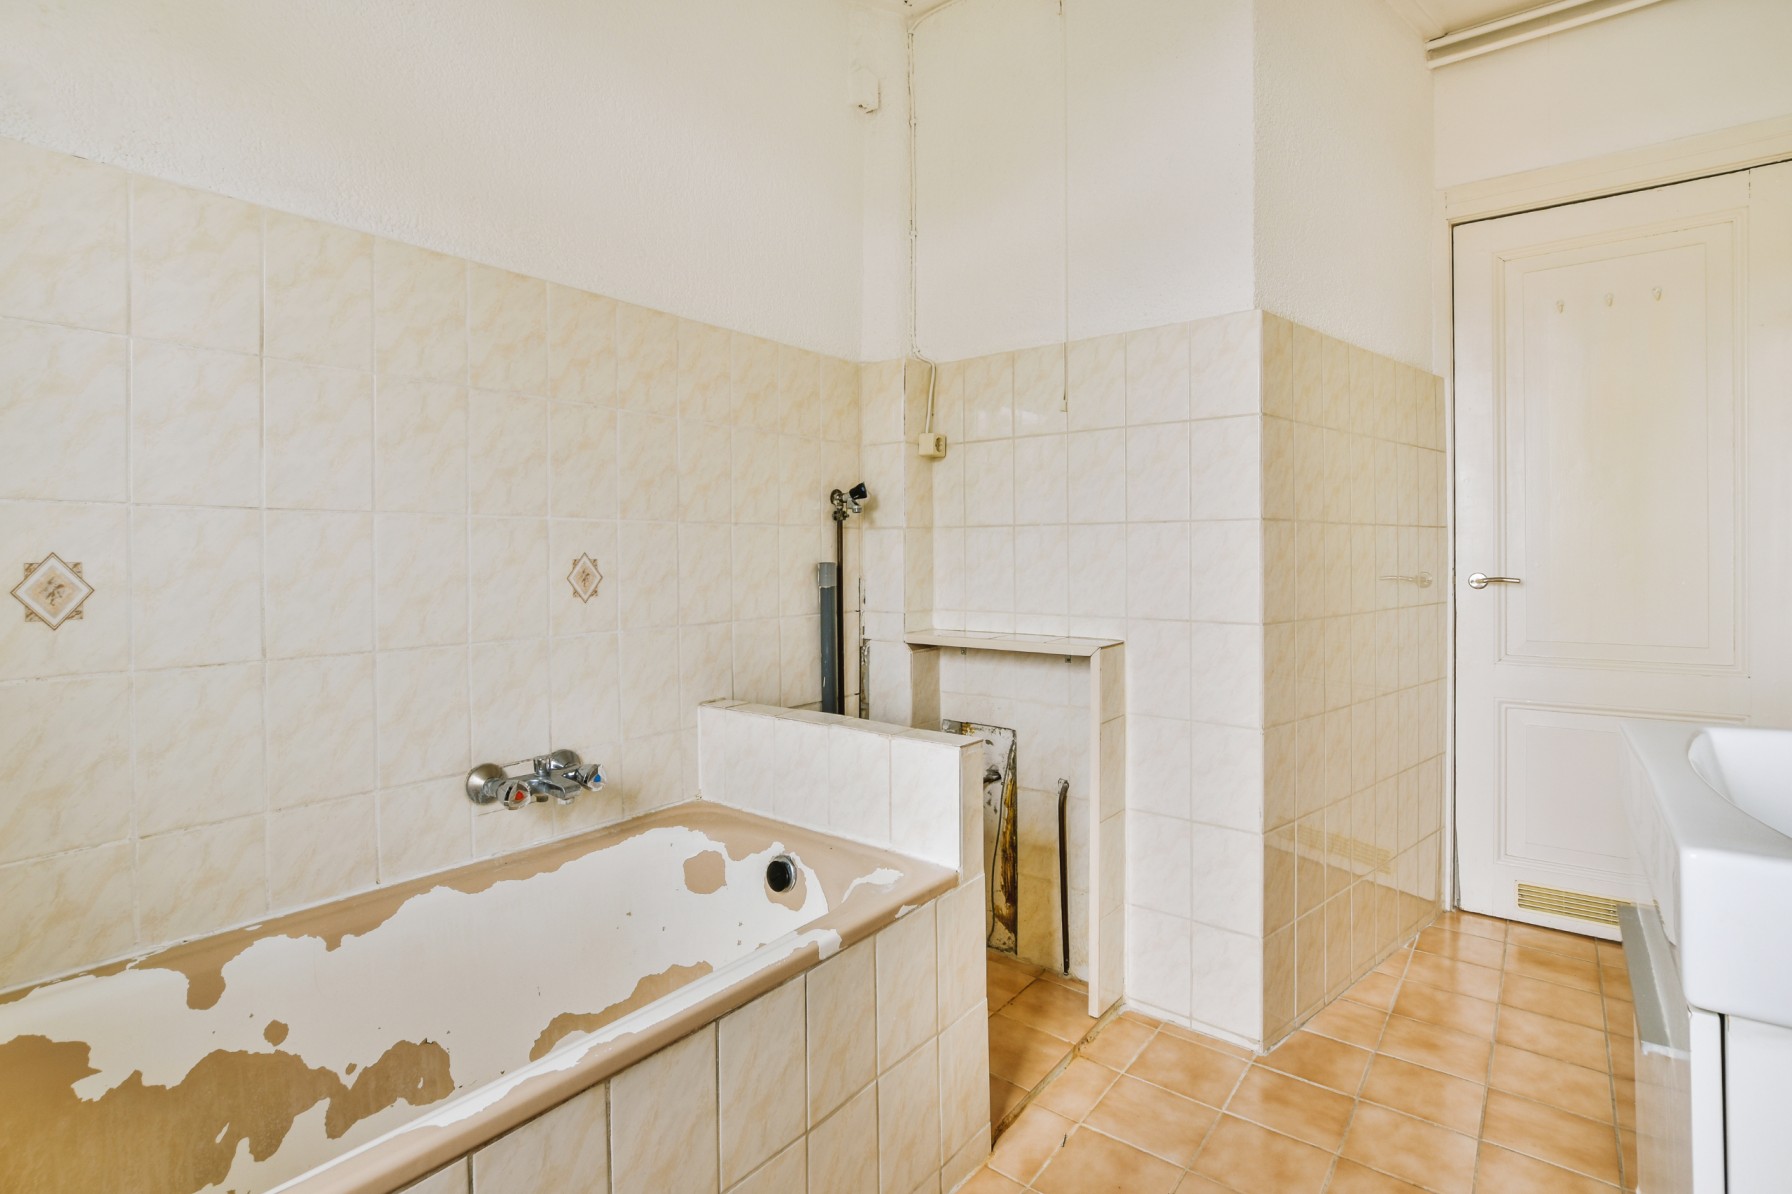
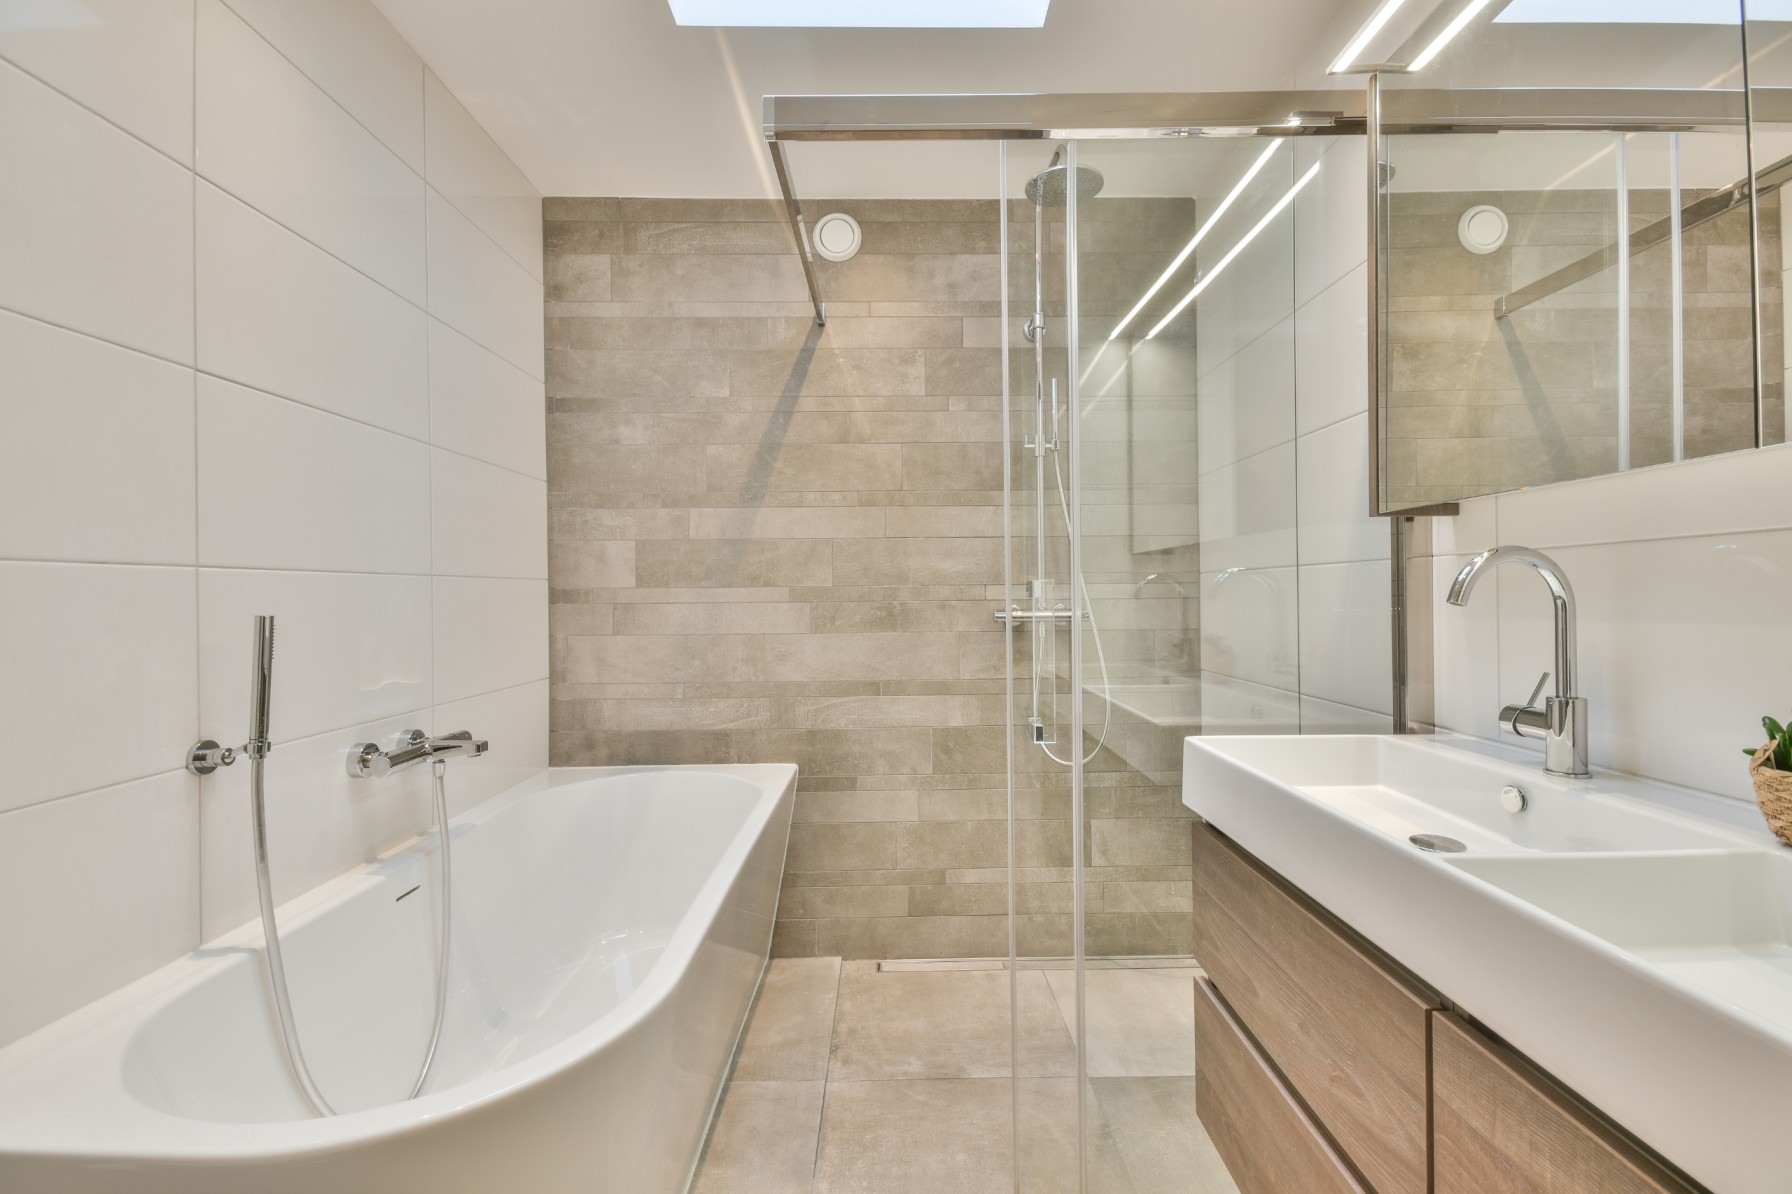
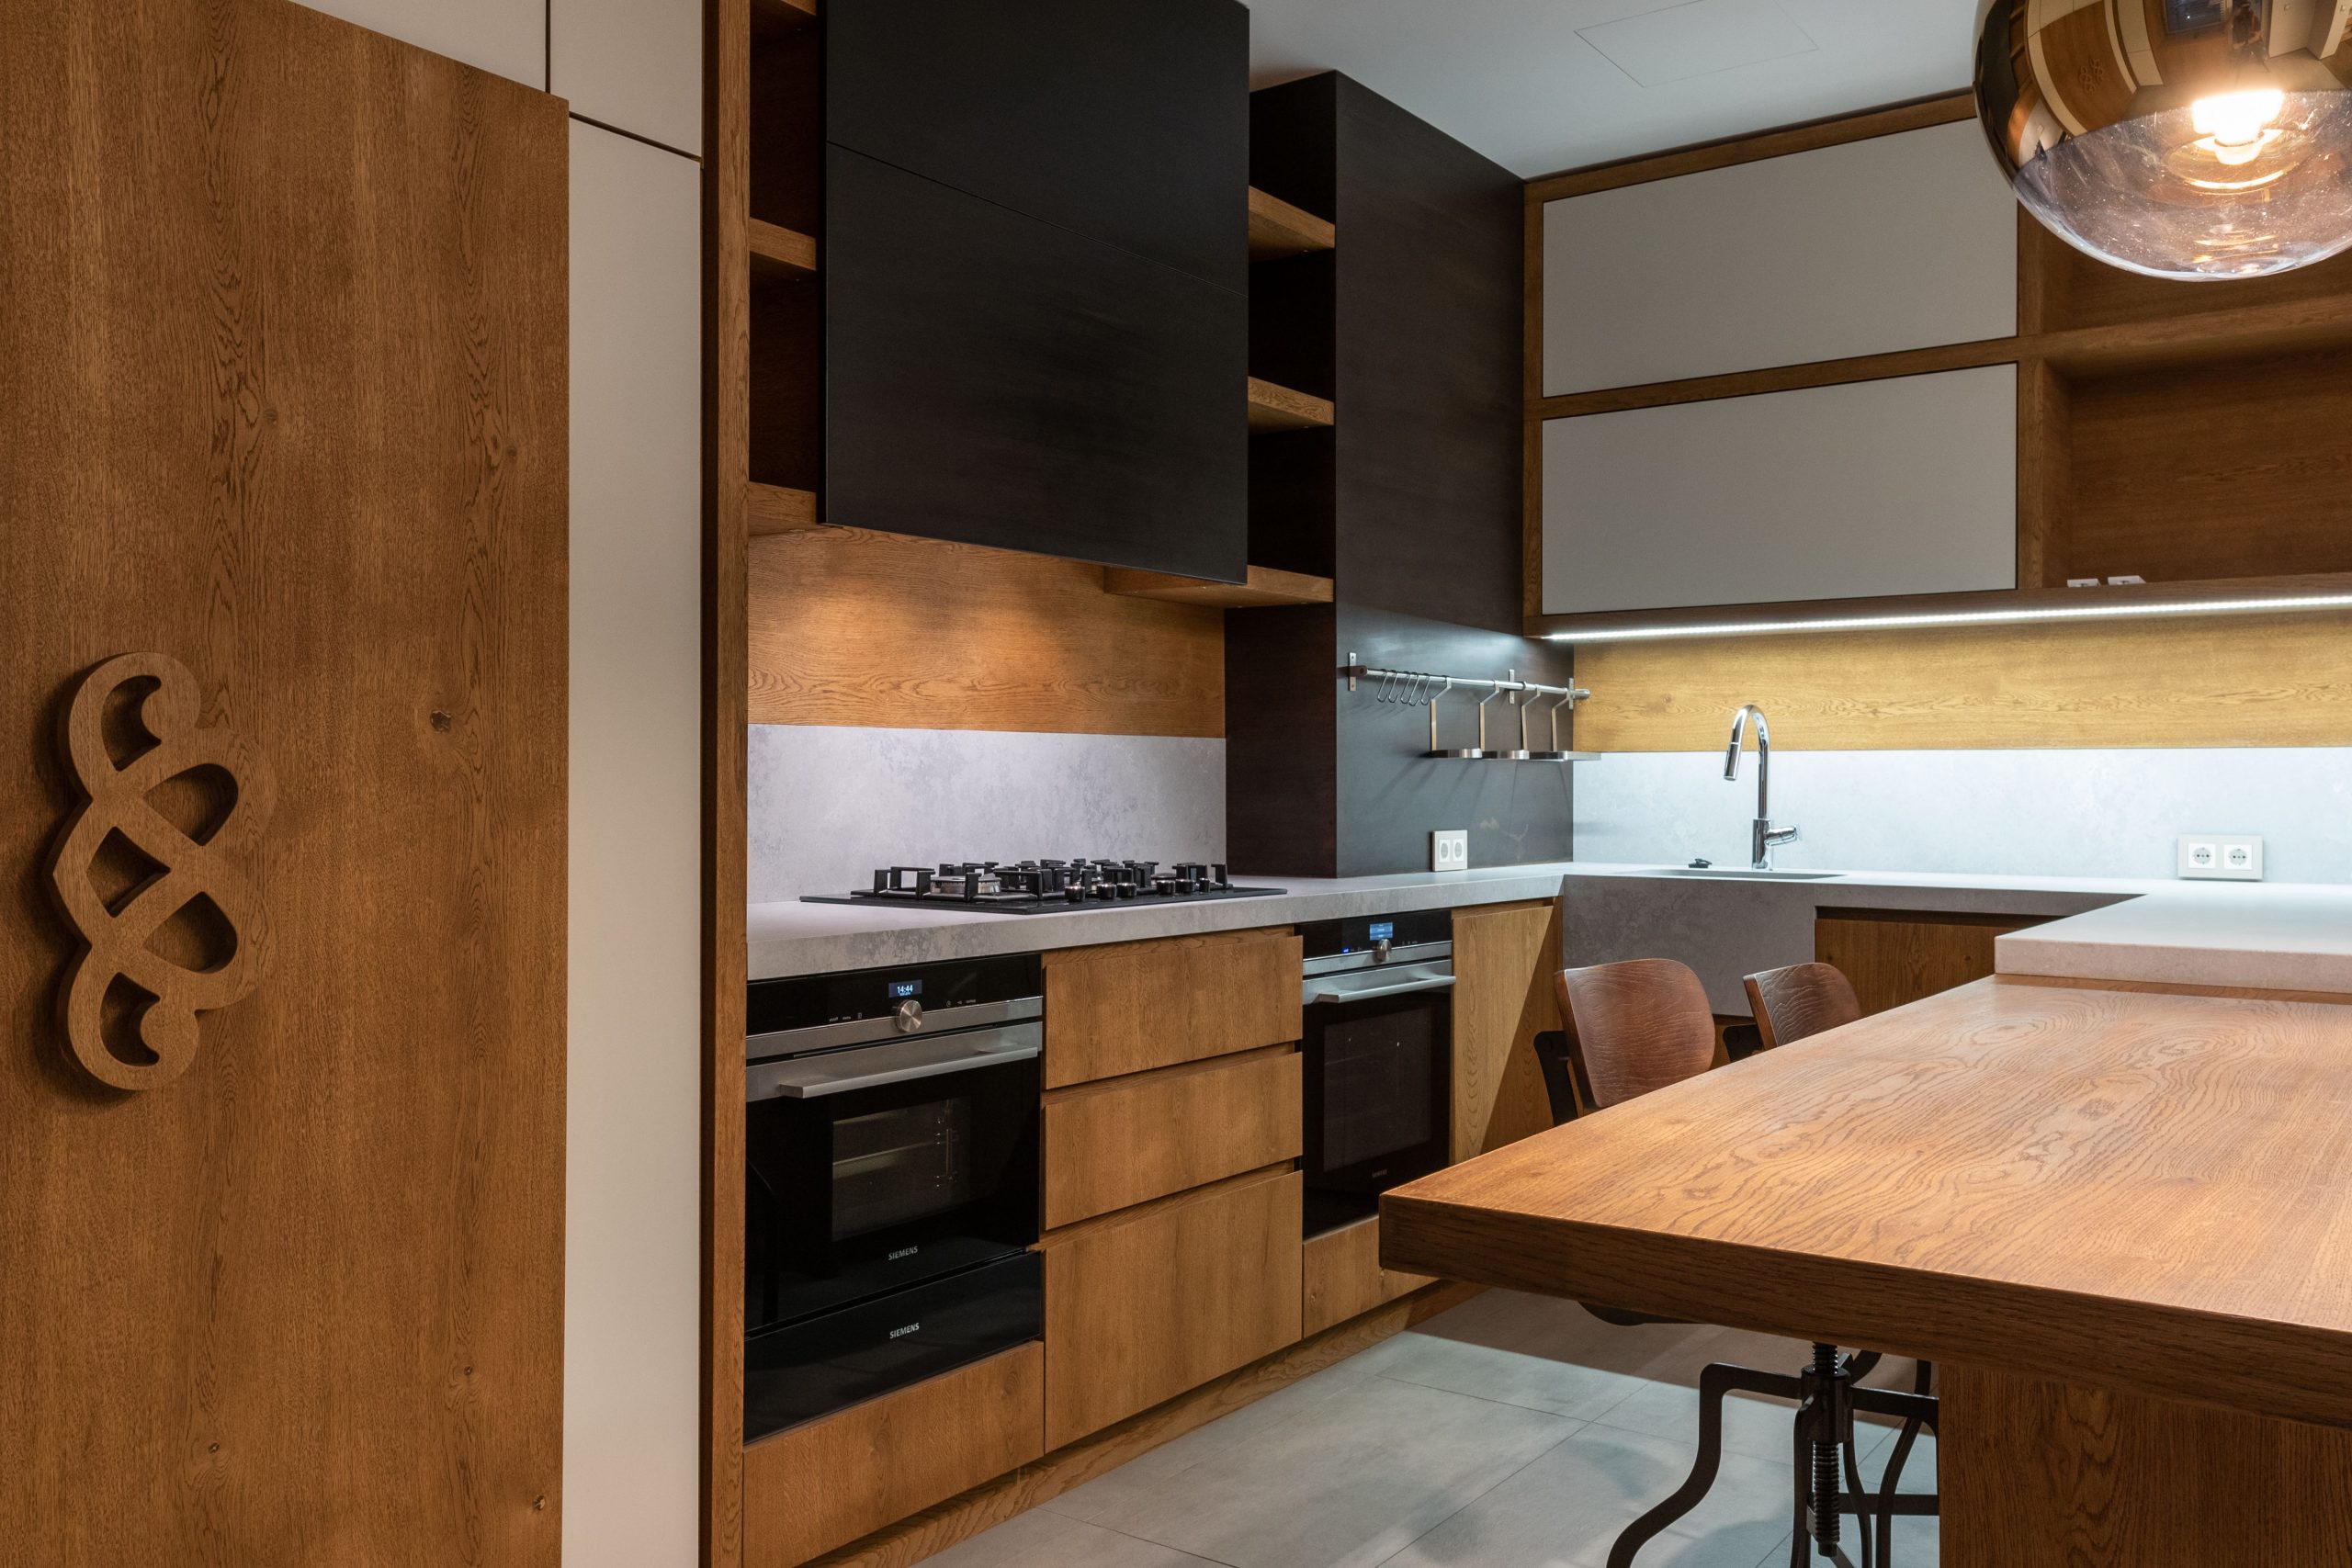
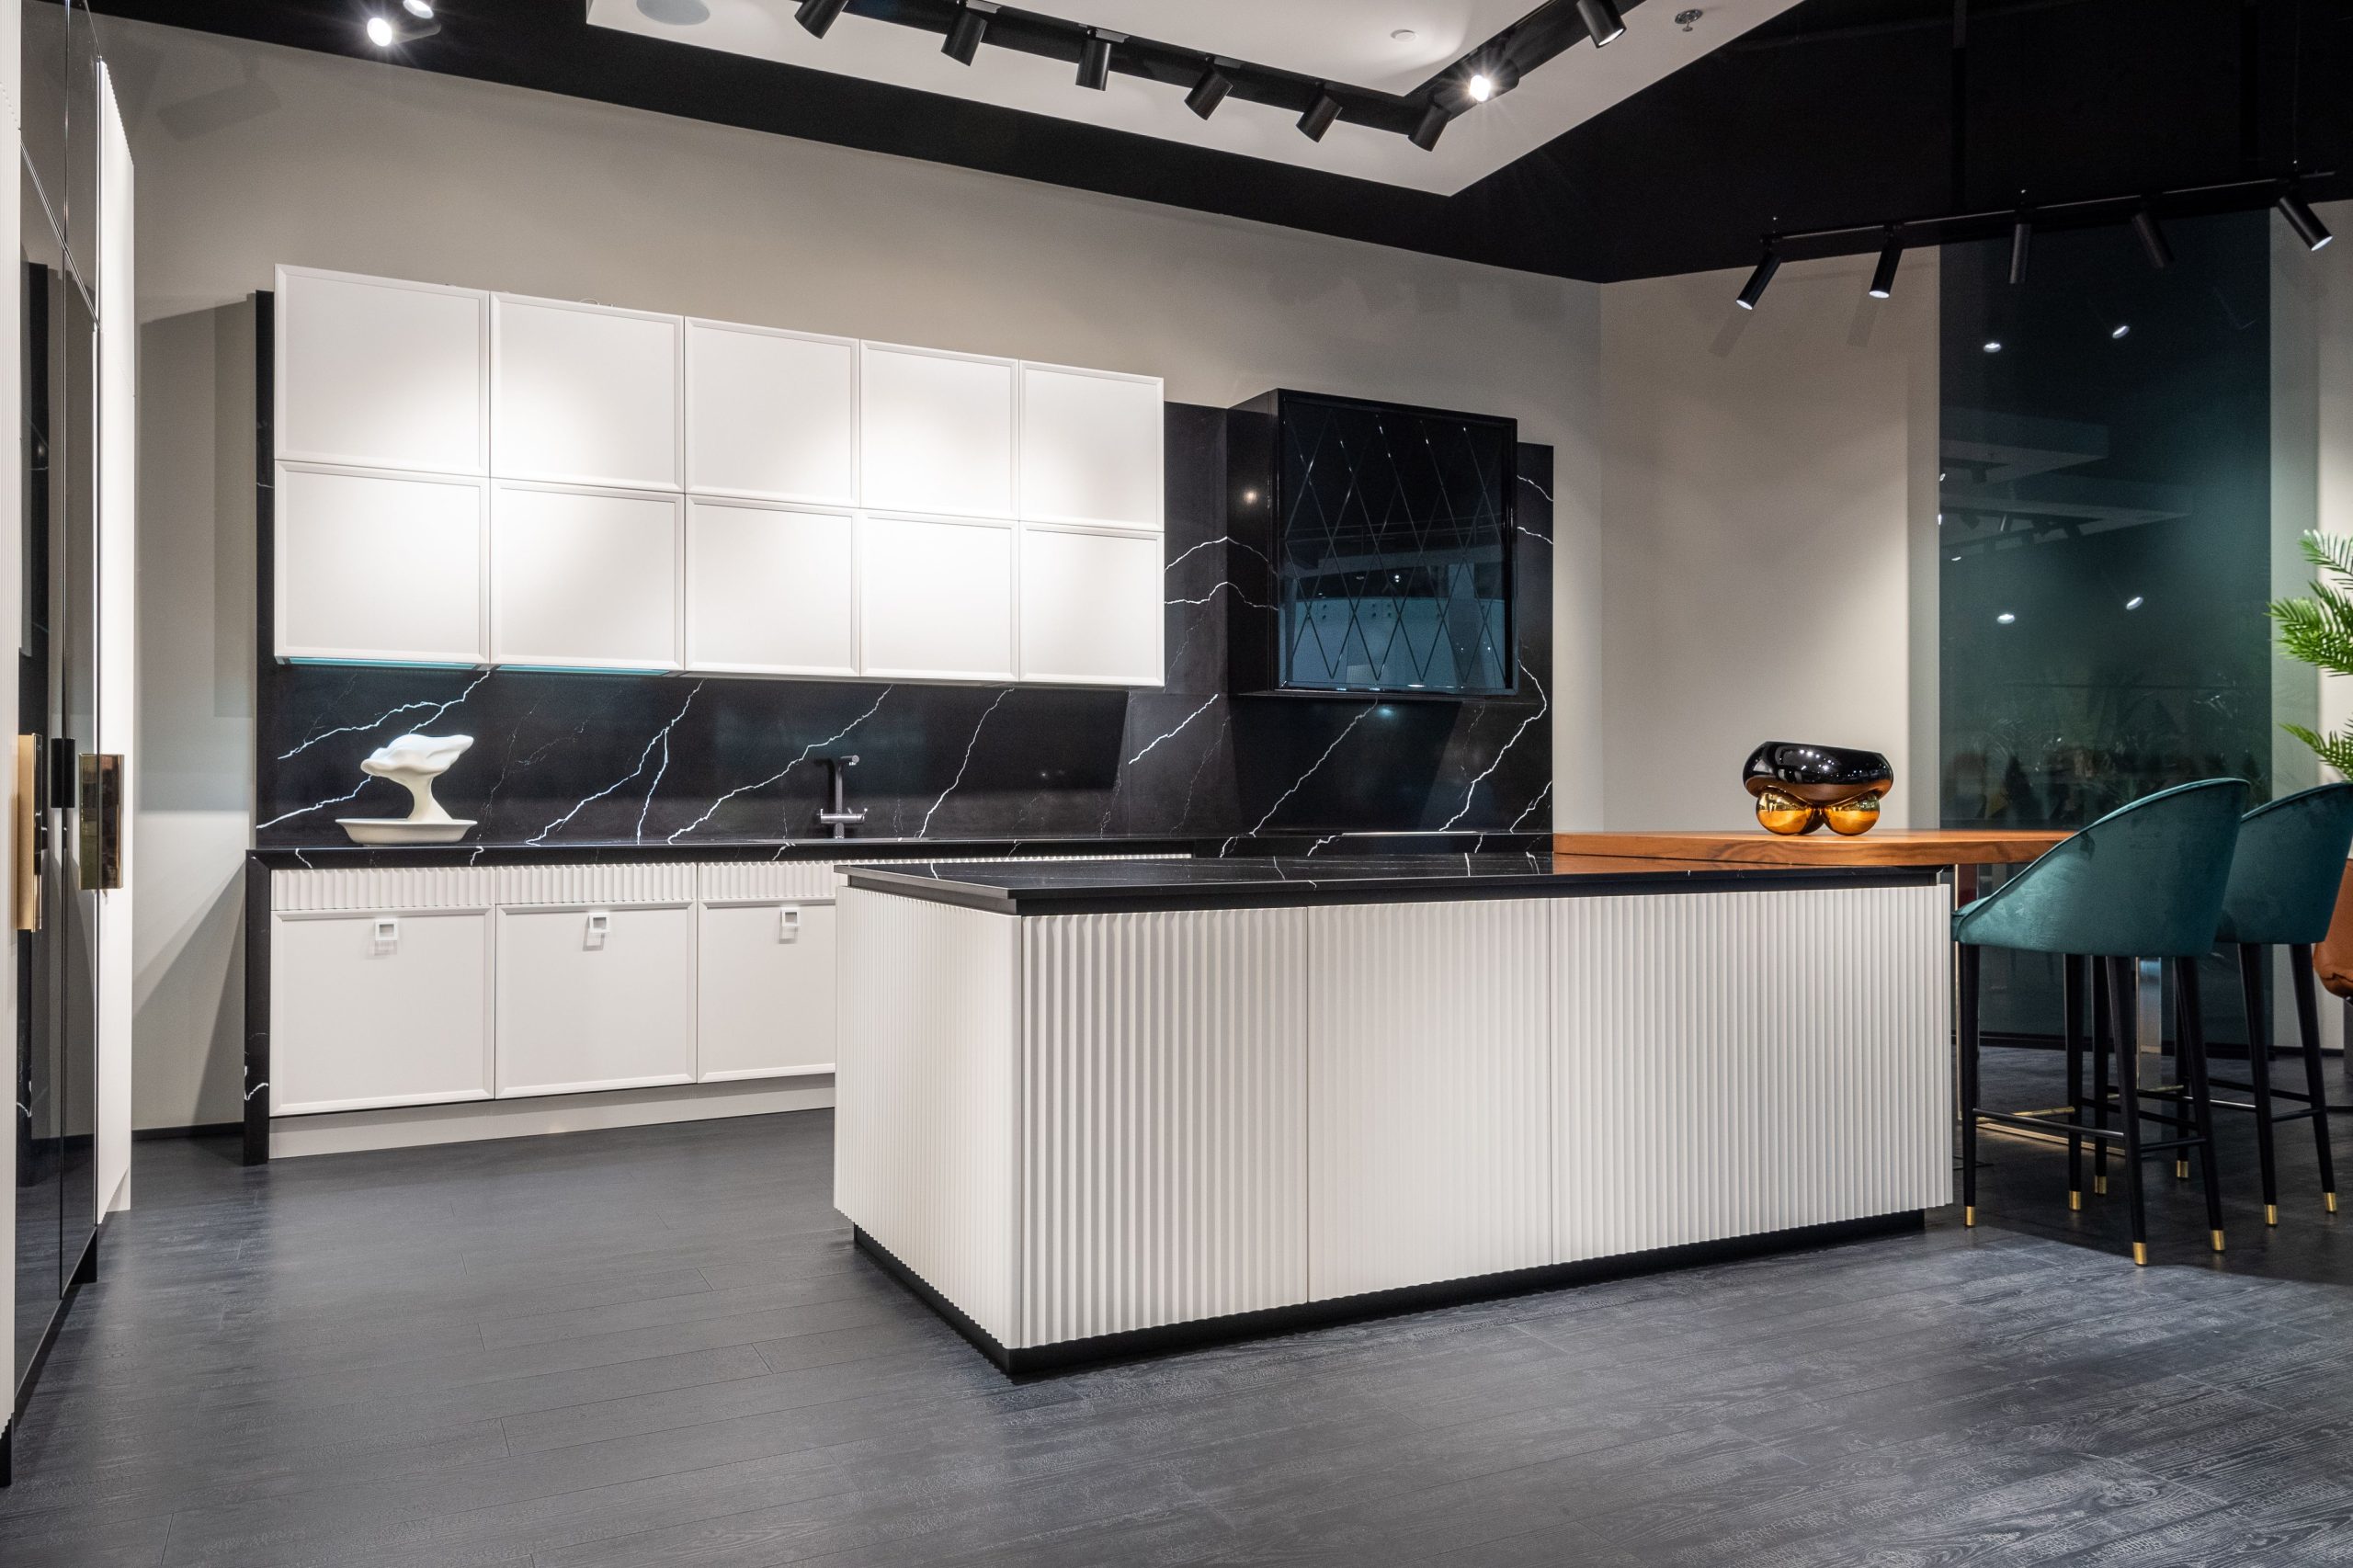
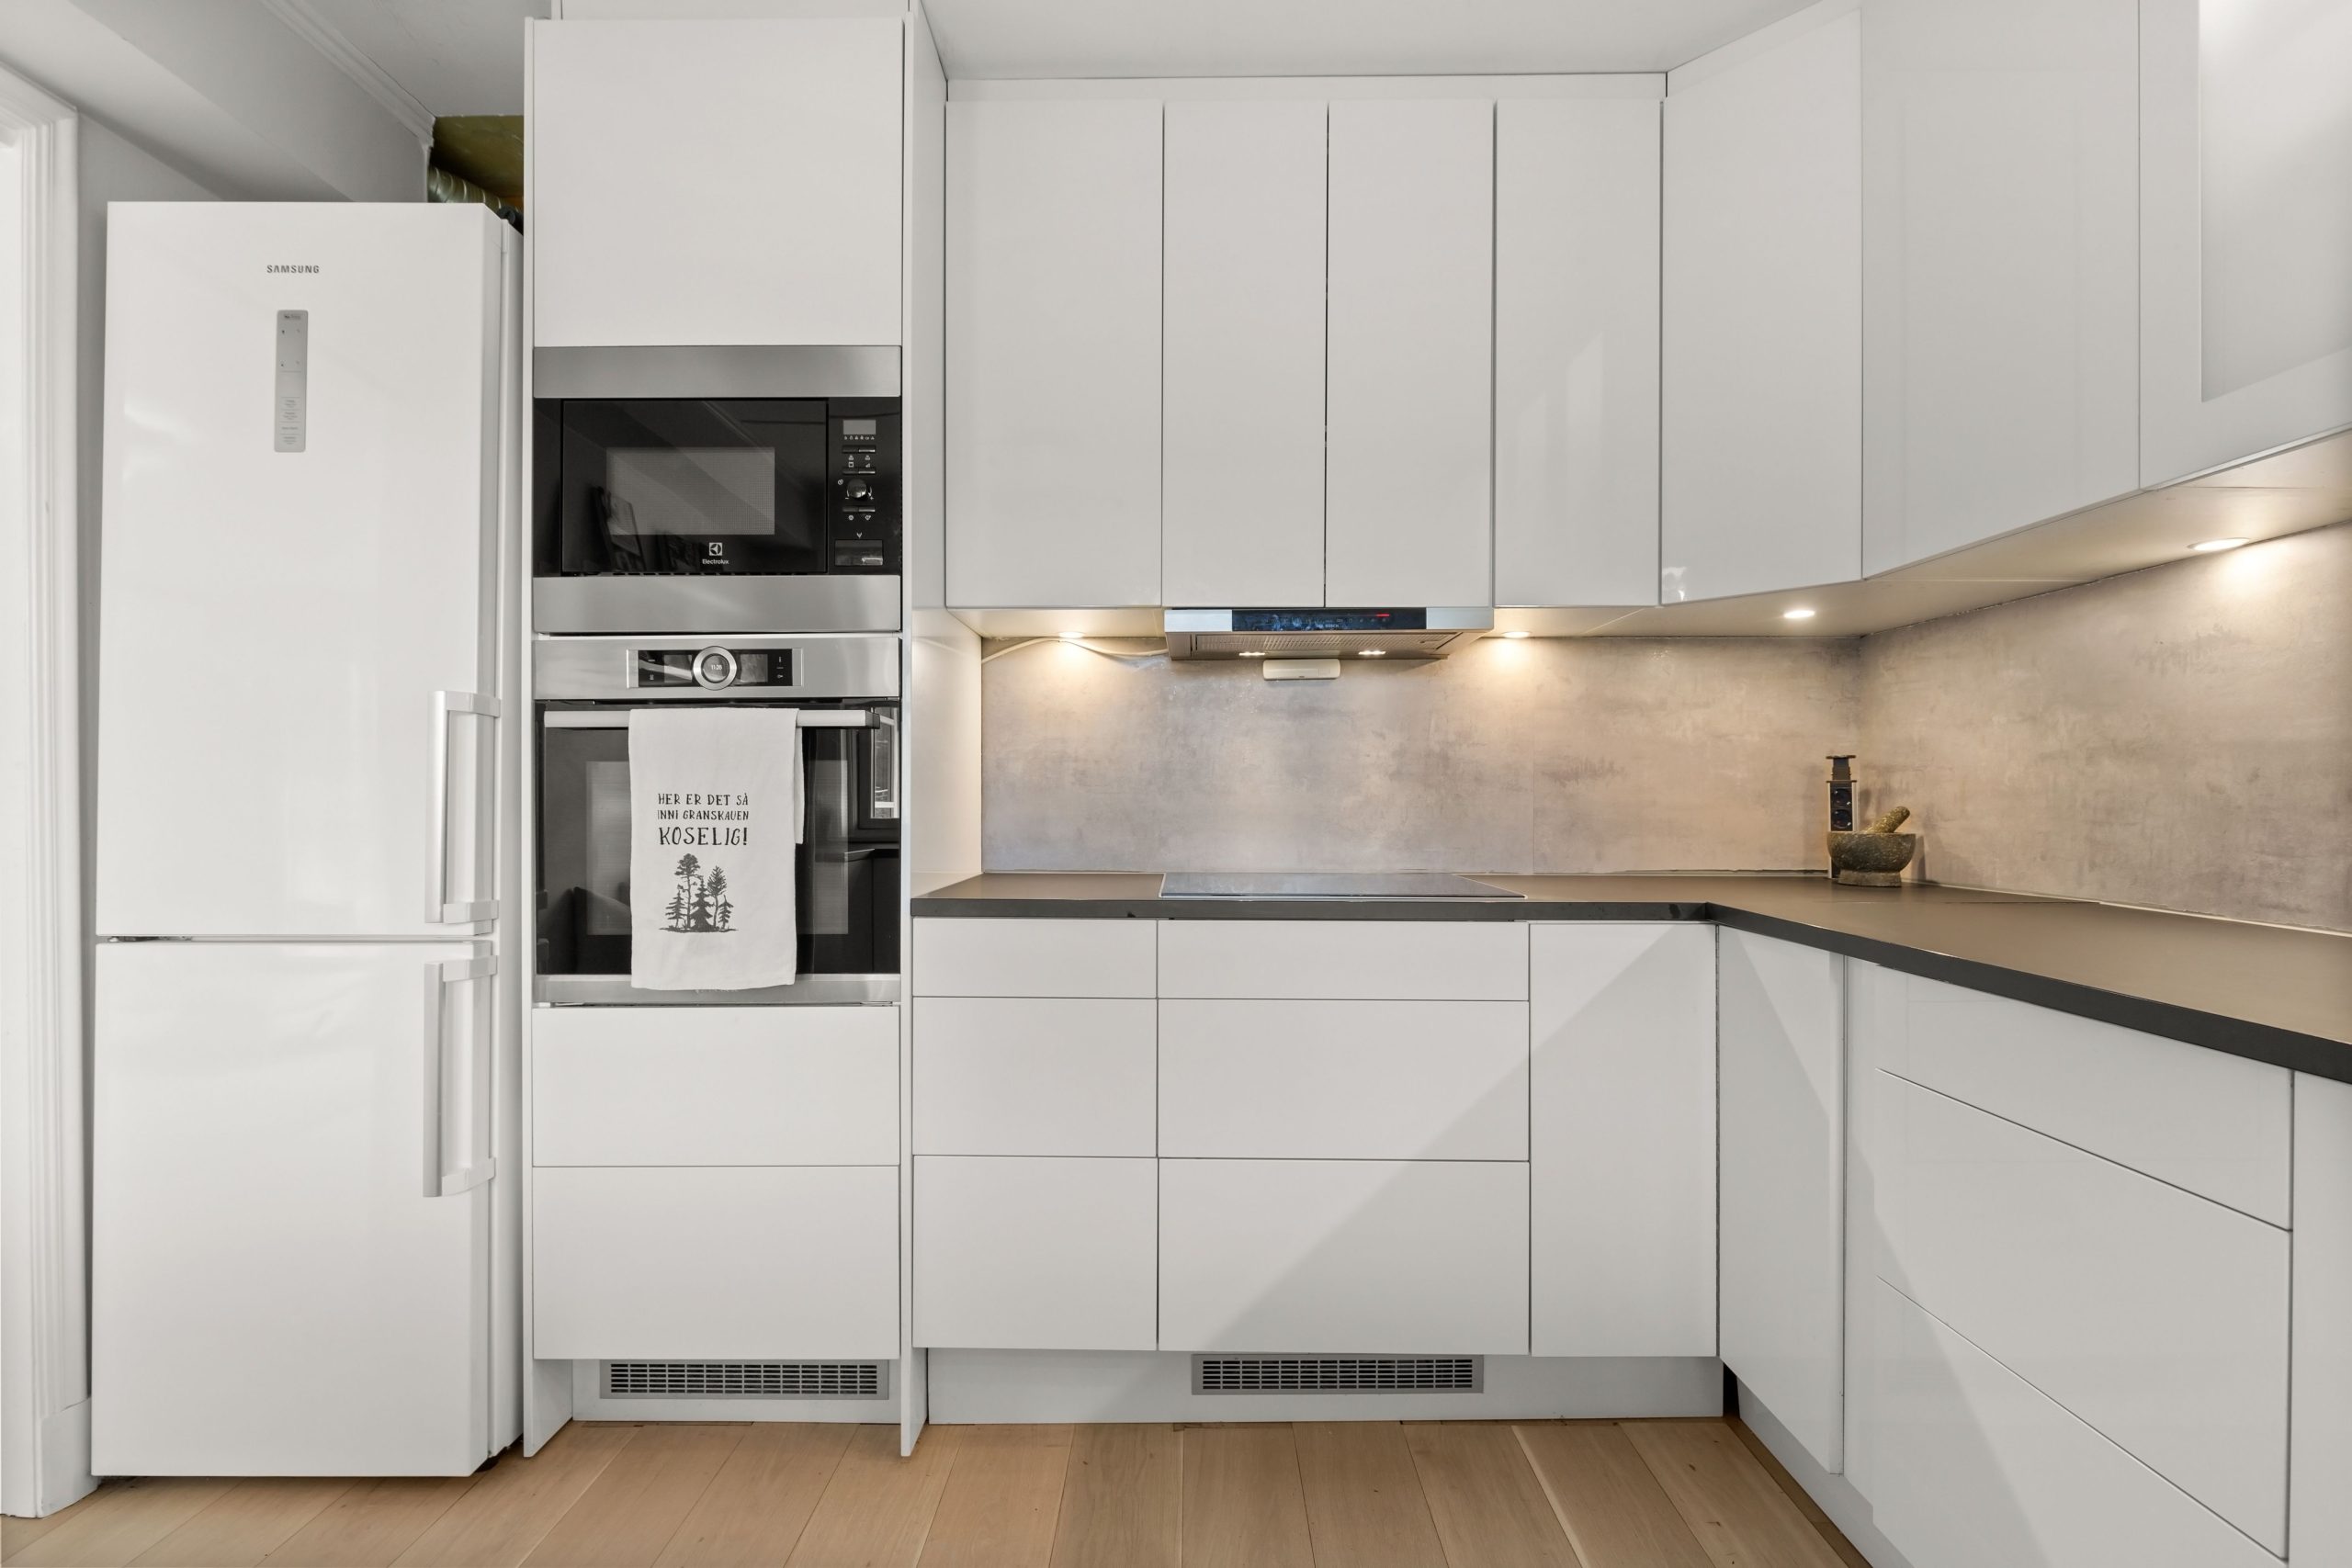
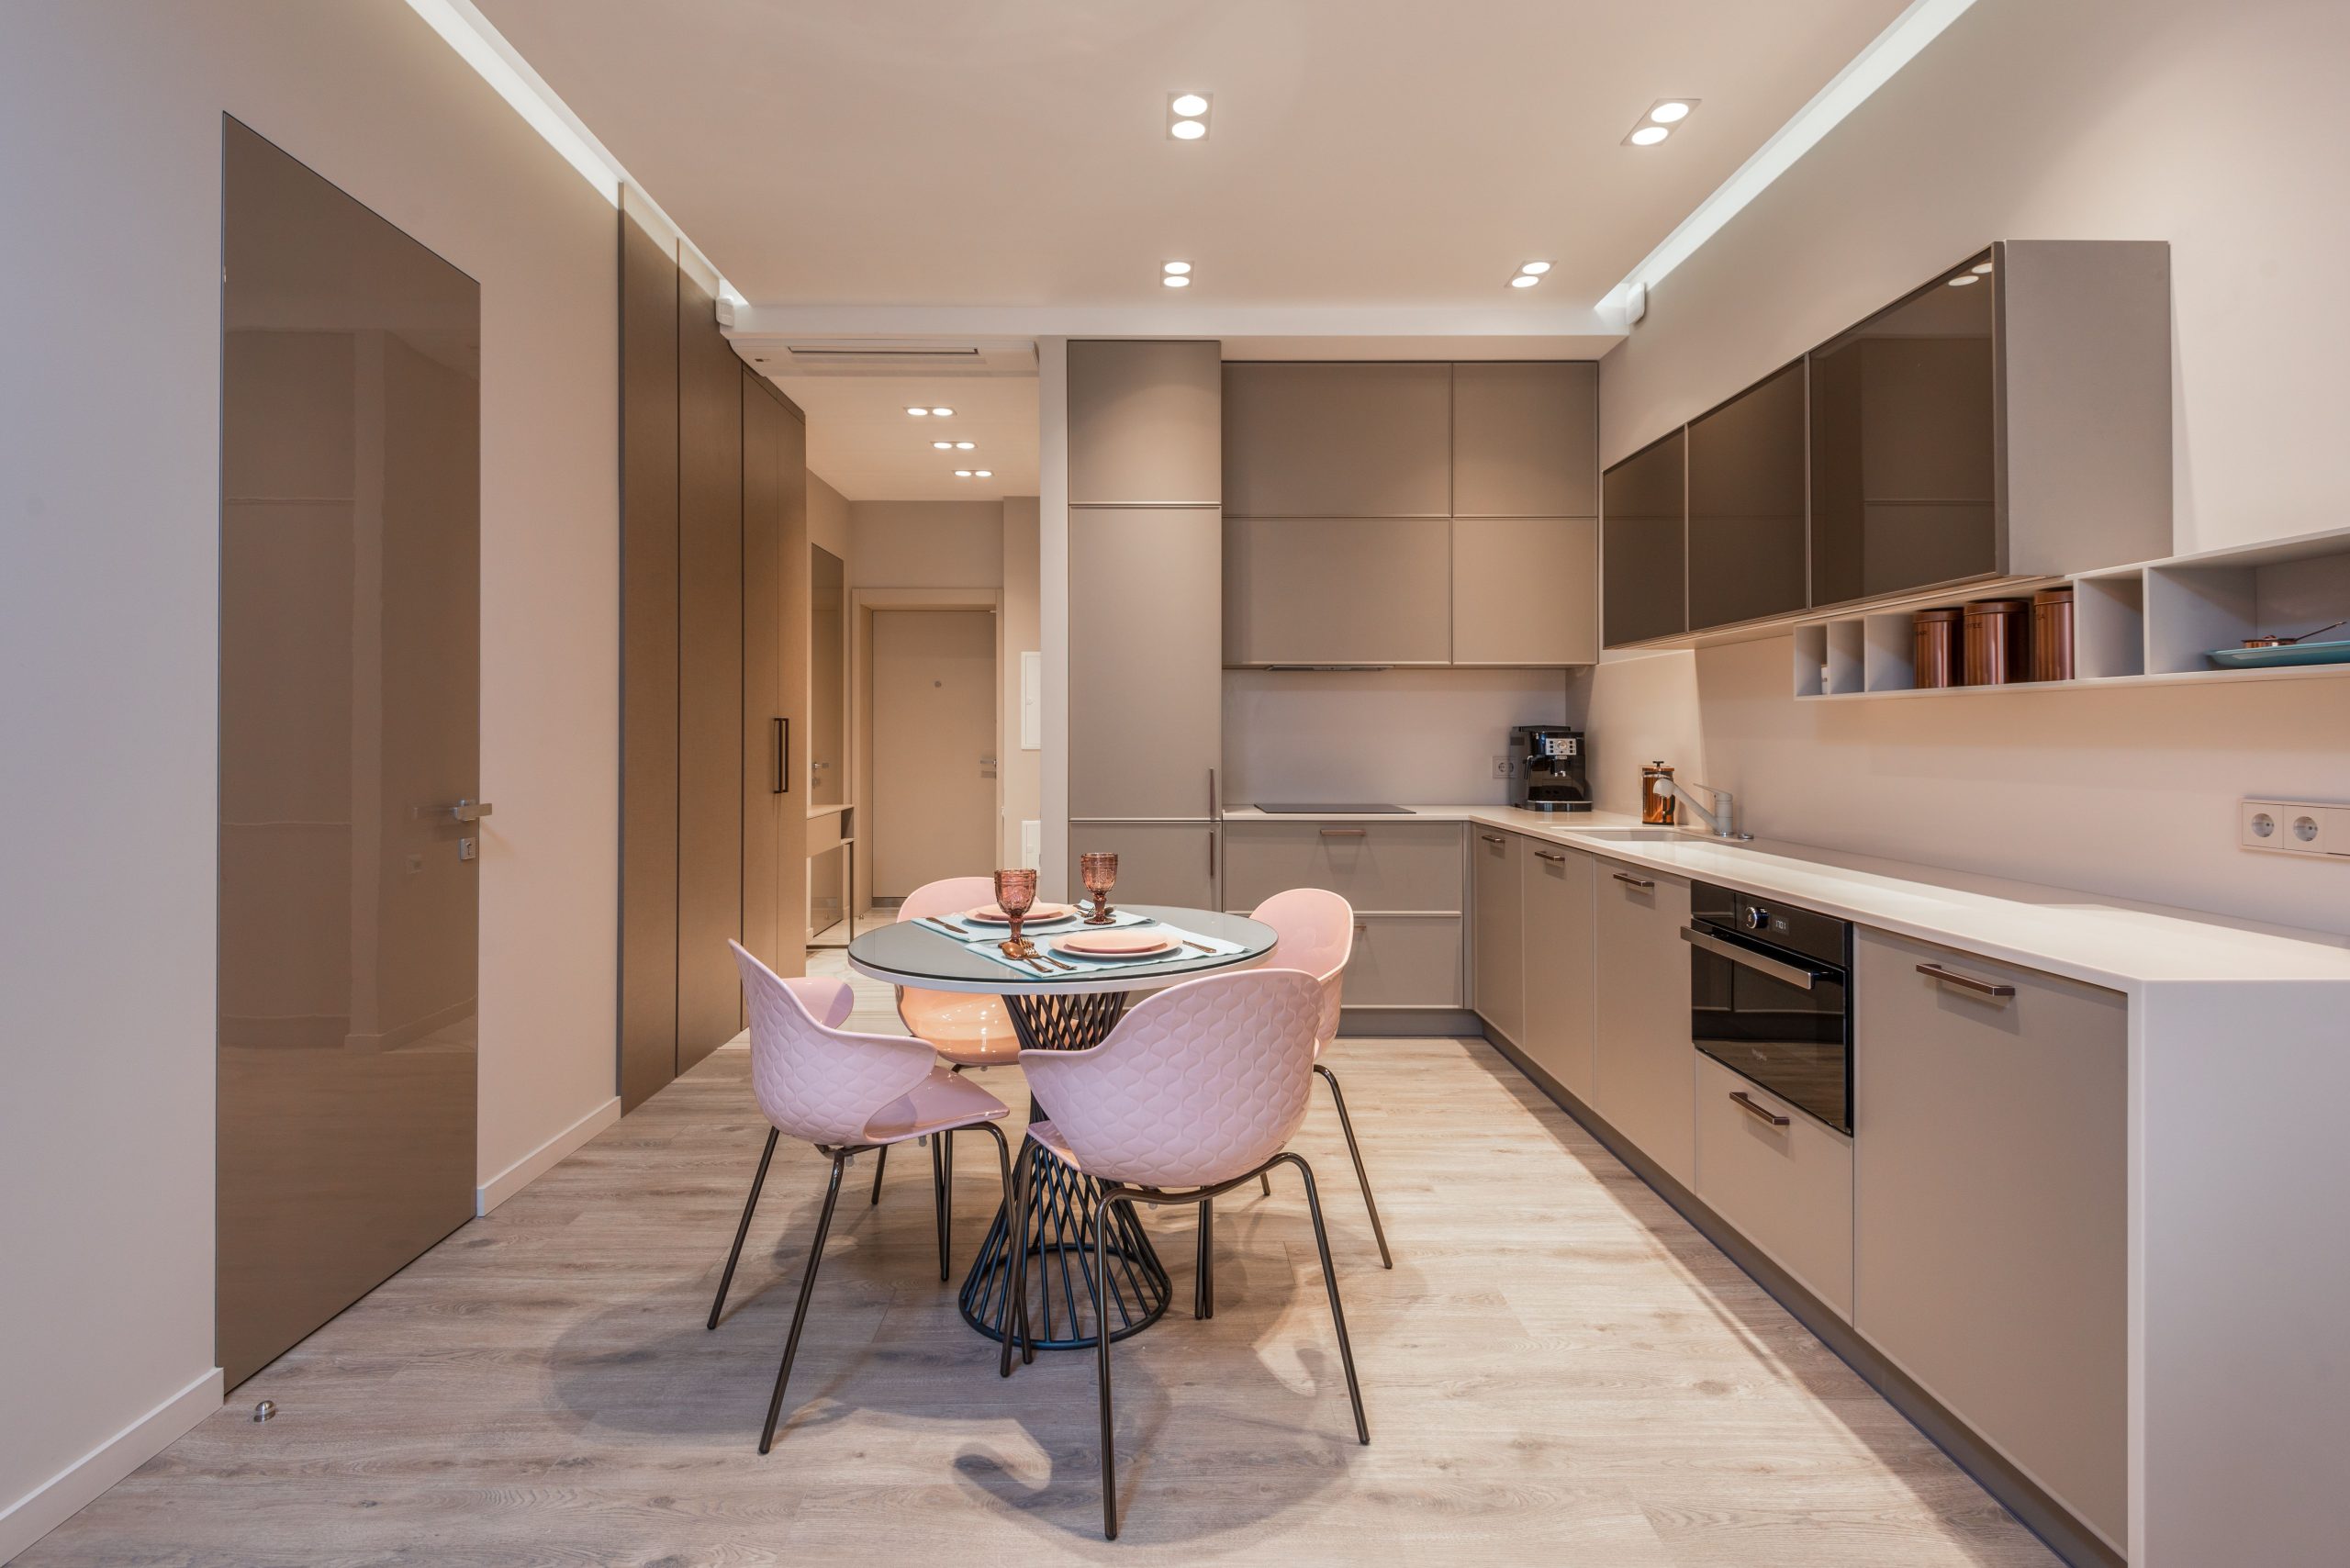
A refreshed kitchen designed to improve the space while creating a more comfortable and functional area for everyday living.
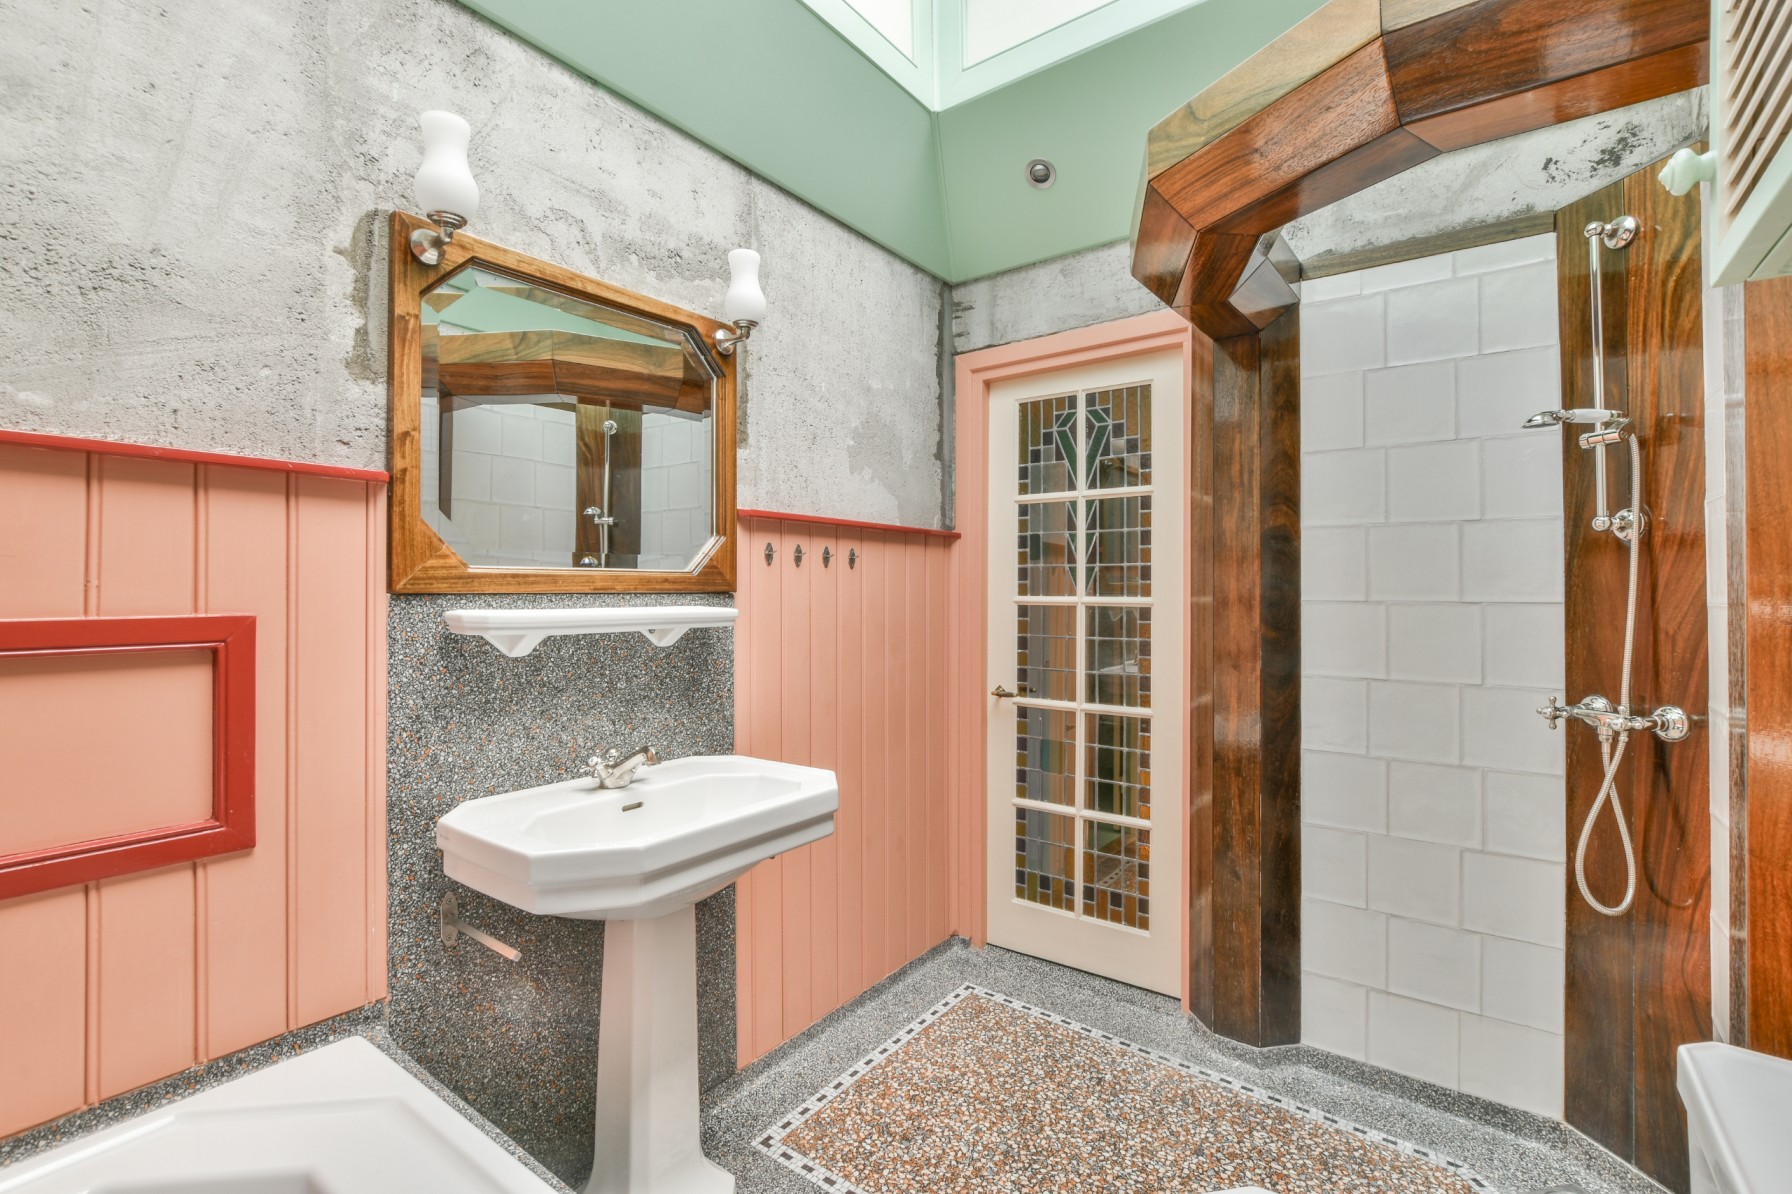
A thoughtfully remodeled kitchen brought together with updated finishes, practical improvements, and professional construction.
It depends on the scope, the tile work and lead times for glass and vanities. We give you a written schedule with your estimate, and we order long-lead items before demolition so the bathroom is out of use for as short a time as possible.
Yes — it is one of our most common projects. We remove the tub, rebuild the floor for a properly sloped shower pan, waterproof the walls and tile the new shower, with glass, a niche and a bench if you would like them.
Tile and grout are not waterproof on their own. Water that gets past them soaks into the wall and subfloor, and years later becomes rot and mold. Our restoration team repairs that damage constantly, so our remodels use proper membranes and pans behind every shower.
Usually a slow leak from the toilet, tub or shower has damaged the subfloor. It should be looked at soon. We can assess it at a free consultation and include the repair in your remodel.
Yes. Curbless showers, benches, grab bars, handheld showers and comfort-height toilets can all be planned into the remodel, and they look as good as any other finish when they are designed in from the start.
If plumbing moves, electrical circuits are added or walls change, usually yes. We handle the permit and inspections as part of the project.
Tell us what you have in mind and when suits you. We come out, measure, talk through the options and follow up with an itemized written estimate — no charge and no pressure.
A guest bathroom remodel in Covington — replacing an outdated tub and shower, updating the vanity, improving the lighting, and creating a cleaner, more comfortable space for everyday use and visiting guests.
Rachel called us in early March. She and her husband had lived in their Covington home for several years, and the guest bathroom had remained mostly unchanged.
The bathroom was functional, but it felt dated. The tub and shower combination took up much of the room, the vanity offered limited storage, and the lighting made the space feel darker than it needed to be.
They wanted a more practical walk-in shower, a brighter vanity area, and finishes that would make the bathroom feel fresh without making it look overly trendy.
“We didn’t need a bigger bathroom. We needed one that finally worked for us.”
— Rachel, Homeowner
The good news: the layout actually worked. The island was in the right spot, the work triangle between the range, sink, and fridge made sense. No walls coming down — that’s always a win for the budget. But a few things caught our eye right away, and we told her about all of them on the spot.
The existing tub was rarely used, so replacing it with a more practical shower created a better use of the available space.
The existing vanity didn’t provide enough storage or the lighting they wanted. We planned the new vanity and lighting together so the area would be more functional.
The existing finishes had been installed at different times and no longer felt connected. The new tile, fixtures, vanity, and hardware were selected to work together as one design.
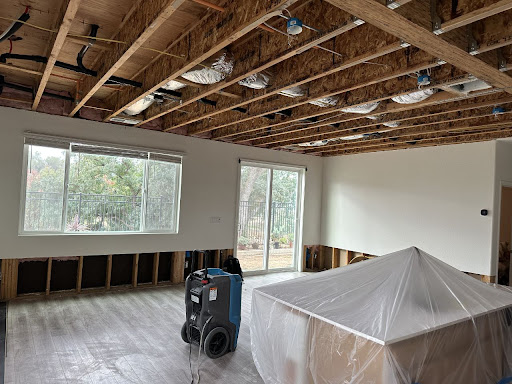
Once demolition began, we finally had a clear view of what was behind the existing finishes. The old shower and tub were removed, the vanity came out, and the walls and floor were opened where necessary. This is always the point where a remodeling project can reveal conditions that weren’t visible during the initial walkthrough.
We inspected the exposed areas carefully and checked the plumbing, framing, and substrate before moving forward. Fortunately, most of the existing conditions were workable.
There were a few areas that needed attention before the new finishes could go in, but nothing that changed the overall direction of the project. We documented what we found, talked through the work with Rachel and her husband, and kept the project moving.

Before the bathroom was ready for final inspection, we conducted our own walkthrough. We checked the shower installation, tile work, grout lines, fixtures, vanity, mirrors, lighting, plumbing connections, and finished surfaces.
We ran the shower and checked the drain. We tested the faucets and looked underneath the vanity for any signs of leaks.Then we went through the room again — this time looking at the small details.
We found a minor finishing issue around one section of trim. It wasn’t a major problem, but it was something we wanted corrected before Rachel saw the finished bathroom.
We fixed it, completed the final cleanup, and prepared the space for the final inspection and handoff. The required inspection process was completed, and the bathroom was ready for the homeowners.
Linsy came by on a Friday morning around 10. We’d asked her to stay off the job site for the last three days — we wanted the reveal to land all at once. She stood in the doorway for a solid ten seconds, just taking it in. Then she walked to the island, ran her hand across the quartz countertop — right where that old cracked tile used to be — and turned around to face us.
“You built what I had in my head but couldn’t explain,” she said. And then she cried. The good kind.
Dan had been standing a few steps behind her the whole time. He’s not a big talker. He just walked up and shook our hands. Firm grip. That was enough.
A primary bathroom remodel in Gig Harbor — replacing an outdated tub and shower, updating the vanity, improving the lighting, and creating a more comfortable space that finally matched the rest of the home.
Rachel called us in early March. She and her husband had been living in their Gig Harbor home for nearly nine years. They loved the house, loved the neighborhood, and had slowly updated most of the rooms over the years. The primary bathroom was the exception.
“It’s not terrible,” Rachel told us on the phone. “That’s almost the problem. We’ve just kept putting it off.”
A few days later, we were standing in the bathroom with her. The layout was still functional, but everything felt dated. The large soaking tub took up a significant portion of the room, the shower felt enclosed, the vanity didn’t provide as much storage as they wanted, and the lighting left the room feeling darker than it needed to be.
Rachel wanted a bathroom that felt brighter and more open. Her husband wanted a better shower and a vanity with enough room for both of them to get ready without constantly being in each other’s way. Neither of them wanted anything overly complicated.
They wanted a comfortable, timeless bathroom that felt like it belonged in their home. We took measurements, reviewed the existing plumbing and electrical, looked at the layout, and started talking through what was worth changing — and what wasn’t.
“We didn’t need a bigger bathroom. We just needed to use the space better.”
— Rachel, Homeowner
The good news was that the existing bathroom had a workable layout. We didn’t need to completely change the footprint to make a noticeable difference. The bigger opportunity was improving how the existing space was being used.
The existing tub had become more of a visual obstacle than a feature. Rachel and her husband rarely used it, so replacing it with a more practical shower allowed us to open up the room and give the space a cleaner, more functional feel.
The existing vanity didn’t provide the storage or counter space they wanted. We planned a new vanity around how both homeowners actually used the bathroom, with better storage, a more generous countertop, and improved lighting around the mirrors.
The bathroom had adequate lighting, but it wasn’t doing the room any favors. We wanted the finished space to feel brighter without making it harsh, so lighting became part of the overall design rather than something added at the very end.
Once demolition began, we finally had a clear view of what was behind the existing finishes. The old shower and tub were removed, the vanity came out, and the walls and floor were opened where necessary. This is always the point where a remodeling project can reveal conditions that weren’t visible during the initial walkthrough.
We inspected the exposed areas carefully and checked the plumbing, framing, and substrate before moving forward. Fortunately, most of the existing conditions were workable.
There were a few areas that needed attention before the new finishes could go in, but nothing that changed the overall direction of the project. We documented what we found, talked through the work with Rachel and her husband, and kept the project moving.
Before the bathroom was ready for final inspection, we conducted our own walkthrough. We checked the shower installation, tile work, grout lines, fixtures, vanity, mirrors, lighting, plumbing connections, and finished surfaces.
We ran the shower and checked the drain. We tested the faucets and looked underneath the vanity for any signs of leaks.Then we went through the room again — this time looking at the small details.
We found a minor finishing issue around one section of trim. It wasn’t a major problem, but it was something we wanted corrected before Rachel saw the finished bathroom.
We fixed it, completed the final cleanup, and prepared the space for the final inspection and handoff. The required inspection process was completed, and the bathroom was ready for the homeowners.
Rachel and her husband walked into the finished bathroom and immediately noticed how different the space felt.
The old tub was gone. The new shower made the room feel more open, the vanity provided better storage, and the updated lighting made the entire bathroom brighter.
“It finally feels like a bathroom we actually want our guests to use.”
— Rachel, Homeowner
A guest bathroom remodel in Bonney Lake — replacing an outdated tub and shower with a comfortable walk-in shower, a brighter vanity area, improved lighting, and finishes that finally felt at home with the rest of the house.
Daniel called us in late February. He and his wife had been living in their home in Bonney Lake for nearly eight years. The house had everything they needed, but the upstairs bathroom had never really caught up with the rest of the home. The layout worked. The finishes didn’t.The bathroom still had the original tub/shower combination, a dated vanity, builder-grade lighting, and tile that made the room feel darker than it actually was.
“We’ve talked about changing it for years,” Daniel told us. “We just never wanted to start a project without knowing what we were getting into.”
His wife wanted a brighter, cleaner vanity area with better storage. Daniel wanted to replace the old tub with a walk-in shower that would be easier to use and better suited to the way they live now. Neither of them wanted a bathroom that looked overly trendy. They wanted something simple, comfortable, and consistent with the rest of their home.
We came out the following week, took measurements, looked at the existing plumbing and layout, and talked through what could stay and what made sense to change.
“We didn’t need a bigger bathroom. We needed one that finally worked for us.”
— Daniel, homeowner
The good news was that the existing layout gave us a solid starting point. There was no need to completely reconfigure the room. Instead, we could focus on the things that would make the biggest difference in how the bathroom looked and functioned.
The original tub/shower combination was no longer serving the way Daniel and his wife used the bathroom. Replacing it with a walk-in shower opened up the room visually and created a more comfortable everyday setup without requiring a larger footprint.
The existing lighting left the vanity feeling darker than it needed to be. Better lighting became an important part of the remodel, along with a new vanity and mirror that gave the space a cleaner, more finished appearance.
The existing finishes came from different eras of the house. Rather than chasing a highly trendy design, we focused on a simple combination of materials, fixtures, lighting, and finishes that would feel current while still fitting naturally with the home.
Once demolition began, we could finally see what was happening behind the existing finishes. Removing the old tub, opening the walls, and exposing the plumbing gave us a much clearer picture of the existing conditions.
As with any remodeling project, this is where hidden conditions can sometimes change the plan.
We inspected the exposed areas carefully, documented what we found, and communicated any items that needed attention before moving forward. For Daniel and his wife, that meant knowing exactly what was happening rather than discovering unexpected work at the end of the project.
Before calling the project complete, we conducted our own walkthrough. We checked the shower installation and tile work, inspected the vanity and fixtures, tested the lighting, ran the water, checked the drains, and looked closely at the finished details throughout the room.
We also went back through the areas that had been opened during demolition to make sure everything was properly completed before the final stage.
During our walkthrough, we found a small finishing detail that needed attention. It wasn’t something most people would notice immediately, but it was exactly the kind of detail we wanted to catch before handing the bathroom back to the homeowners.
We corrected it, completed the final cleanup, and prepared the space for inspection and handoff.The required inspection process was completed as part of the project, and the bathroom was ready for the homeowners to use.
Daniel and his wife came by to see the finished bathroom.The first thing they noticed was how much brighter the room felt.
The old tub was gone. In its place was a clean walk-in shower with a more open feel. The new vanity provided better storage, while the updated lighting helped transform the entire room.Daniel walked around the bathroom for a few minutes, looking at the details.
Then he smiled: “This feels like it finally belongs in our house.”
That was exactly what we were aiming for.
A full kitchen transformation in Auburn — from the first conversation to the final walkthrough. We updated the finishes, improved the functionality, brought the electrical and ventilation work up to the requirements for the project, and uncovered an unexpected moisture issue along the way.
Linsy called us in late October. Her voice was calm but a little tired — the kind of tired you hear from someone who has already talked to several contractors and still hasn’t found the right fit.
“I’m 62,” she told us. “The kids are grown. They’ve all moved out. It’s just me and Dan now. I just want to enjoy cooking in my own kitchen again. I just want it to feel bright.” Two days later, we were at her home in Auburn. It was a classic late-1990s house — comfortable, well lived-in, and a little tight around the kitchen. Linsy greeted us with coffee and walked straight over to the island.
“This is where I spend most of my time,” she said. “But honestly? Every morning when I walk in here, I feel a little sad.”
We understood immediately. The dark honey-stained cabinets made the room feel heavier than it needed to. The white appliances were approaching twenty years old. The tile floor showed years of use, and the grout had seen better days. Then there was the tiled island countertop. It had been practical once. Now it made the entire kitchen feel dated.
“Every morning when I walk in here, I feel a little sad.”
— Linsy, homeowner
The good news: the layout actually worked. The island was in the right spot, the work triangle between the range, sink, and fridge made sense. No walls coming down — that’s always a win for the budget. But a few things caught our eye right away, and we told her about all of them on the spot.
Some of the existing electrical components needed to be updated as part of the remodel. We reviewed the outlets and wiring that would be affected by the work and planned the necessary improvements around the current requirements for the project.
The existing over-the-range microwave was recirculating air back into the kitchen. Linsy wanted a proper range hood with exterior ventilation instead. That meant planning for new ductwork and coordinating the ventilation work with the rest of the remodel.
The existing kitchen tile met the living room flooring at a visible transition point. Because the kitchen floor was being replaced, we wanted that connection to look intentional rather than treating it as an afterthought. Small details like transitions can make a surprisingly big difference in how finished a remodel feels.
There is always a little uncertainty once demolition begins. You can inspect a kitchen carefully before construction, but removing cabinets, countertops, and flooring can reveal conditions that simply weren’t visible beforehand.
Once we started opening things up, we discovered moisture damage beneath part of the old island countertop. It appeared to have come from an older sink leak that had been addressed previously, but some of the underlying material had still been affected.
Fortunately, the damage was limited. We stopped, documented what we found, and contacted Linsy that afternoon. We showed her the photos, explained what needed to be repaired, and provided the additional cost before moving forward.
She took a moment and then said: “Good thing you found it. Go ahead.”
That’s what a remodeling relationship should look like.No surprises hidden until the final invoice. No guessing. Just a clear conversation about what we found and what needed to happen next.
Linsy came by on a Friday morning. We had asked her to stay away from the kitchen during the final stage so she could experience the finished space all at once.
She stood in the doorway for a few seconds without saying anything. Then she walked toward the island and ran her hand across the new quartz countertop — right where that old tiled surface had been. She turned toward us.
“You built what I had in my head but couldn’t explain.”
And then she cried. The good kind. Dan had been standing a few steps behind her. He didn’t say much. He simply walked over and shook our hands. Sometimes that’s all you need to know.
Linsy came by on a Friday morning around 10. We’d asked her to stay off the job site for the last three days — we wanted the reveal to land all at once. She stood in the doorway for a solid ten seconds, just taking it in. Then she walked to the island, ran her hand across the quartz countertop — right where that old cracked tile used to be — and turned around to face us.
“You built what I had in my head but couldn’t explain,” she said. And then she cried. The good kind.
Dan had been standing a few steps behind her the whole time. He’s not a big talker. He just walked up and shook our hands. Firm grip. That was enough.