
Straight answers about remodeling, rebuilding after water damage, insurance, estimates and how we run a project.Can’t find what you need?
Who we are, what we do and where we work.
Yes — same owners, same team. ProRevive Restoration handles emergency water damage: extraction, drying and mold remediation. ProRevive Construction handles what comes after it, and everything that isn’t an emergency: rebuilding after water damage, and kitchen and bathroom remodeling.
We focus on three things: reconstruction after water damage, kitchen remodeling and bathroom remodeling. That includes the related interior work — framing repair, drywall, flooring, cabinets, countertops, tile, trim and interior painting. Keeping our focus narrow is deliberate; these are the projects we plan, price and build every week.
ProRevive is a licensed, bonded and insured general contractor in Washington State. Our contractor registration number is on our estimates and in the footer of this site, and you can check it on the Washington State Department of Labor & Industries website.
We work across Pierce, Thurston and South King County — from Olympia and Tumwater up to Kent and South Seattle, including Tacoma, Lakewood, University Place, Puyallup, Federal Way, Gig Harbor and Lacey. The full list is on our Areas We Serve page. Not sure if you’re in our area? Call us — if we can’t take the job, we’ll tell you straight away.
Our own team plans and manages every project, and one project lead stays your point of contact from start to finish.
We focus primarily on remodeling, reconstruction, and larger improvement projects, including kitchens, bathrooms, and rebuilding after water damage. Small repair-only projects may be considered depending on the scope and project needs.
We stand behind the quality of our work and address workmanship concerns as outlined in your project agreement. Warranty terms can vary by project, so we recommend reviewing the specific terms included with your contract.
Planning, timelines and choices for your kitchen remodel.
The timeline depends on the size and scope of the project, material availability and the work being completed. Your estimate will provide a project schedule, with updates if anything changes.
Yes. We plan the cabinets, countertops, flooring, lighting and finishes with you, using samples and our design gallery on an iPad at your kitchen table, so choices are made looking at real finishes.
Yes. We handle everything from new finishes to a full gut and reconfigure. Moving plumbing, gas orelectrical, or removing a wall, adds cost and may need a permit and engineering, so we’ll tell you atthe consultation what a layout change involves before you decide.
For most of the project, the kitchen will be out of use. We’ll give you the schedule up front so you can plan around it, and we order long-lead items such as cabinets and countertops before demolition to keep that time as short as possible.
The biggest factors are whether the layout changes, cabinet quality, countertop material, appliances, and electrical and ventilation work. Hidden conditions found once cabinets and flooring come out can also add work. Your estimate lists every line, so you can see how a different choice changes the total.
Yes. ProRevive Construction handles reconstruction after water damage, including kitchen cabinets and countertops, flooring, drywall, trim and other interior finishing work. If you want to upgrade while rebuilding, we price that separately from the insurance scope.
If plumbing, gas or electrical work changes, or walls are altered, usually yes. Where a permit is needed, we apply for it and book the inspections as part of the project.
Showers, tubs, waterproofing and accessibility.
It depends on the scope, the tile work and lead times for glass and vanities. We give you a written schedule with your estimate, and we order long-lead items before demolition so the bathroom is out of use for as short a time as possible.
Yes — it is one of our most common projects. We remove the tub, rebuild the floor for a properly sloped shower pan, waterproof the walls and tile the new shower, with glass, a niche and a bench if you would like them.
Tile and grout are not waterproof on their own. Water that gets past them soaks into the wall and subfloor, and years later becomes rot and mold. Our restoration team repairs that damage constantly, so our remodels use proper membranes and pans behind every shower.
Usually a slow leak from the toilet, tub or shower has damaged the subfloor. It should be looked at soon. We can assess it at a free consultation and include the repair in your remodel.
Yes. Curbless showers, benches, grab bars, handheld showers and comfort-height toilets can all be planned into the remodel, and they look as good as any other finish when they are designed in from the start.
The biggest factors are whether plumbing moves — relocating a toilet or turning a tub into a walk-in shower costs more than replacing fixtures in place — the amount and type of tile, custom glass, and the vanity you choose. Your estimate lists every item so you can see where a different choice changes the total.
If plumbing moves, electrical circuits are added or walls change, usually yes. We handle the permit and inspections as part of the project.
Rebuilding after a leak or flood, and working with your insurer.
Yes. We work with all insurance providers. We document the damage, prepare an itemized rebuild scope for your adjuster and keep you informed while the claim is reviewed. What your policy covers is decided by your insurer, and we will be straight with you about anything that falls outside it.
In most cases you can choose your own contractor. Check your policy and ask your adjuster; we are happy to work alongside them either way.
We’ll walk you through the difference and what it means for your home, rather than quietly building less. Where we believe items were missed, we can send photos and a supplement to your adjuster. You stay in control of the claim, and we copy you on everything we send.
It depends on how much was removed and on material lead times — a section of drywall and paint is very different from a full kitchen rebuild. Your written estimate includes a schedule, and we update it if anything changes.
Matching is part of the job. We identify existing materials where we can, source the closest match, and talk to you before work starts if an exact match is no longer made — sometimes the best answer is to carry a new floor through into the next room.
We photograph it, explain it and price it before doing anything further. For insurance jobs, we send the photos and a supplement to your adjuster.
Yes. Many homeowners use a rebuild as a chance to upgrade — better cabinets, or a walk-in shower where the old tub was. We price upgrades separately, so it is always clear which costs are covered by the claim and which are yours.
Yes. We will ask for the drying records and take our own moisture readings before we close anything up.
Mold remediation is done by ProRevive Restoration before reconstruction begins. We rebuild once the area has been cleared.
What to expect from the first visit to the final walkthrough.
We come to you, measure the space, check what is behind the problem if there is one, and talk through what you want the room to do. We can also show you finishes from our design gallery on an iPad. Afterward, you receive an itemized written estimate.
One project lead manages your job from start to finish, and you can call them with any question. You won’t be passed between departments or companies.
You get a start date and the order of work before we begin, and your project lead keeps you updated as the job moves forward. If anything changes — a delayed delivery or a hidden condition — we tell you straight away.
Yes. Where the work needs a permit, we apply for it and book the inspections as part of the project.
We protect floors and furnishings, control dust, and leave a tidy site at the end of every working day.
You do not necessarily need to be home while we work. Access arrangements can be discussed before the project begins, and we will keep you informed about the project’s progress throughout the work.
We walk the finished room with you, complete anything on the punch list, and hand over care and warranty information. For reconstruction work, we also leave you with a complete record of the work.
How we price work, handle changes and get paid.
Yes. We come out, measure and talk through the project at no charge, then send you an itemized written estimate you can take your time over — no charge and no pressure.
Every line is priced, so you can see exactly what you are paying for and compare it fairly. The estimate also includes a proposed schedule. For insurance work, we prepare the rebuild scope in the detail adjusters expect, with any upgrades priced separately.
Estimates are based on the project scope and details discussed at the time they are prepared. If the project scope, materials, or other conditions change, the estimate may need to be updated. Please refer to your written estimate for any specific validity period or terms.
Changes after work begins can affect the project scope, cost, materials, and schedule. If you want to make a change, discuss it with the ProRevive Construction team so the requested change can be reviewed and any necessary adjustments can be documented before the work proceeds.
If we find more once the room is opened — for example a damaged subfloor or framing from an old leak — we stop, photograph it, explain what needs to be repaired and give you a price before we continue. No surprises on the final invoice.
Payment schedules, including any required deposit and progress payments, are outlined in the project agreement. The specific payment terms can vary by project and will be reviewed with you before work begins.
We accept payment methods and schedules based on the terms outlined in your project agreement. Payment details, including accepted methods and any applicable deposit or progress-payment requirements, will be provided before work begins.
We do not currently provide financing information on our website. Financing options may vary by project, so please contact ProRevive Construction to discuss available payment options for your specific project.
Every home is different. Call us or book a free in-home consultation and we’ll answer them in person.
Tell us what you have in mind and when suits you. We come out, measure, talk through the options and follow up with an itemized written estimate — no charge and no pressure.
A guest bathroom remodel in a Covington home: updated finishes, a refreshed vanity, improved lighting, new flooring and a more functional shower area, designed around the existing space.
The bathroom layout already worked, so there was no need for major structural changes. What held the room back were dated finishes, an aging vanity, worn flooring and lighting that did not provide the function or look the homeowners wanted. The goal was a cleaner, brighter guest bathroom that felt comfortable and fit naturally with the rest of the home.
“We didn’t need a bigger bathroom. We needed one that finally worked for us.”
— Homeowner
The good news: the layout actually worked. The island was in the right spot, the work triangle between the range, sink, and fridge made sense. No walls coming down — that’s always a win for the budget. But a few things caught our eye right away, and we told her about all of them on the spot.
The existing tub was rarely used, so replacing it with a more practical shower created a better use of the available space.
The existing vanity didn’t provide enough storage or the lighting they wanted. We planned the new vanity and lighting together so the area would be more functional.
The existing finishes had been installed at different times and no longer felt connected. The new tile, fixtures, vanity, and hardware were selected to work together as one design.
Once the existing finishes and fixtures were removed, we inspected the areas behind them before moving forward. Any conditions that required attention were addressed as part of the remodel so the new finishes could be installed over a properly prepared space.
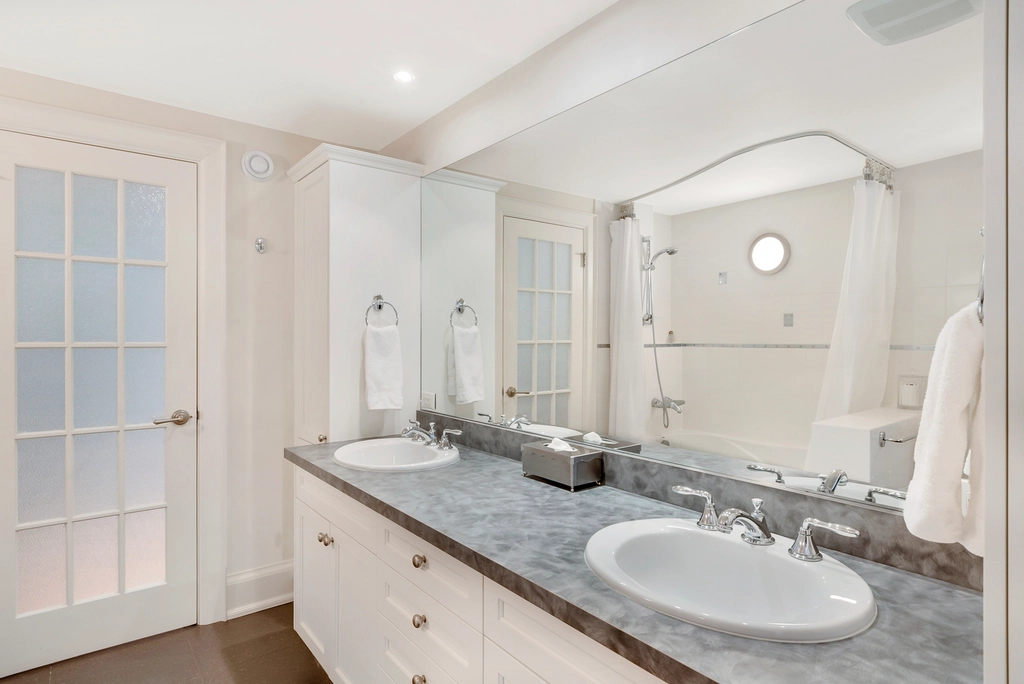
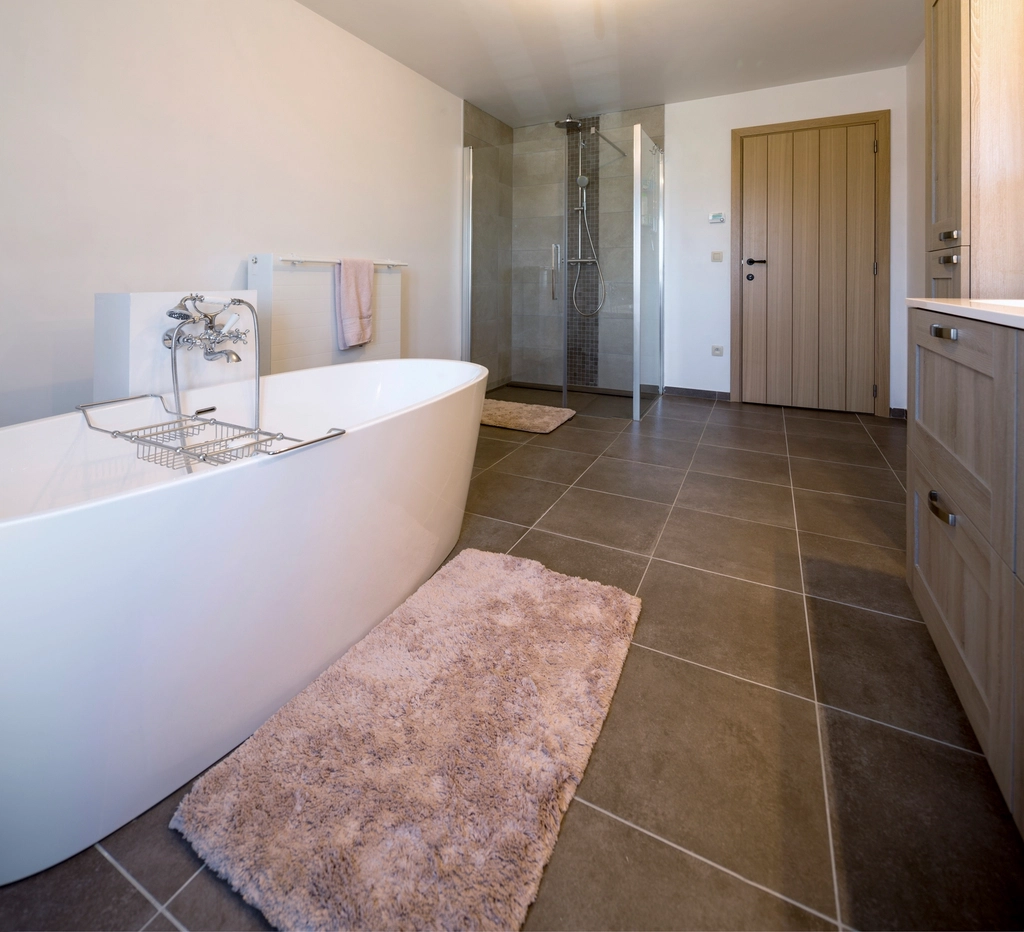
Before handover, we checked the plumbing fixtures, shower area, vanity, lighting and new finishes. We also reviewed the completed work with the homeowners and addressed any items that needed attention before the project was complete.
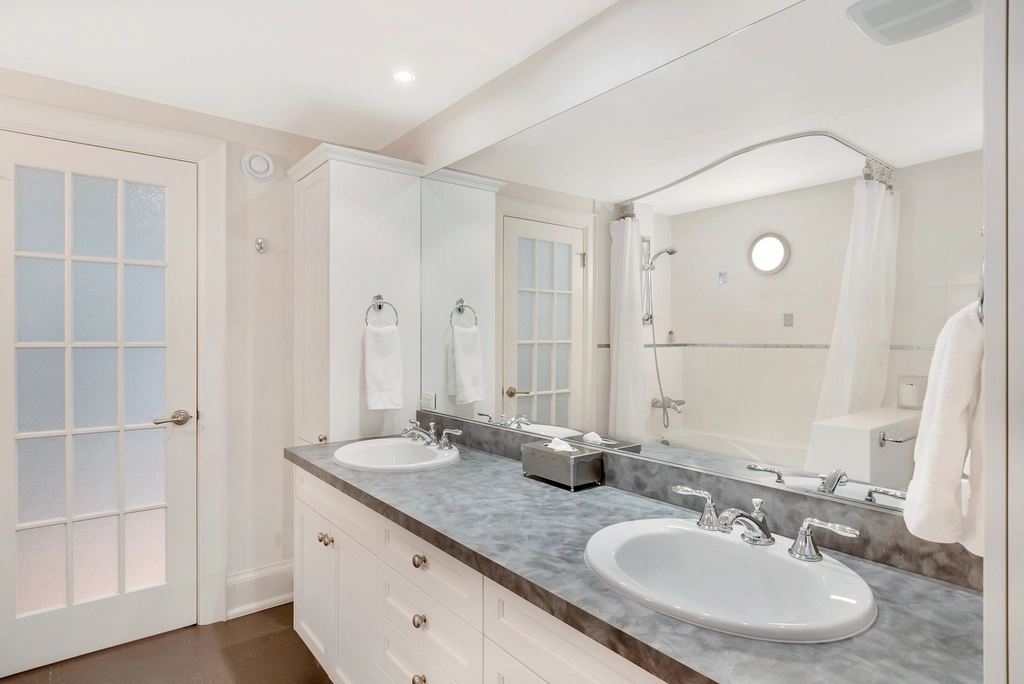
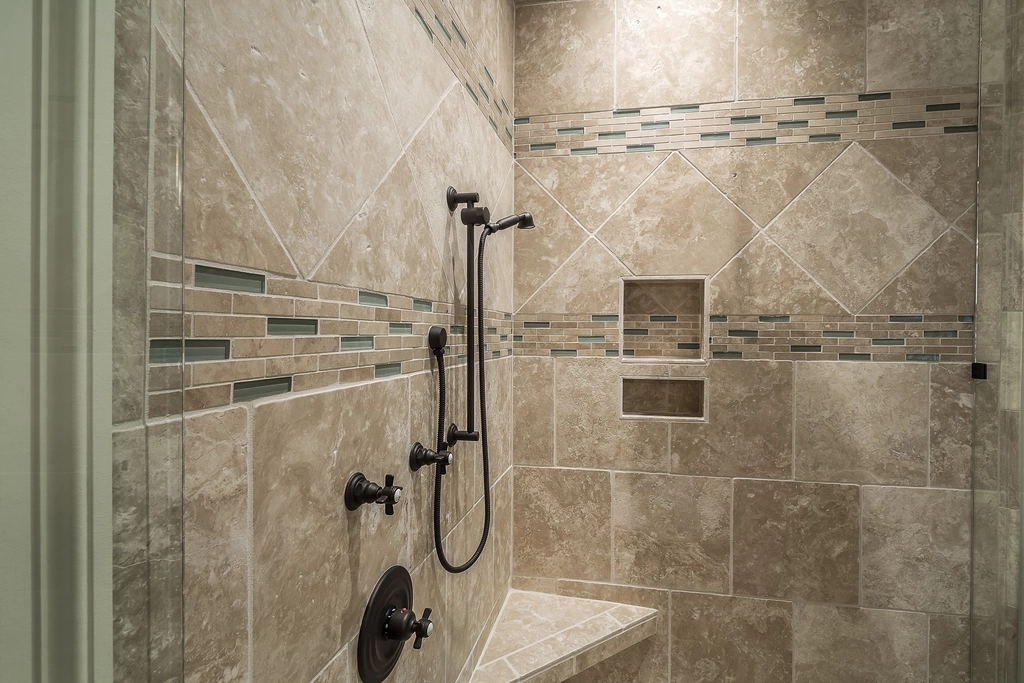
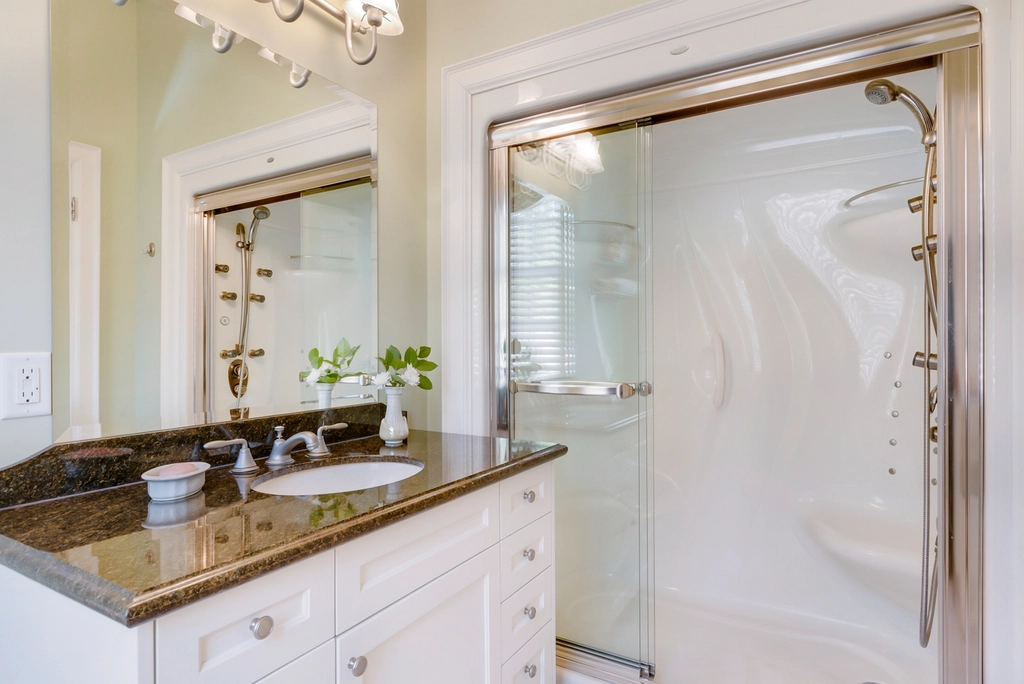
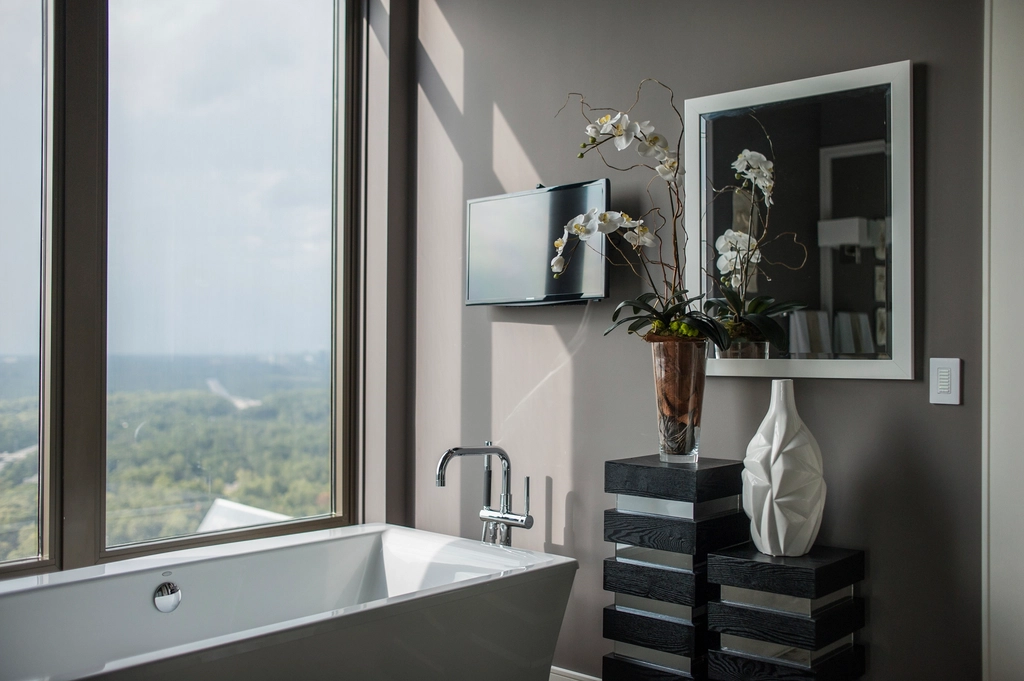
A refreshed guest bathroom with updated finishes, a clean vanity, improved lighting, refreshed flooring and a more functional shower area. The footprint stayed familiar, while the room became brighter, cleaner and easier to use.
A primary bathroom remodel in a Gig Harbor home: updated finishes, a refreshed vanity, improved lighting, new flooring, and a more functional shower area designed around the existing space.
The existing bathroom had a practical layout but needed an updated look and improved functionality. Dated finishes, an aging vanity, and outdated lighting kept the space from feeling as comfortable and polished as the homeowners wanted. The goal was to create a brighter, more comfortable primary bathroom while working within the existing footprint.
“We didn’t need a bigger bathroom. We needed one that finally worked for us.”
— Homeowner
The good news was that the existing bathroom had a workable layout. We didn’t need to completely change the footprint to make a noticeable difference. The bigger opportunity was improving how the existing space was being used.
The existing tub had become more of a visual obstacle than a feature. Rachel and her husband rarely used it, so replacing it with a more practical shower allowed us to open up the room and give the space a cleaner, more functional feel.
The existing vanity didn’t provide the storage or counter space they wanted. We planned a new vanity around how both homeowners actually used the bathroom, with better storage, a more generous countertop, and improved lighting around the mirrors.
The bathroom had adequate lighting, but it wasn’t doing the room any favors. We wanted the finished space to feel brighter without making it harsh, so lighting became part of the overall design rather than something added at the very end.
After the existing fixtures and finishes were removed, we inspected the underlying areas before continuing with the remodel. Any conditions requiring attention were addressed before the new bathroom finishes were installed.
Before handover, we checked the plumbing fixtures, shower area, vanity, lighting, flooring, and finished surfaces. We reviewed the completed bathroom with the homeowners and addressed any remaining items before completion.
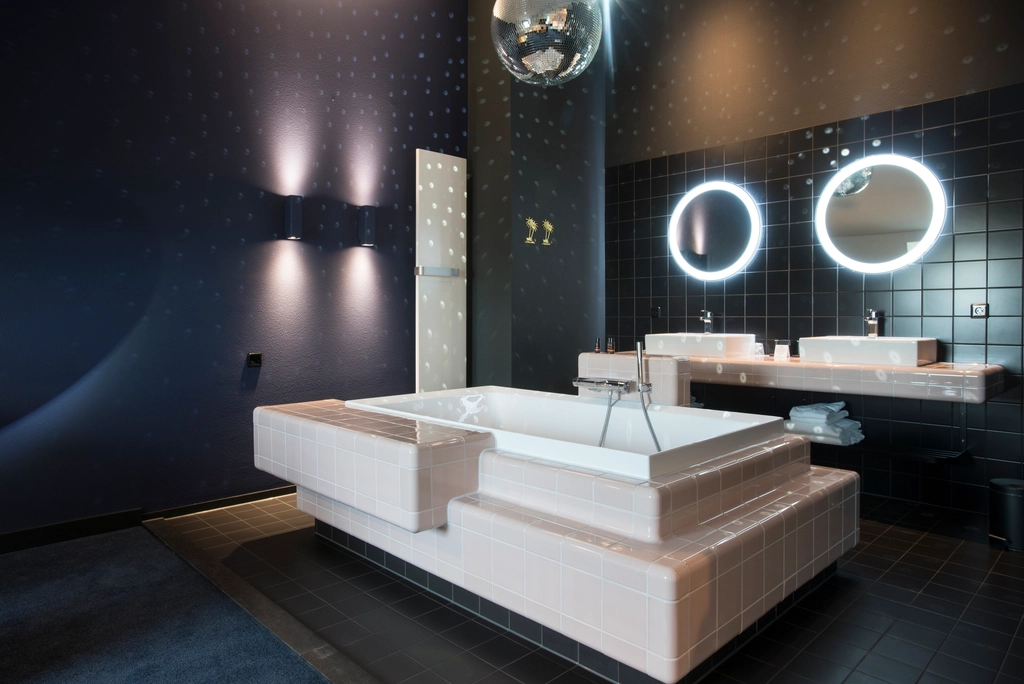
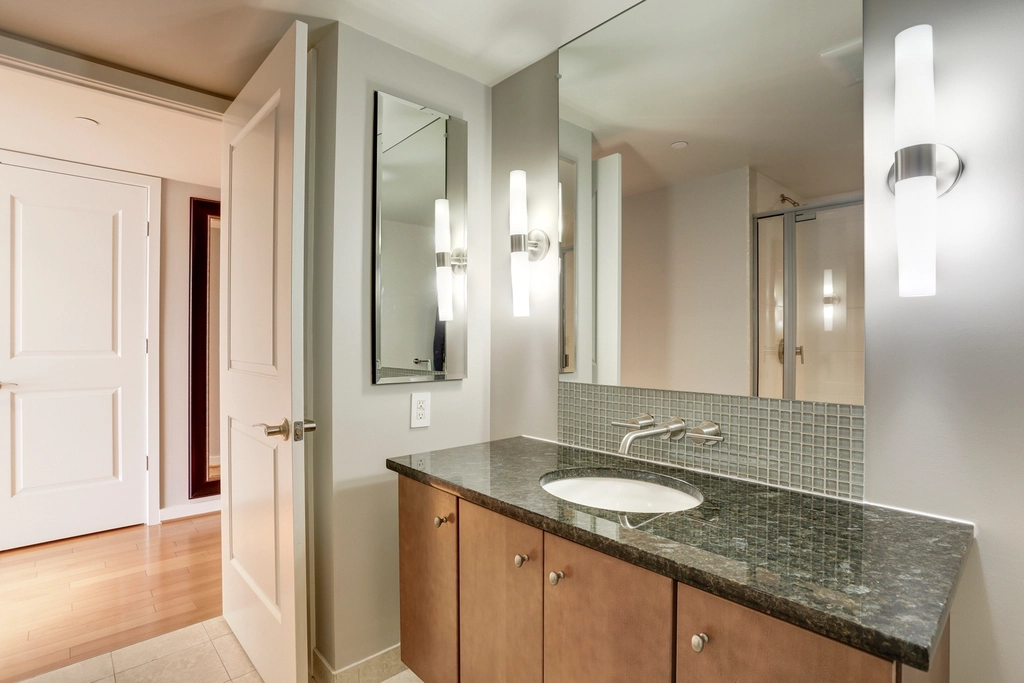
A refreshed primary bathroom with updated finishes, a functional vanity, improved lighting, new flooring, and an updated shower area. The existing footprint was preserved while creating a cleaner, brighter, and more comfortable space.
A guest bathroom remodel in a Bonney Lake home: updated finishes, a refreshed vanity, improved lighting, new flooring, and a more functional shower area designed around the existing space.
The existing bathroom layout was practical, but dated finishes, an aging vanity, worn flooring, and outdated lighting kept the space from feeling as comfortable and finished as the homeowners wanted. The goal was to create a cleaner, brighter guest bathroom without changing the room’s overall footprint.
“We didn’t need a bigger bathroom. We needed one that finally worked for us.”
— Homeowner
The good news was that the existing layout gave us a solid starting point. There was no need to completely reconfigure the room. Instead, we could focus on the things that would make the biggest difference in how the bathroom looked and functioned.
The original tub/shower combination was no longer serving the way Daniel and his wife used the bathroom. Replacing it with a walk-in shower opened up the room visually and created a more comfortable everyday setup without requiring a larger footprint.
The existing lighting left the vanity feeling darker than it needed to be. Better lighting became an important part of the remodel, along with a new vanity and mirror that gave the space a cleaner, more finished appearance.
The existing finishes came from different eras of the house. Rather than chasing a highly trendy design, we focused on a simple combination of materials, fixtures, lighting, and finishes that would feel current while still fitting naturally with the home.
Once the existing fixtures and finishes were removed, we inspected the areas behind them before continuing. Any conditions requiring attention were addressed as part of the remodel so the new finishes could be installed over a properly prepared space.
Before handover, we checked the plumbing fixtures, shower area, vanity, lighting, flooring, and finished surfaces. We also reviewed the completed work with the homeowners and addressed any remaining items before completion.
A refreshed guest bathroom with updated finishes, a clean vanity, improved lighting, refreshed flooring, and a more functional shower area. The familiar footprint remains, but the room feels brighter, cleaner, and easier to use.
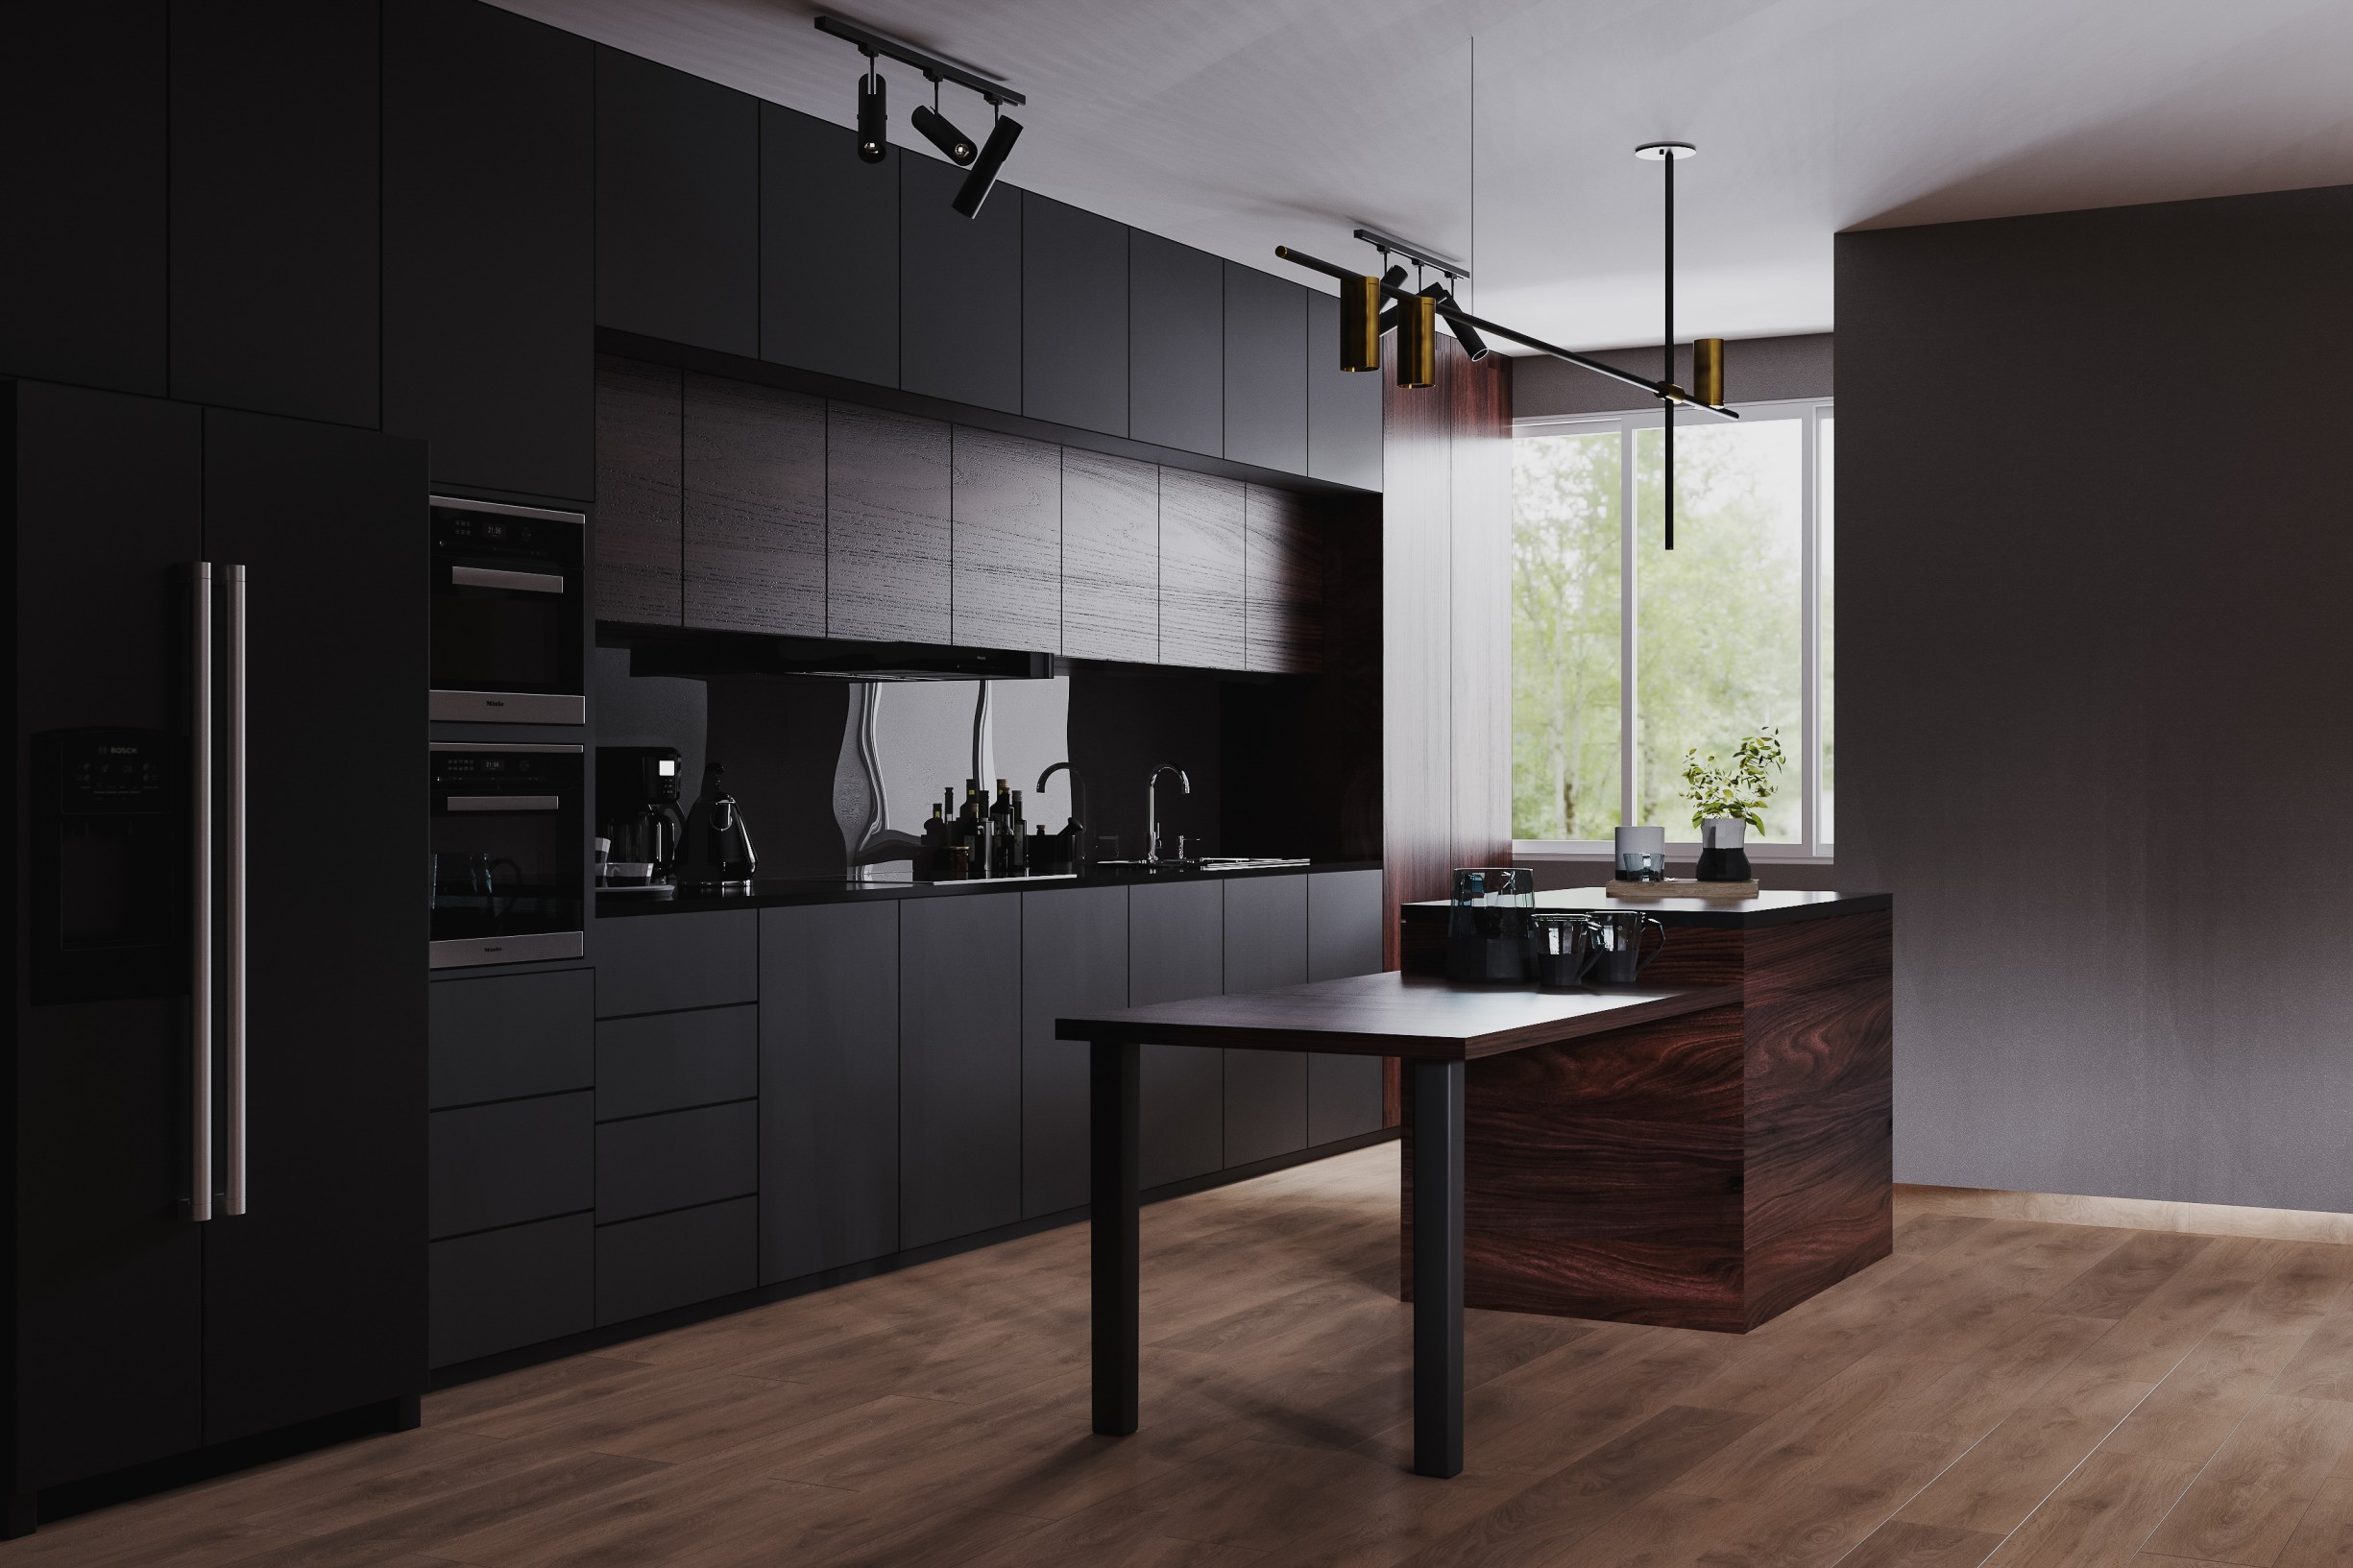
A full kitchen remodel in a late-1990s Auburn home: new cabinets, quartz countertops,
flooring, lighting and a properly vented range hood, built around a layout that already worked.
The layout was sound. The island, sink, range and refrigerator were all in sensible places, so no walls needed to move. What held the room back was everything else: dark stained cabinets, a tiled island top with worn grout, ageing appliances and a tile floor that had seen better days. The goal was a lighter, easier kitchen that fit the rest of the house.
— Homeowner
The good news: the layout actually worked. The island was in the right spot, the work triangle between the range, sink, and fridge made sense. No walls coming down — that’s always a win for the budget. But a few things caught our eye right away, and we told her about all of them on the spot.
Outlets and circuits affected by the remodel were brought up to current requirements.
The recirculating over-range microwave was replaced with a range hood ducted to the outside.
The new kitchen floor was planned to meet the living-room flooring with a deliberate, finished edge.
With the cabinets, countertops and flooring removed, we found moisture damage under part of the old island, left by an earlier sink leak. The damage was limited. We stopped, photographed it, explained the repair and gave the homeowners the price before continuing. The affected material was replaced before any new cabinets went in, with no surprises on the final invoice.
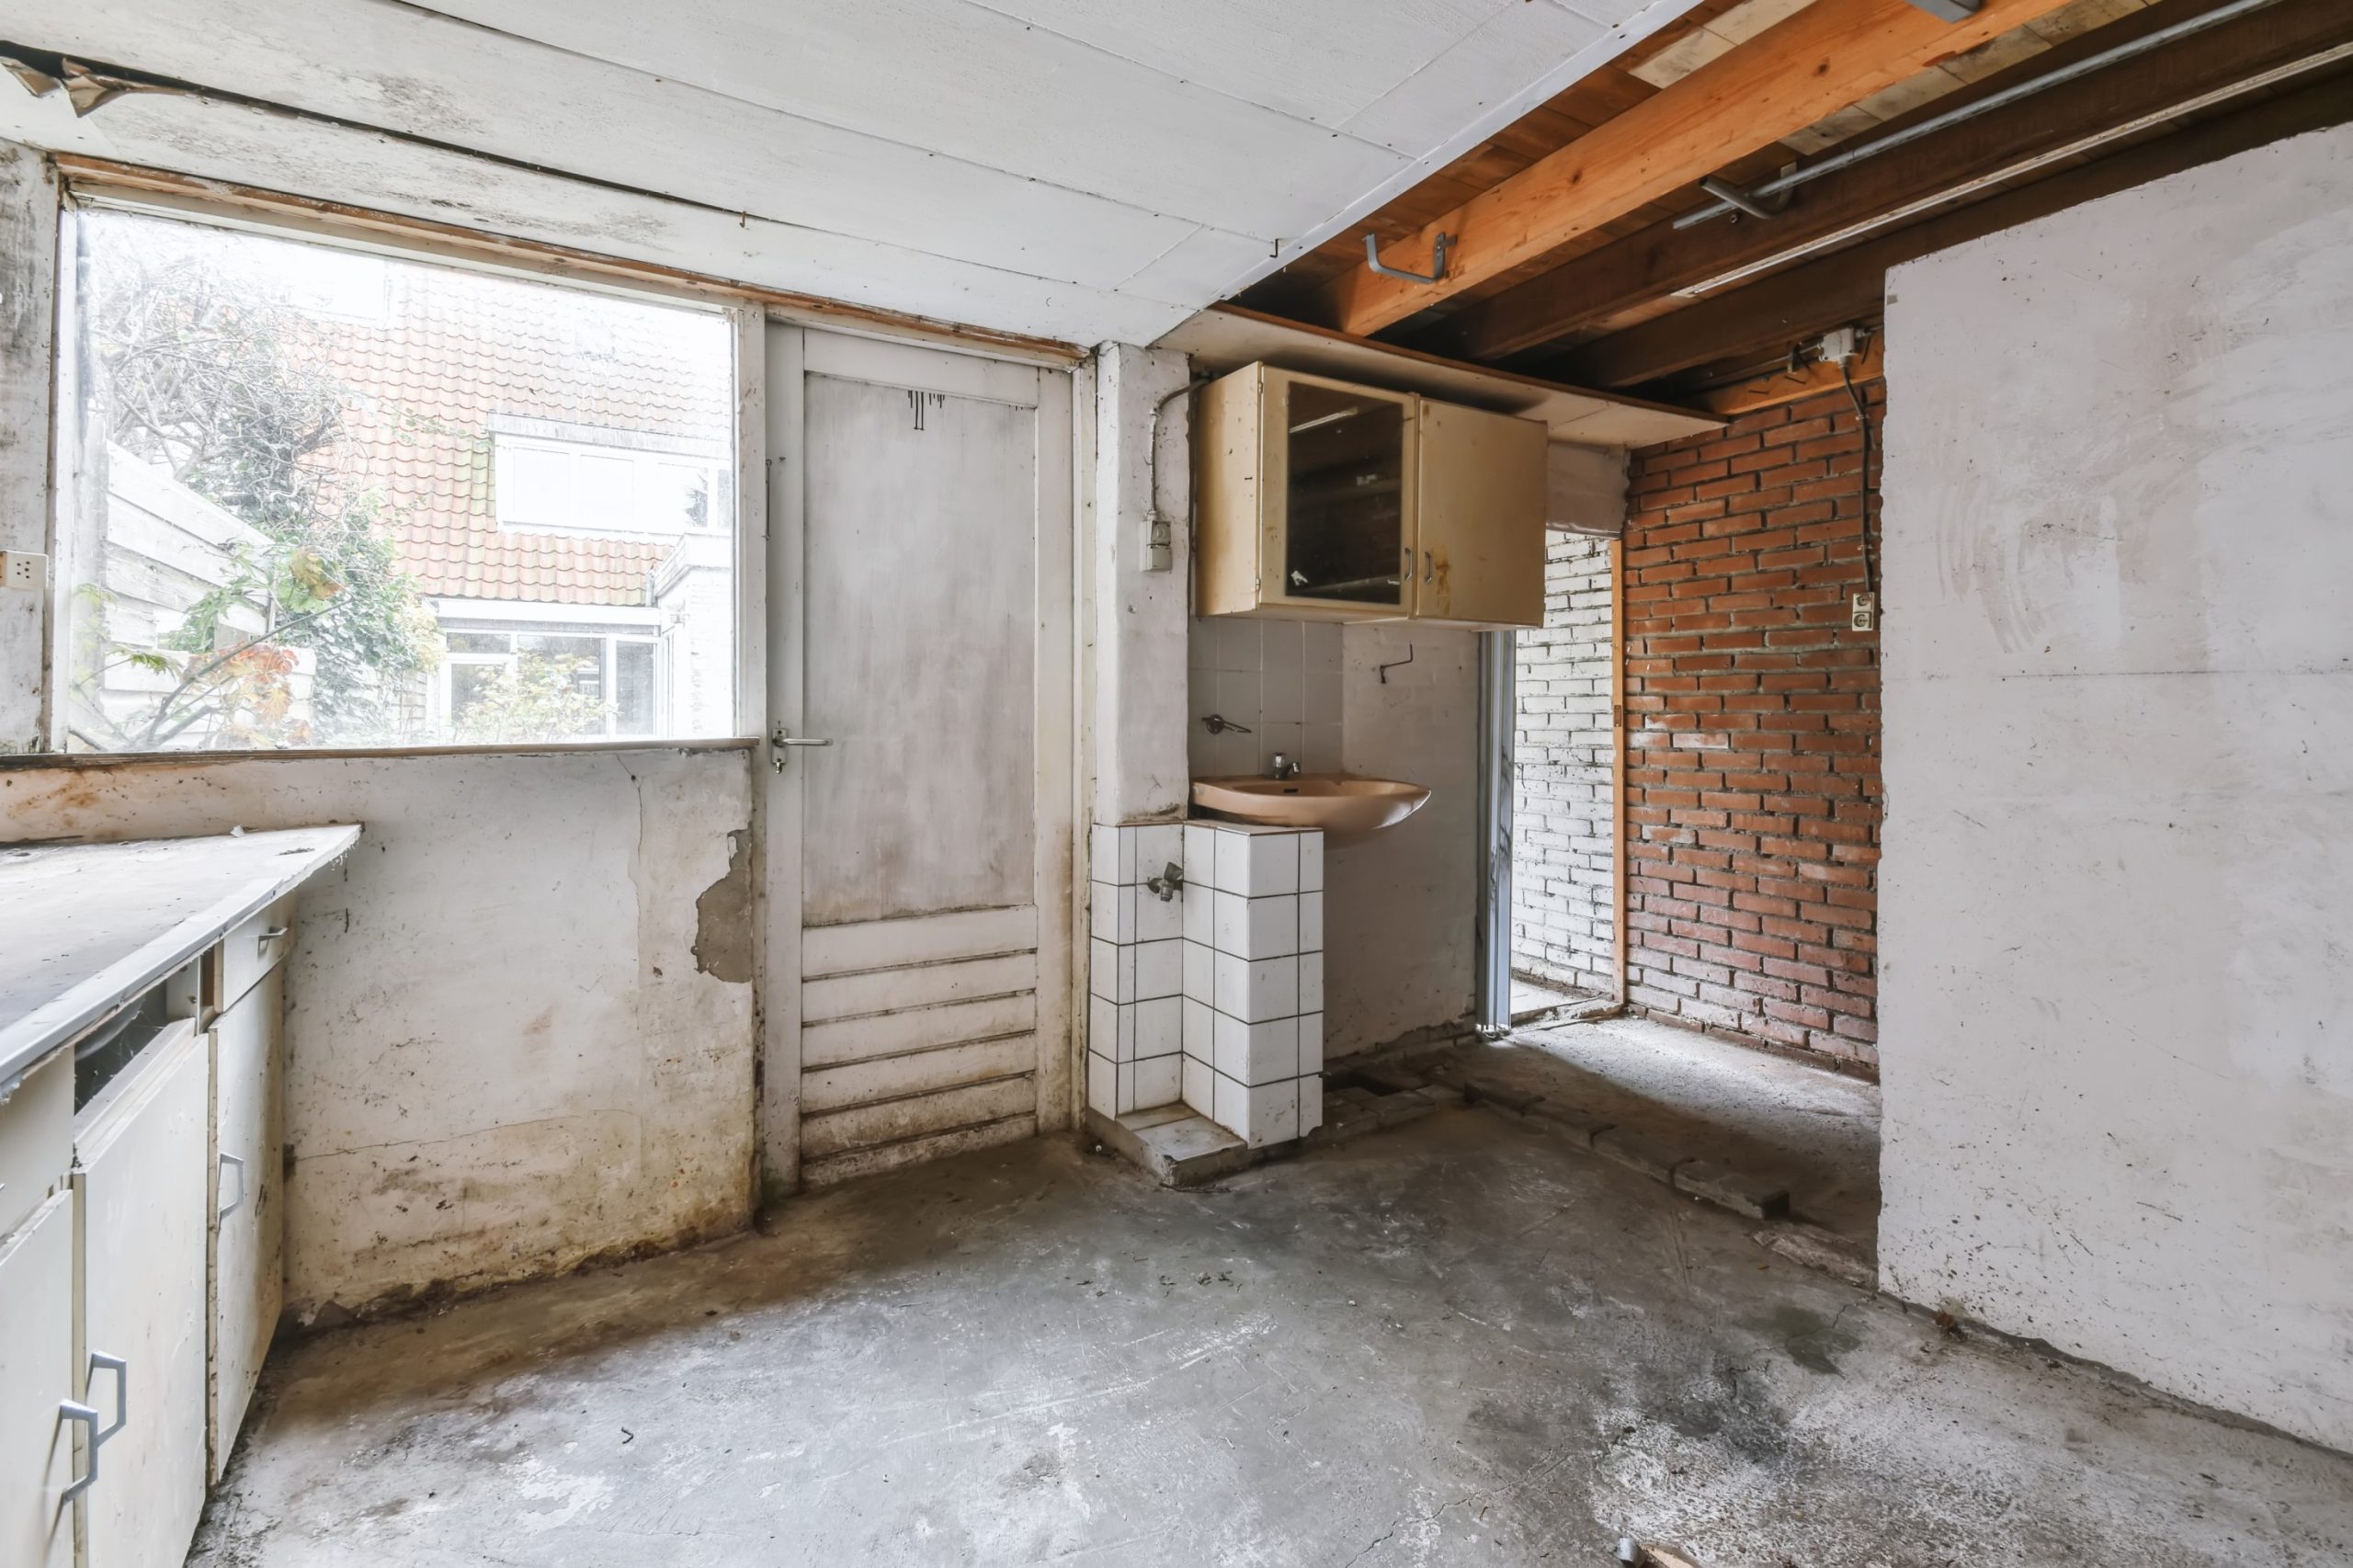
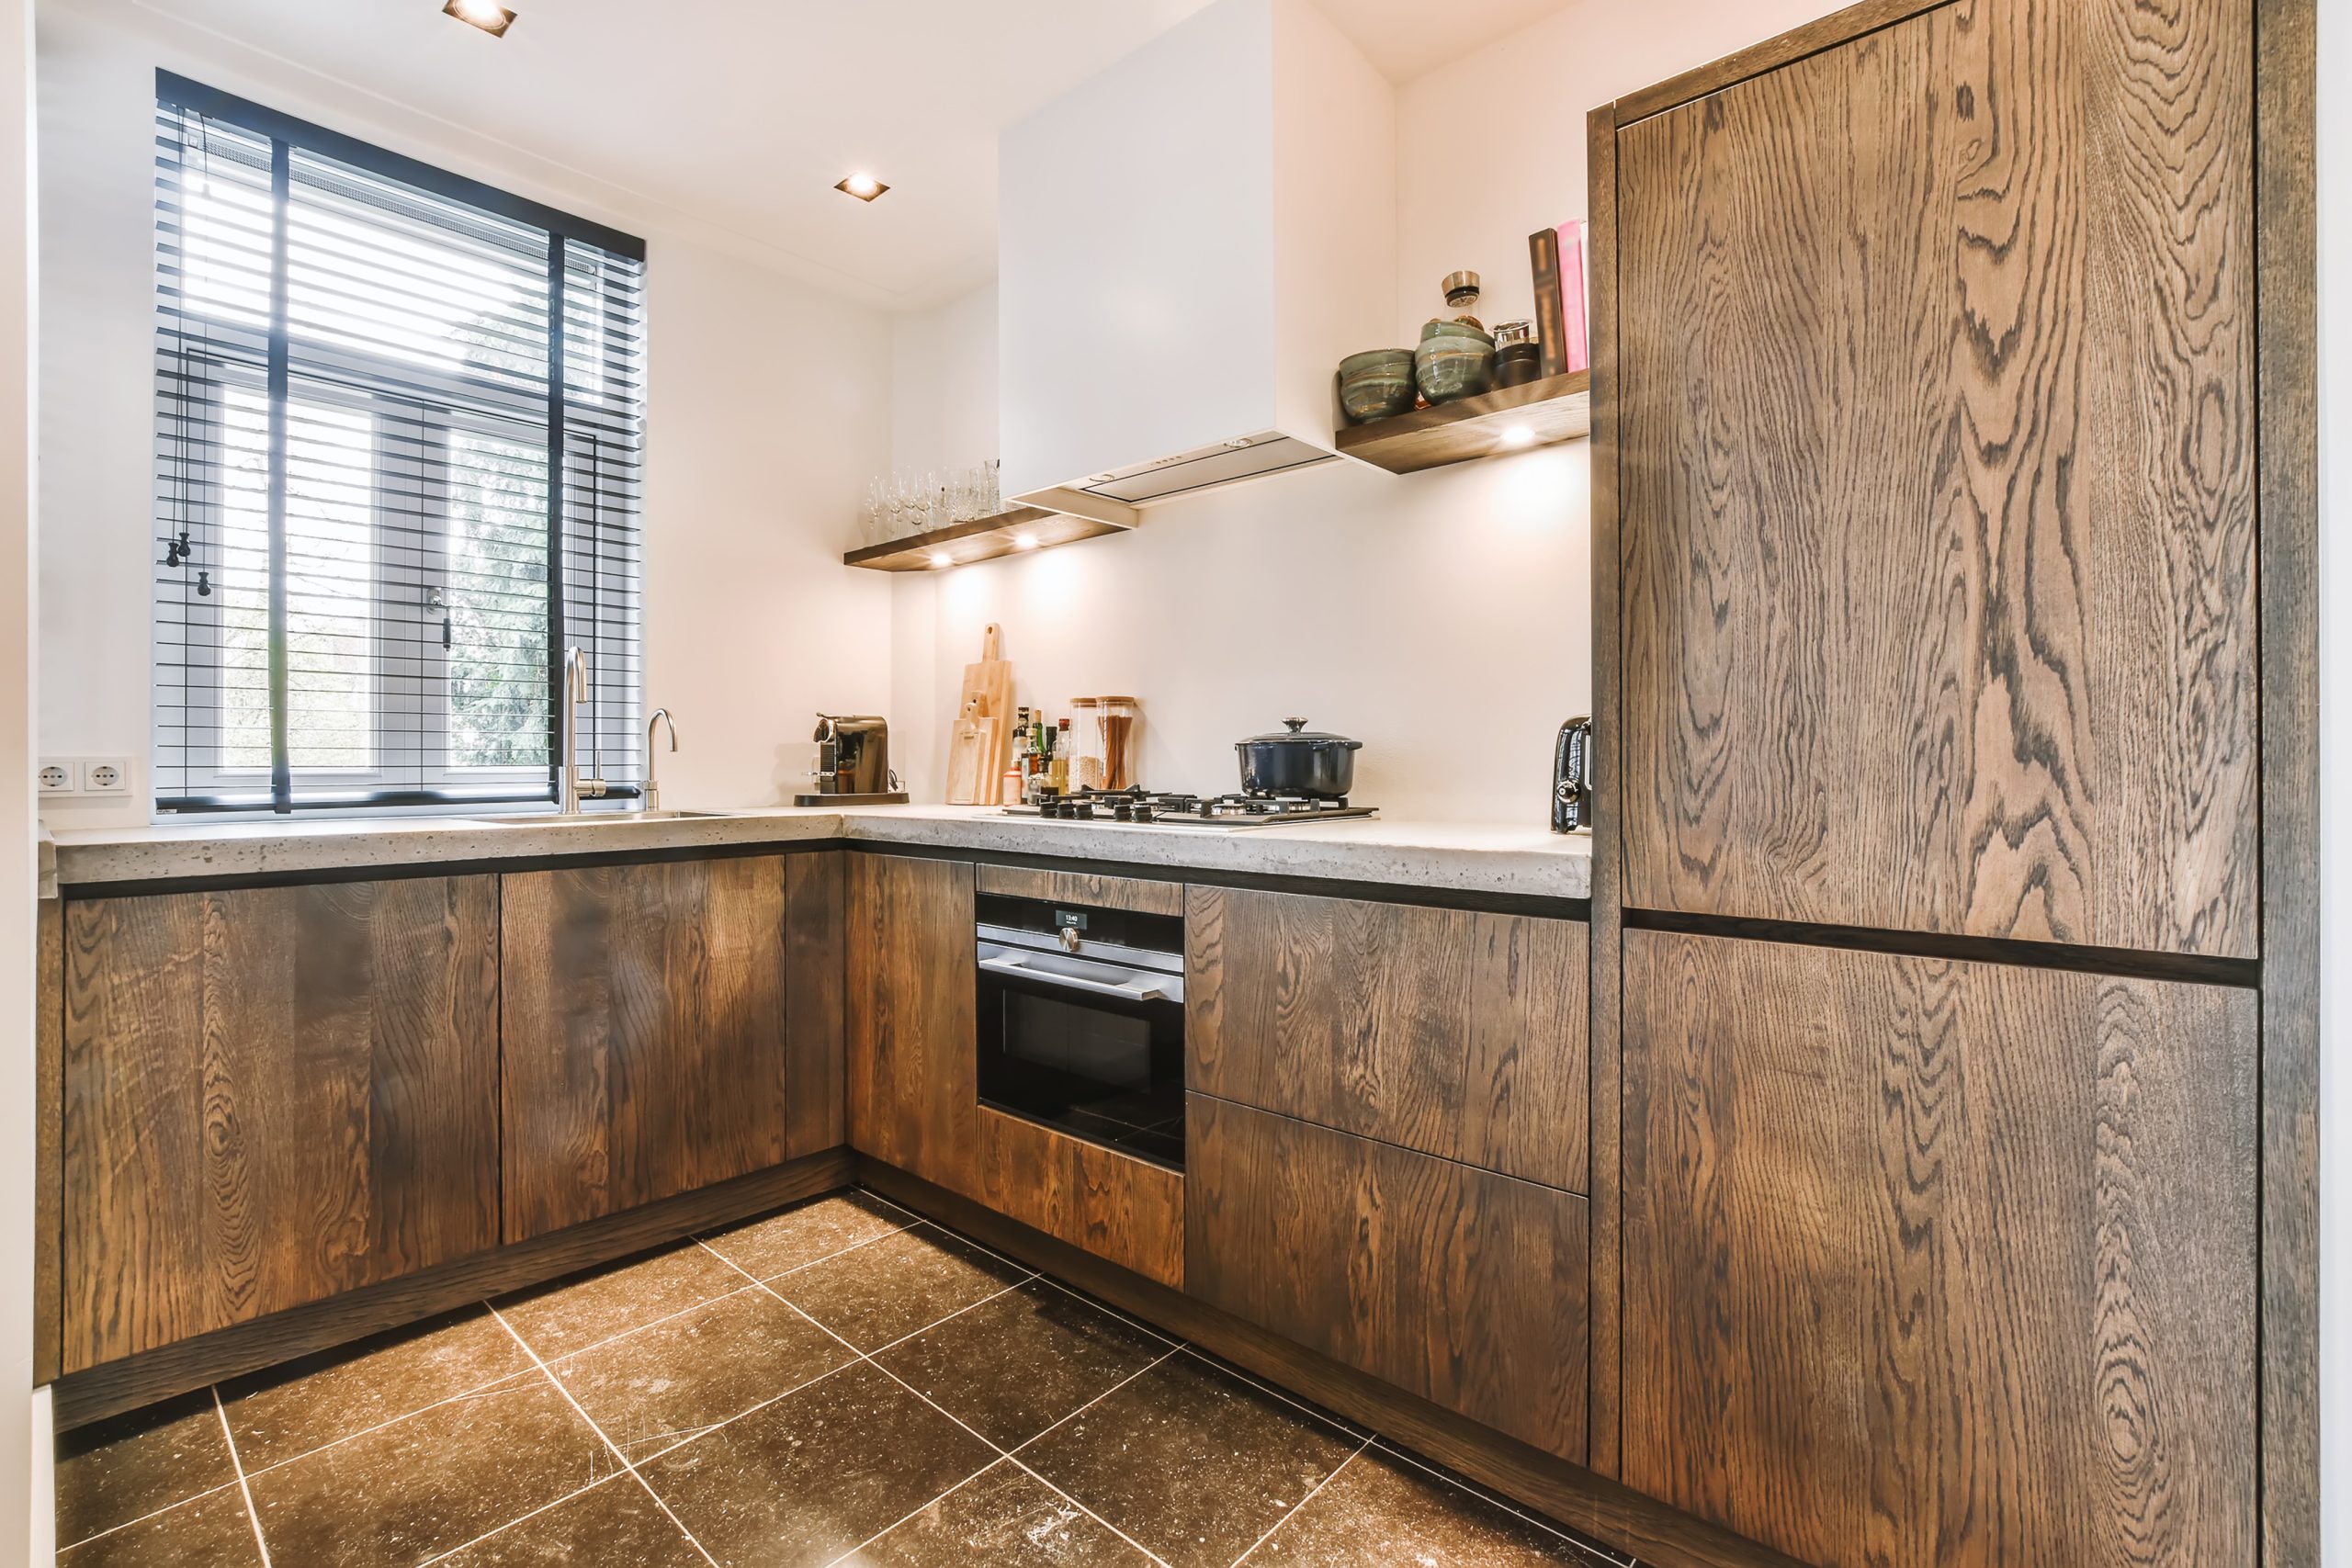
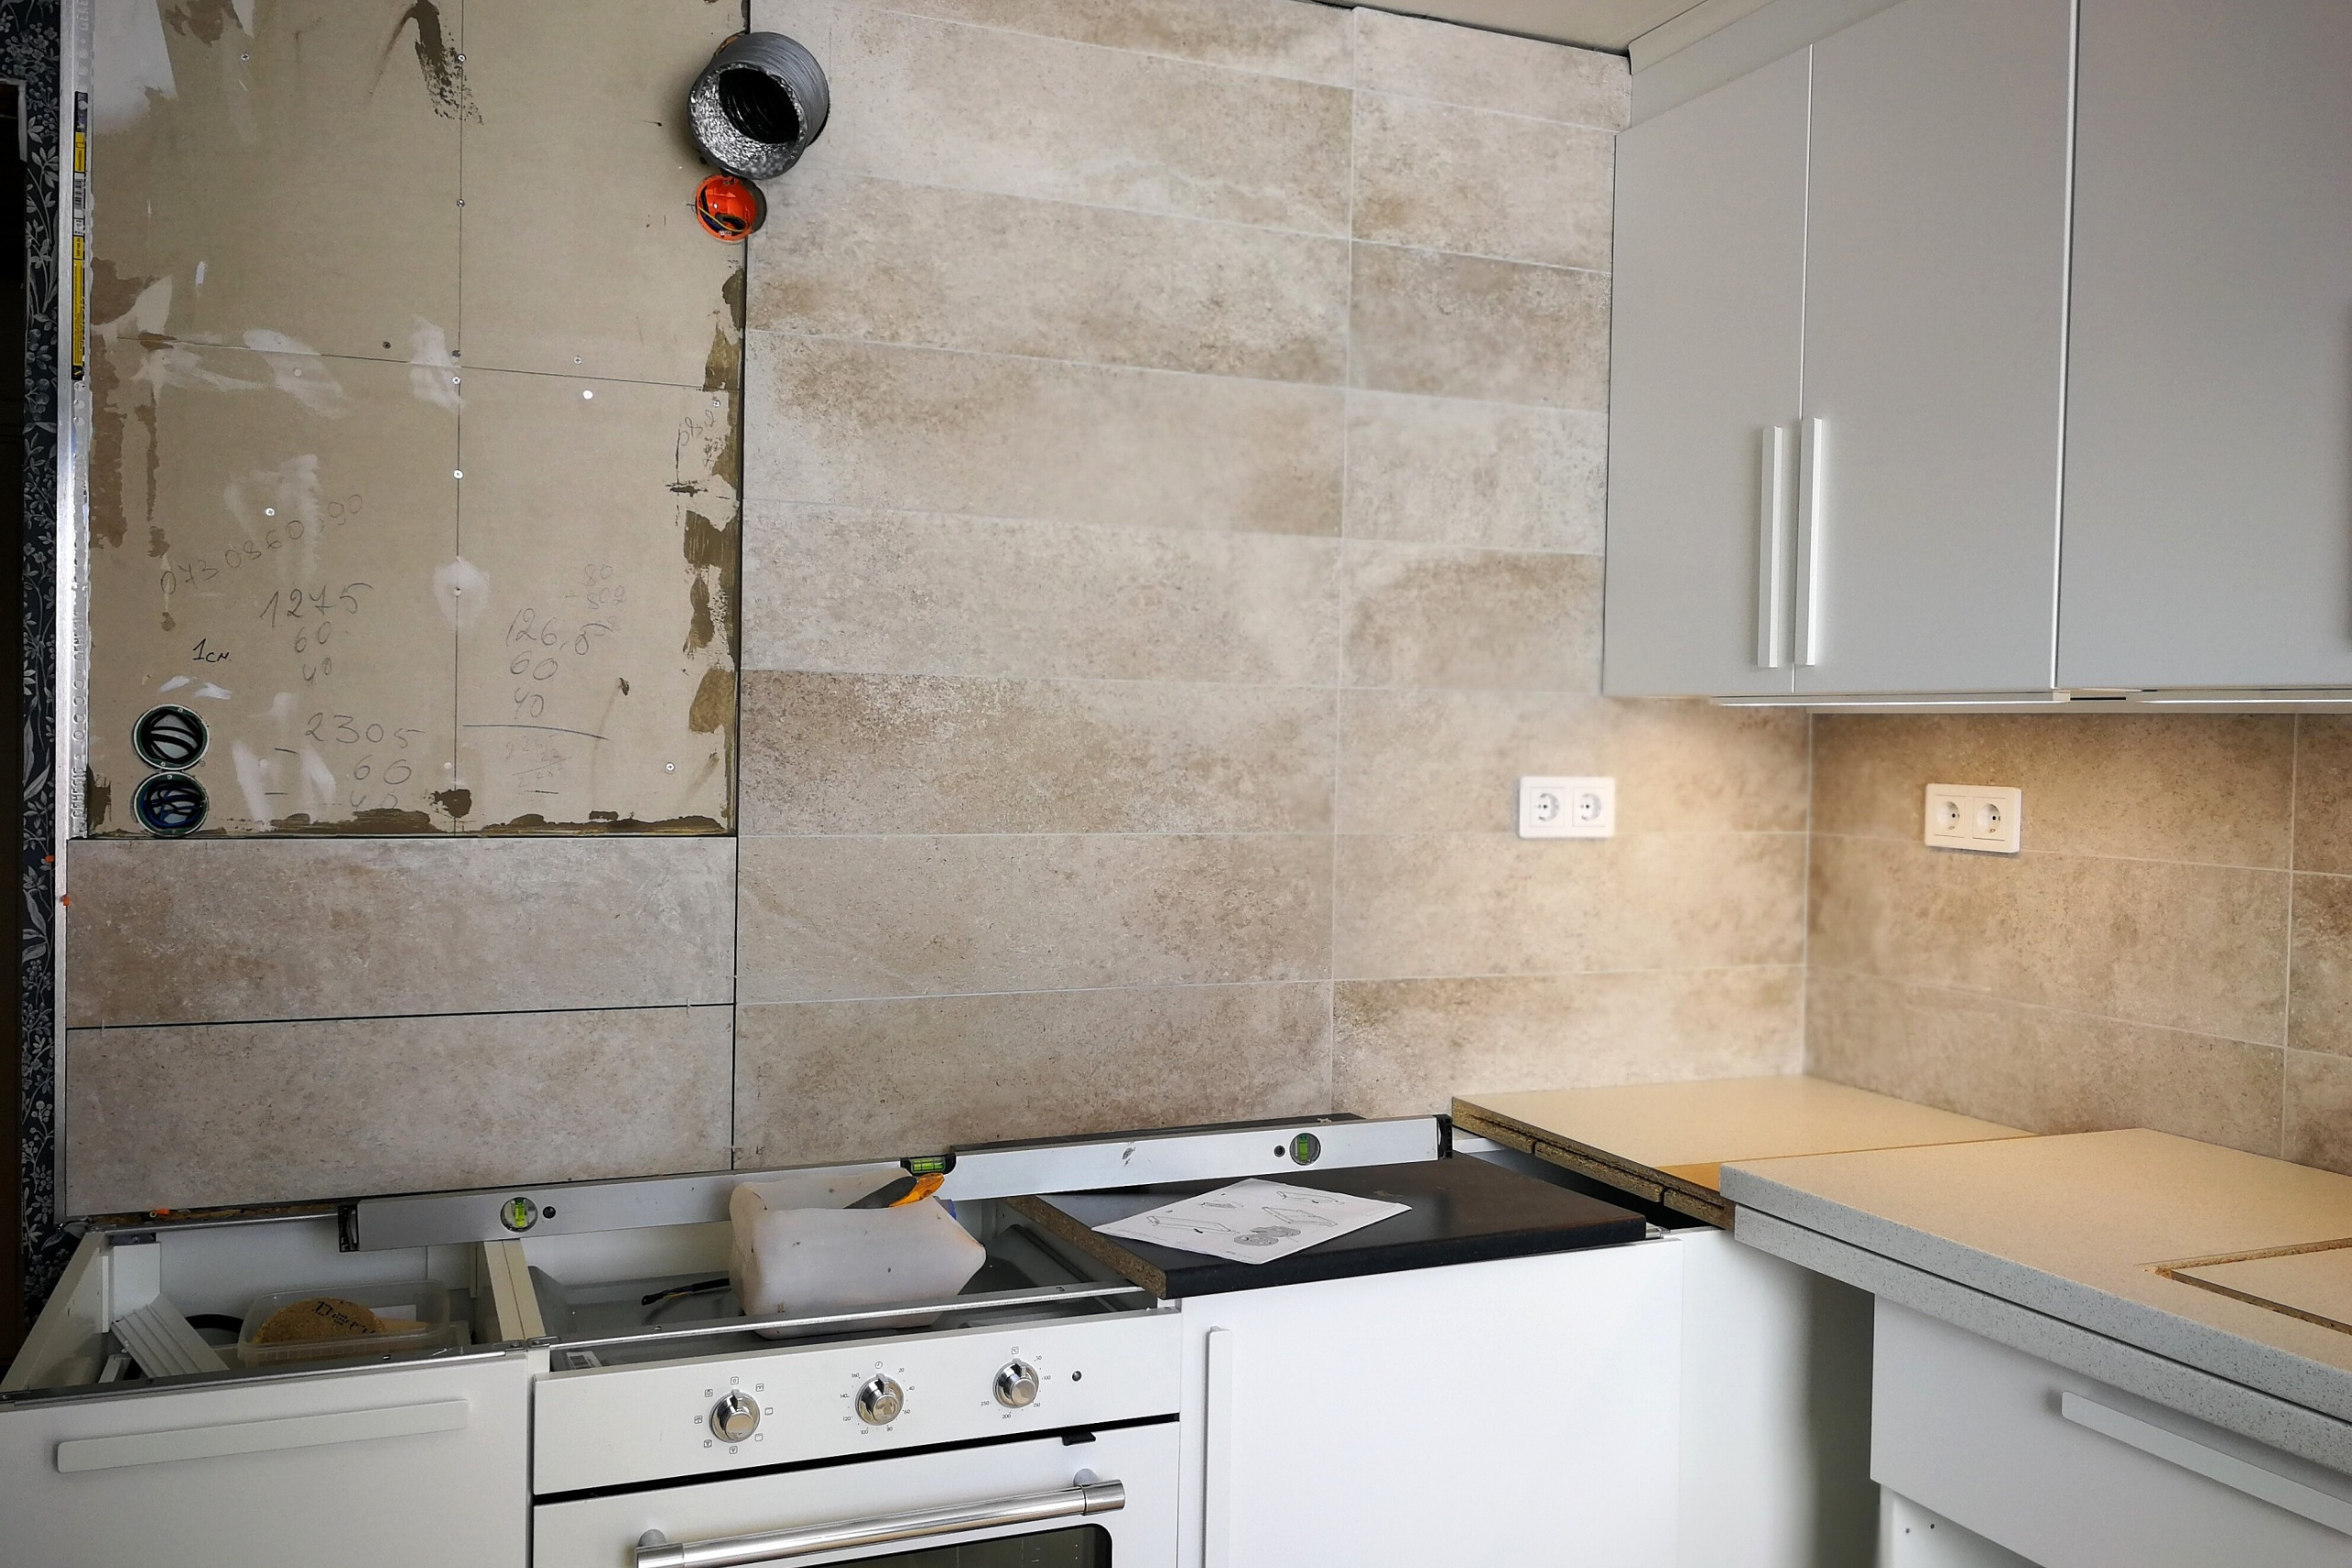
Before handover we tested every outlet and circuit that was part of the work, ran the hood to confirm it vents outside, checked every door and drawer for alignment, and walked the floor transitions. Anything that wasn’t right was fixed before the homeowners saw the finished room.
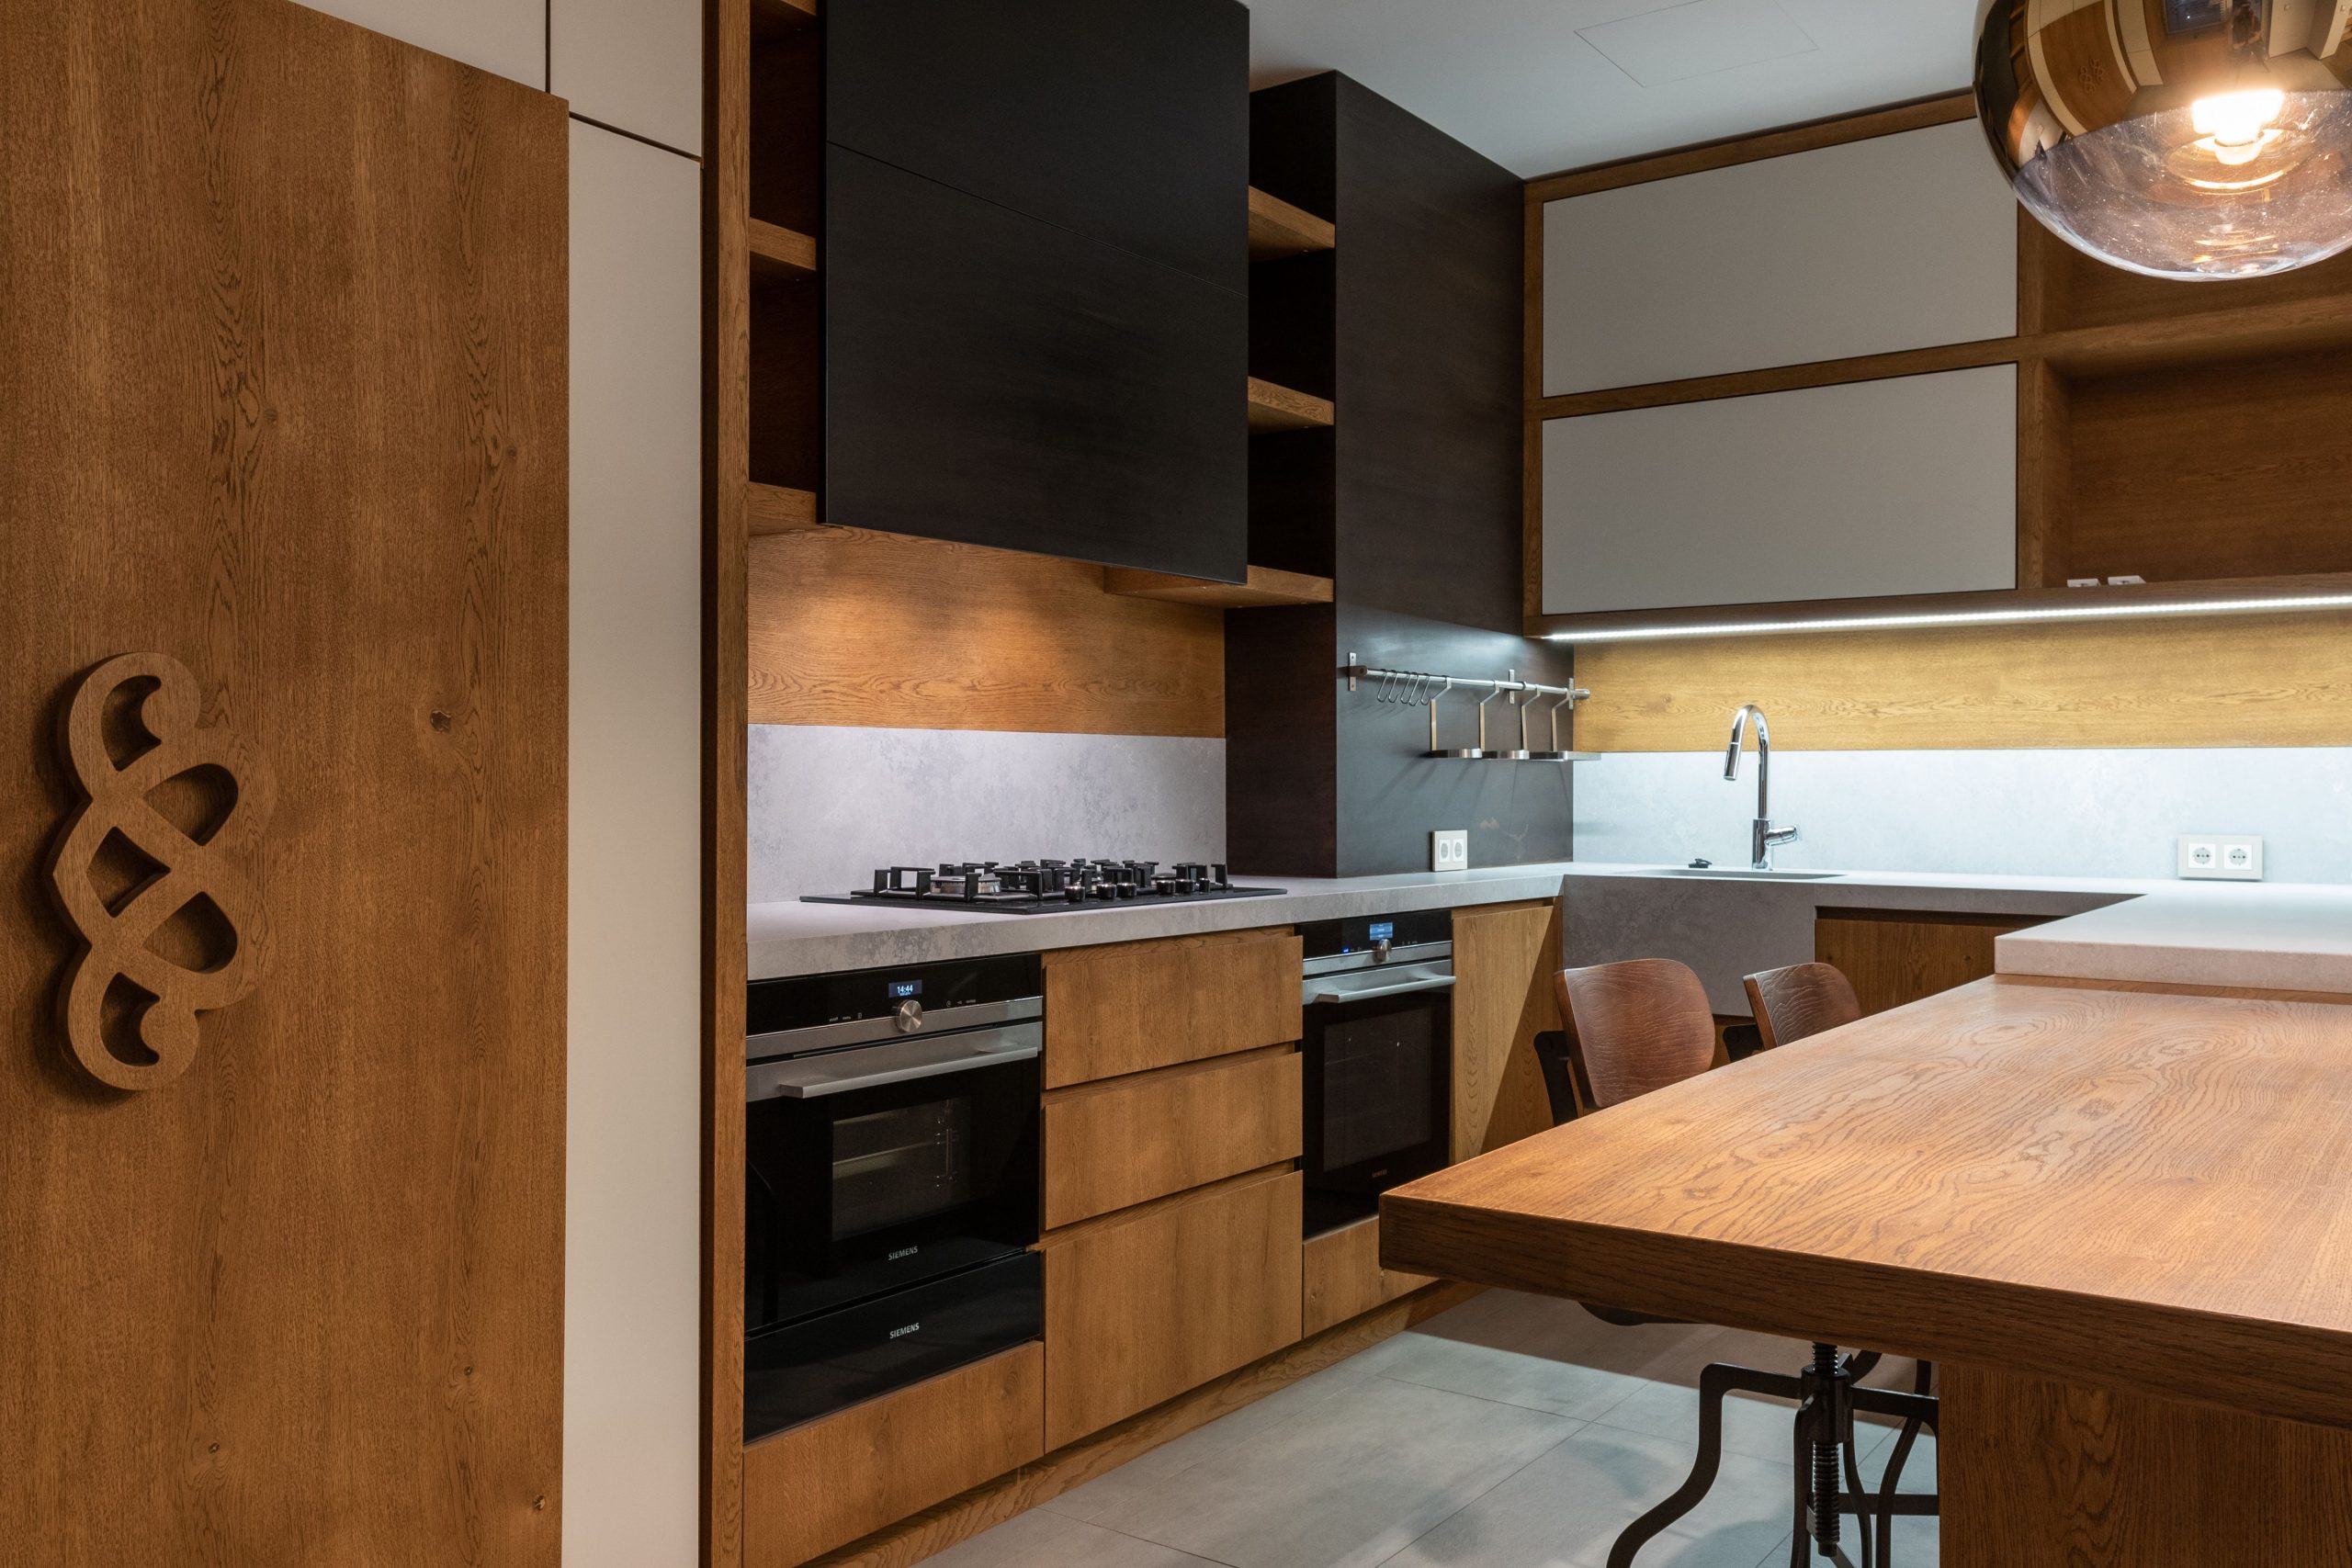
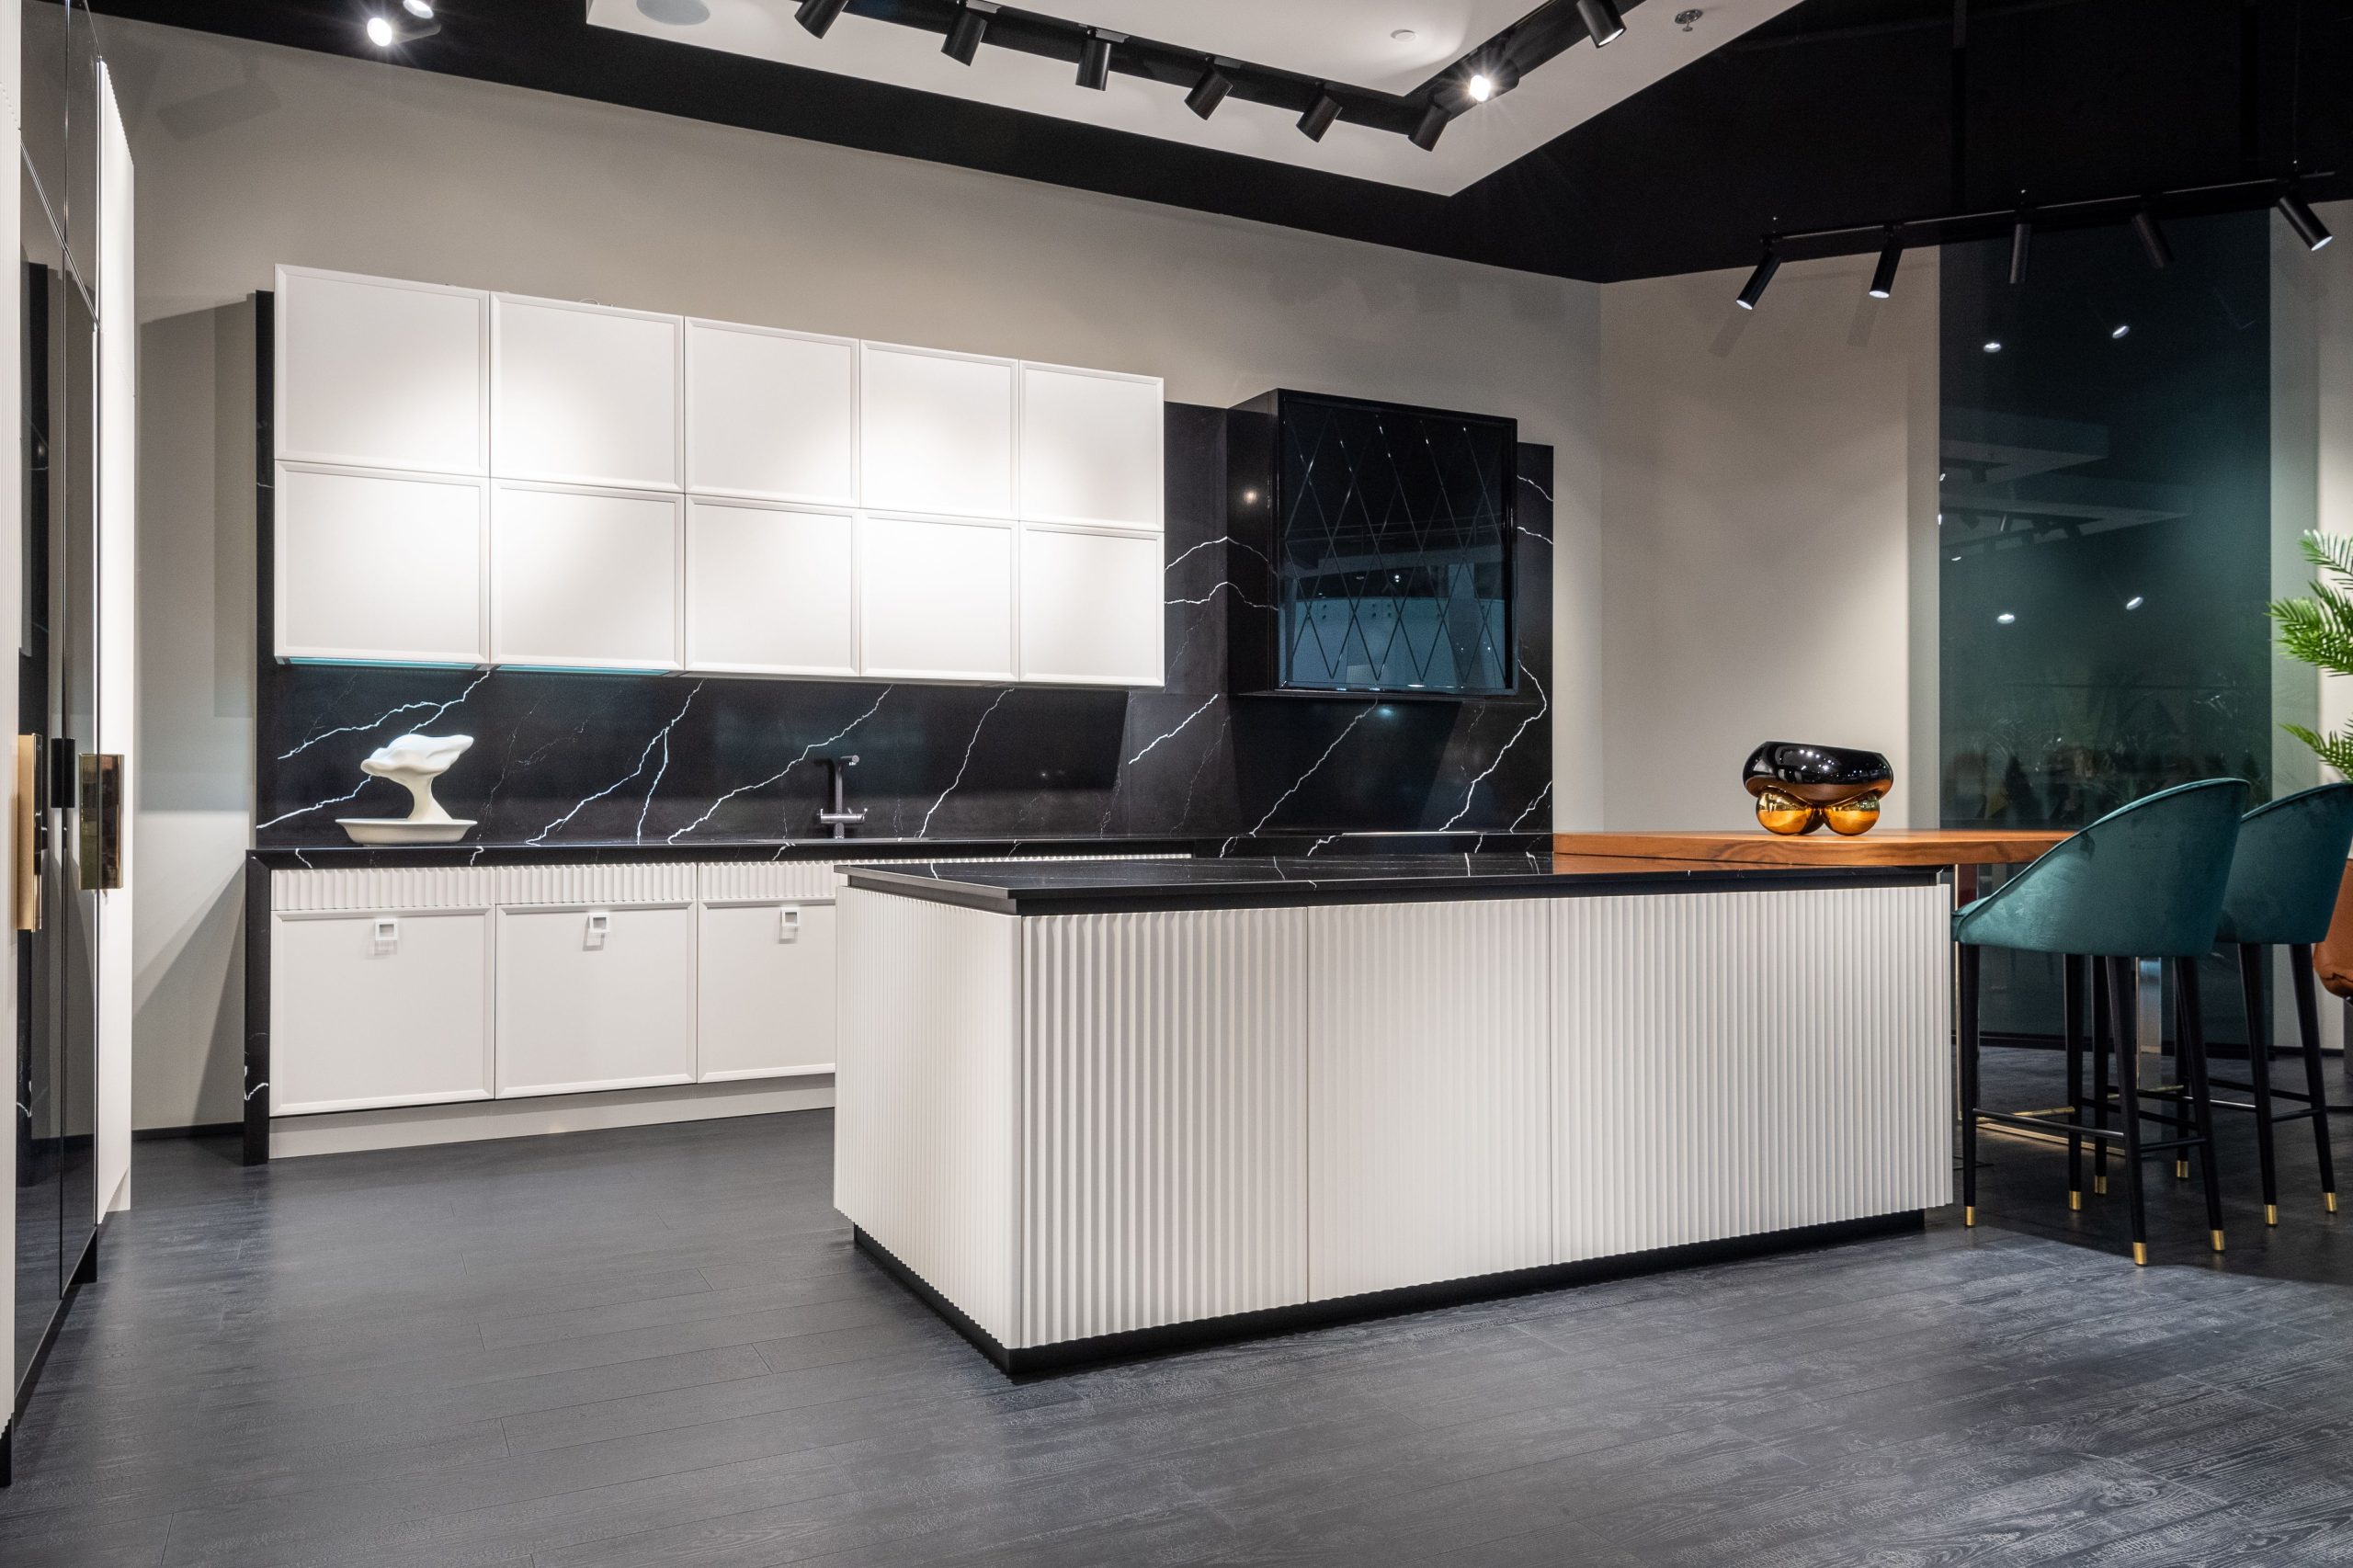
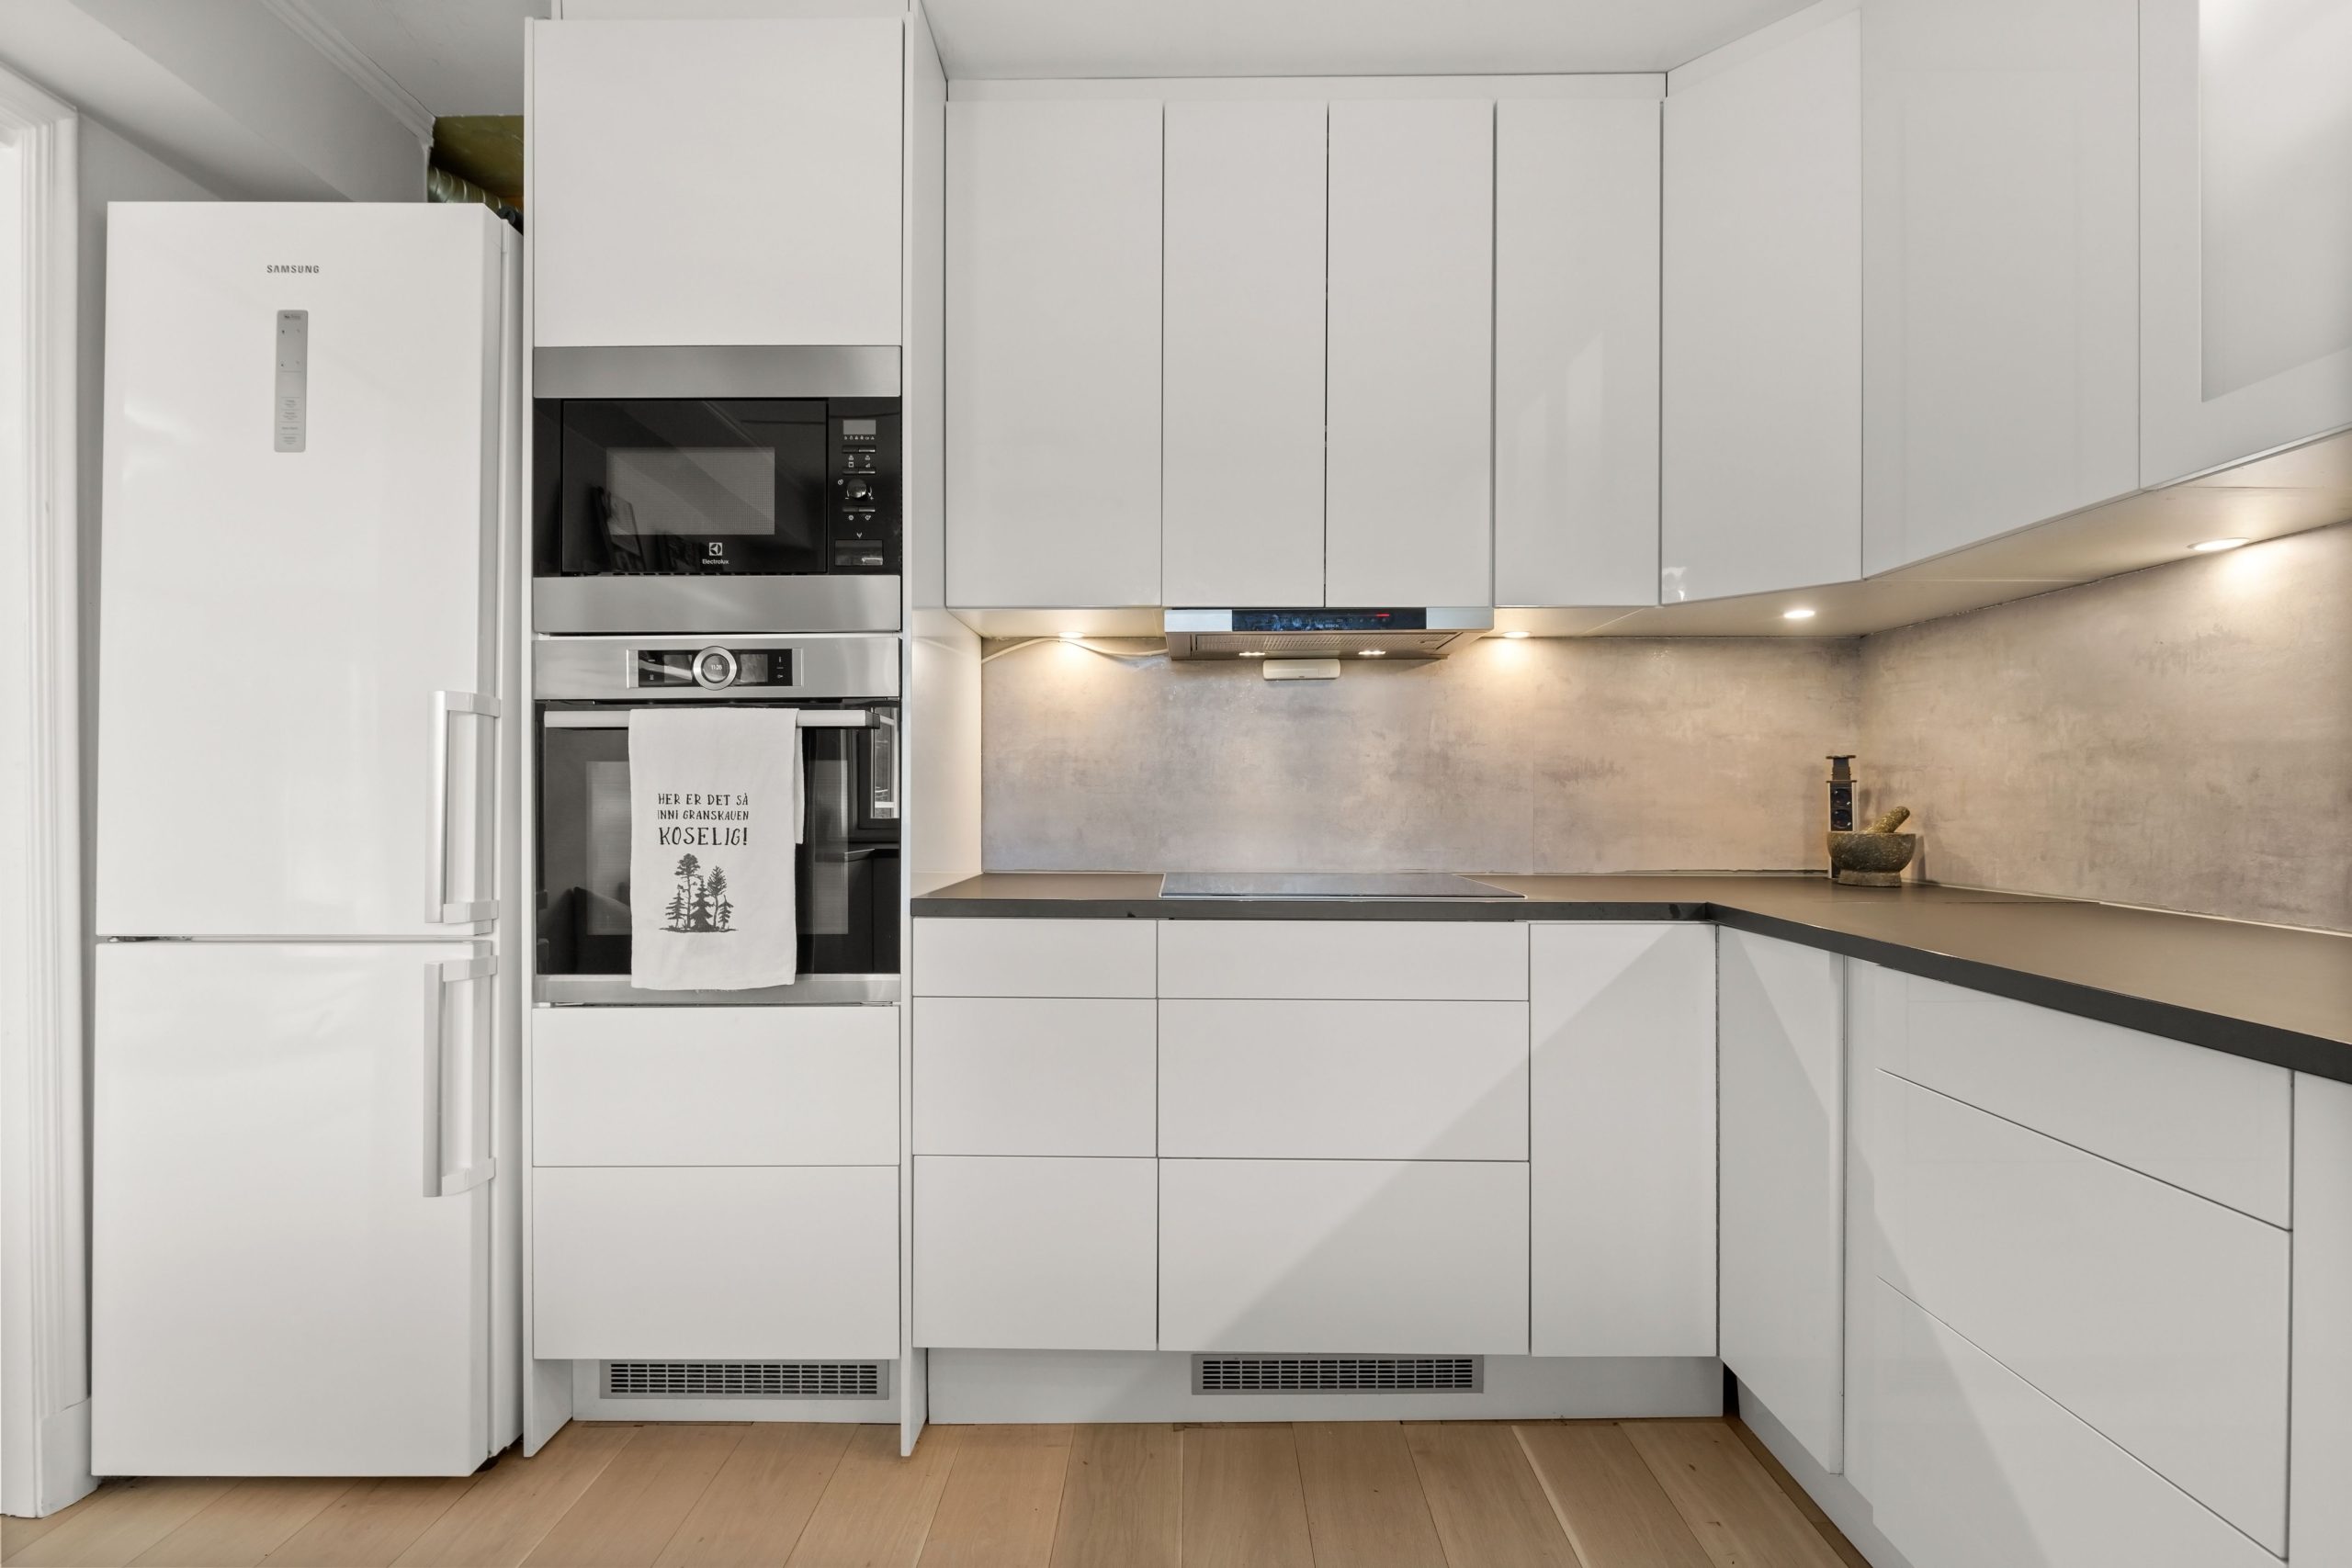
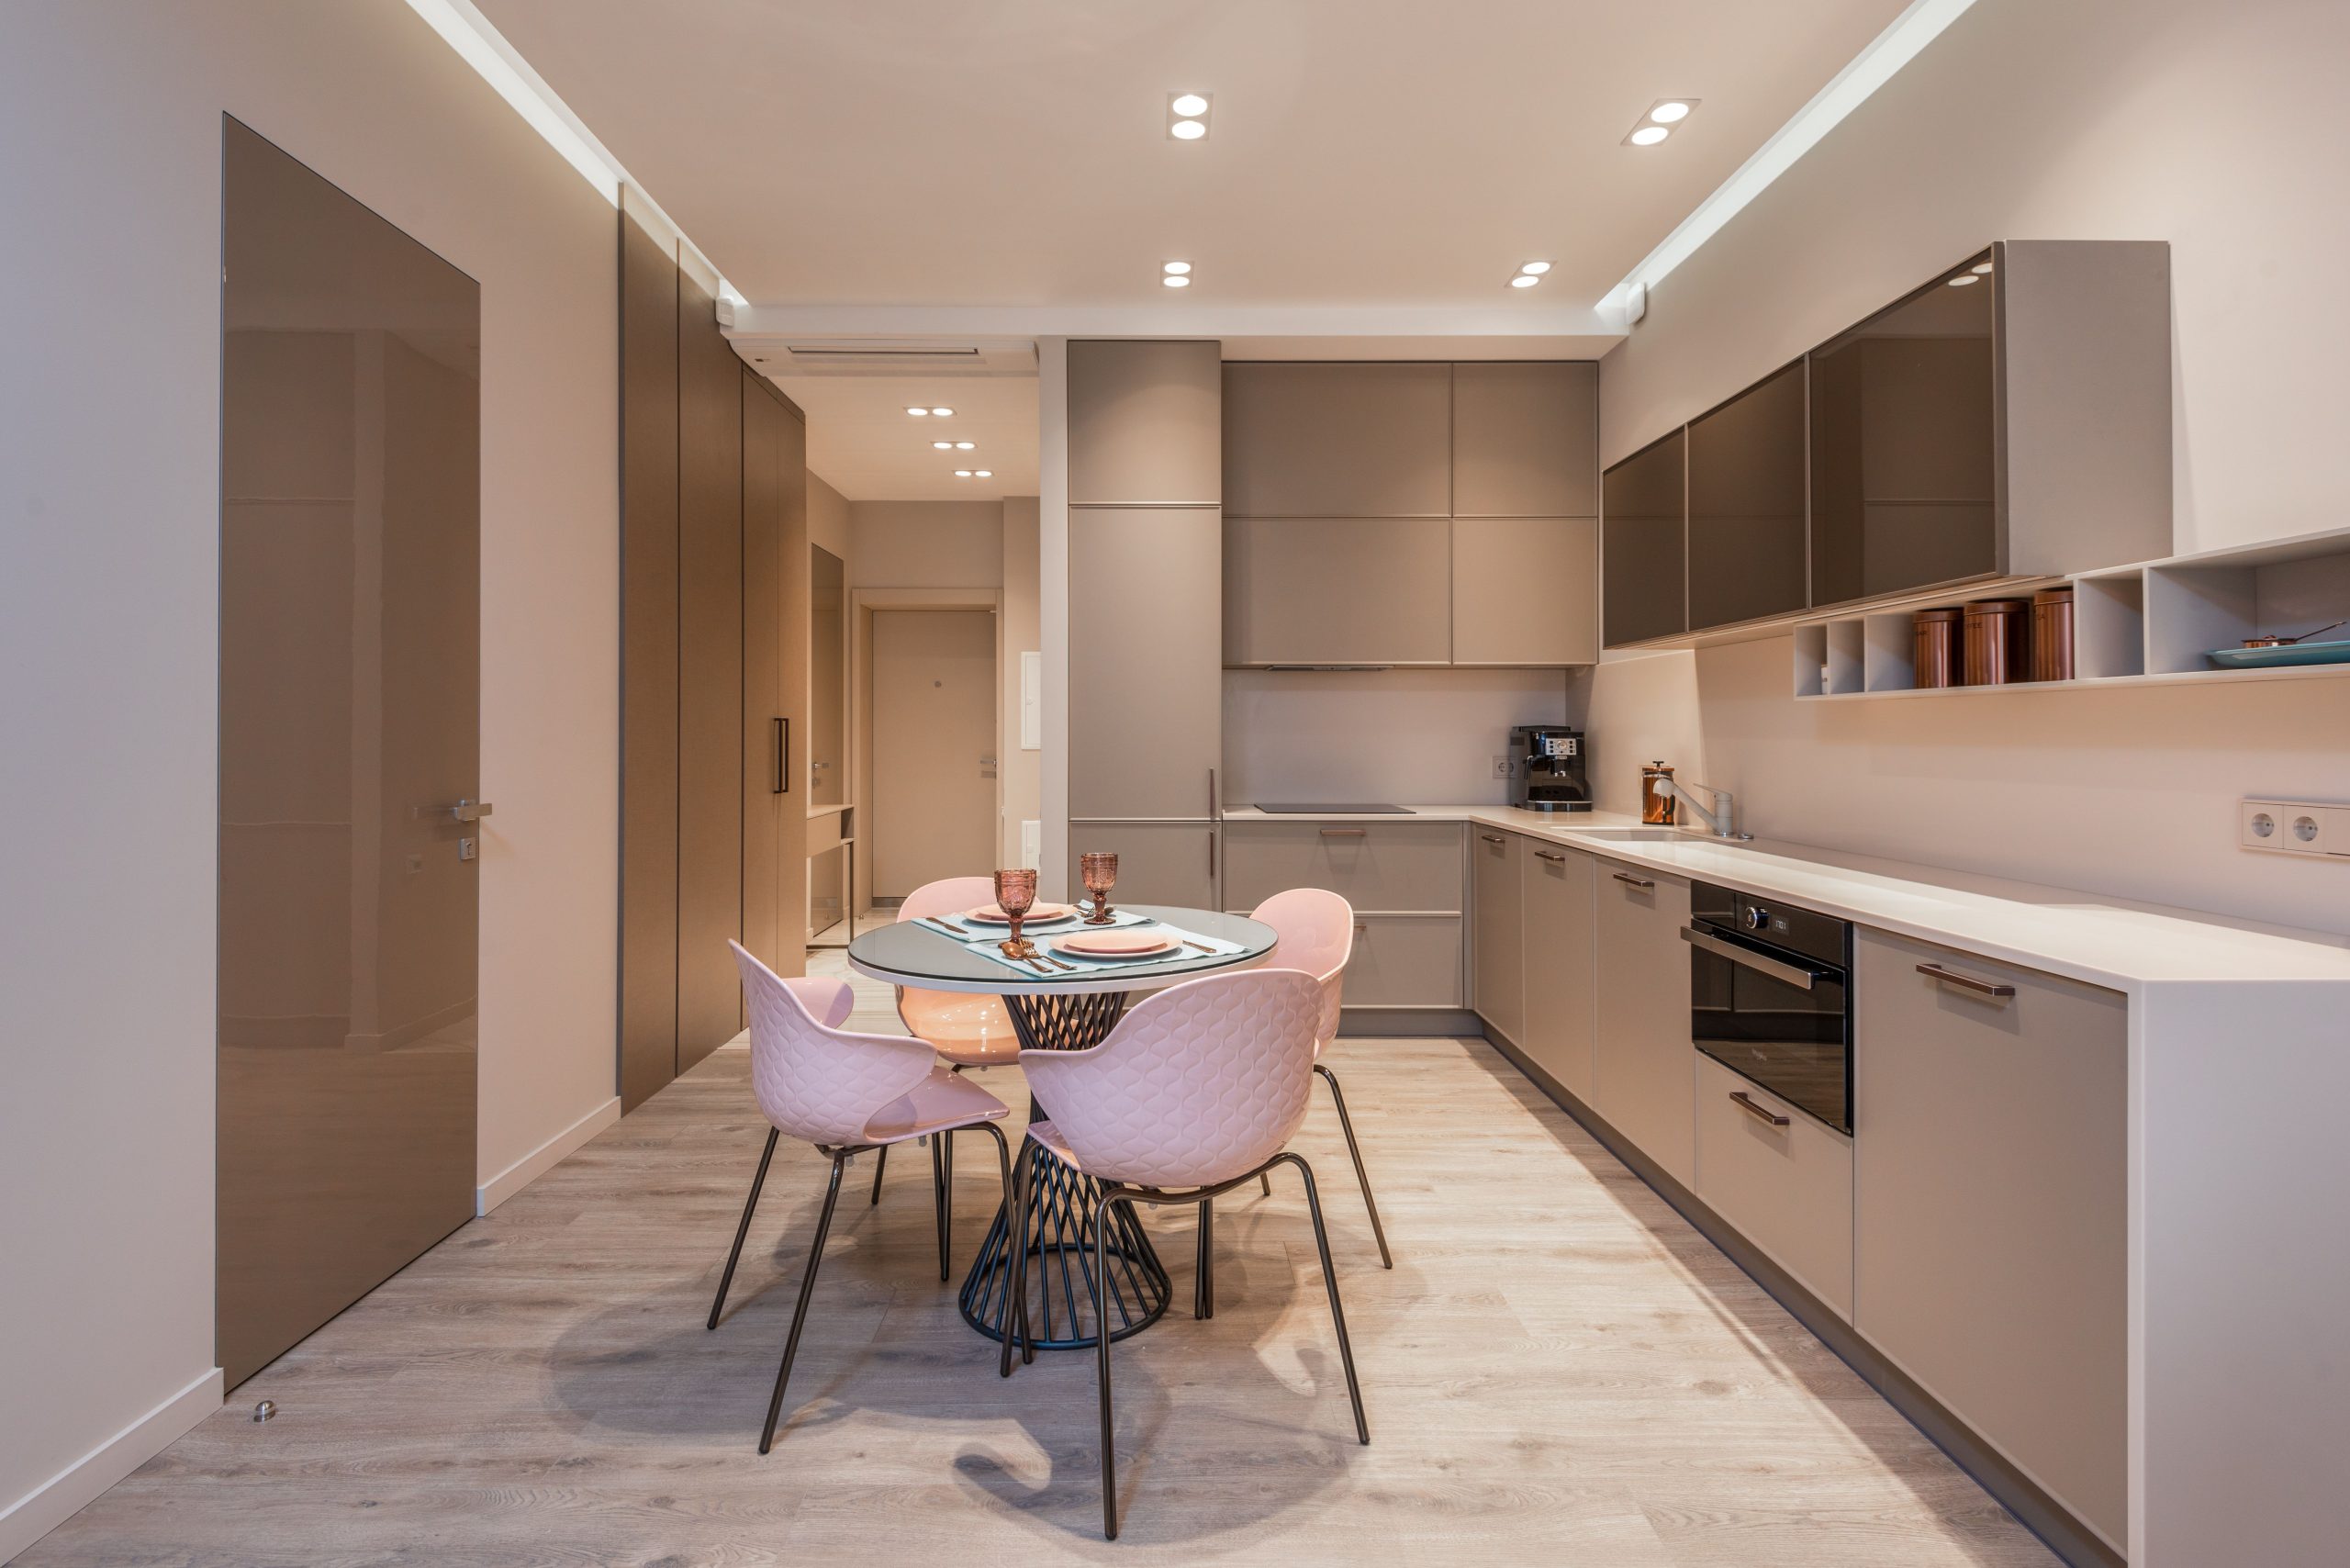
Light painted cabinets, a quartz island, new flooring carried cleanly into the living room, under-cabinet lighting and a range hood that finally clears the air. Same footprint, a completely different kitchen.