FREE IN-HOME ESTIMATES — CALL NOW
ProRevive Construction

5 Things to Consider Before Starting a Bathroom Remodel

Planning a bathroom remodel starts with more than choosing finishes. Here are several practical considerations to review before construction begins.

A bathroom remodel is an opportunity to improve both the appearance and functionality of your home. Before construction begins, it helps to understand how the existing space will be used and what changes are most important to you.

Start With the Existing Layout

Consider whether the current location of the shower, vanity, toilet, and other fixtures works for your daily routine. Keeping a practical layout can sometimes simplify the project, while a larger remodel may provide an opportunity to improve how the space functions.

Choose Finishes for Everyday Use

Tile, flooring, countertops, cabinetry, and fixtures all contribute to the finished bathroom. Consider how each material will perform with regular use and how the different finishes will work together.

Plan Storage Carefully

A bathroom needs enough storage for everyday items without making the room feel crowded. Vanity storage, shelving, and other built-in options can help make better use of the available space.

Think About Lighting

Good bathroom lighting should support everyday tasks while complementing the overall design. A remodel may provide an opportunity to update existing fixtures and improve lighting throughout the space.

Understand the Project Scope

Before work begins, make sure you understand what is included in the remodel, including demolition, materials, installation, and any required updates discovered during construction. A clear scope helps everyone stay aligned throughout the project.

Planning Your Bathroom Remodel

Whether you are updating a guest bathroom or remodeling a primary bathroom, thoughtful planning can help create a space that works better for your home and everyday routine.

Ready to discuss your project? Contact ProRevive Construction to schedule an in-home consultation.
Covington · Guest Bathroom Remodel

A Fresh, Functional Guest Bathroom in Covington

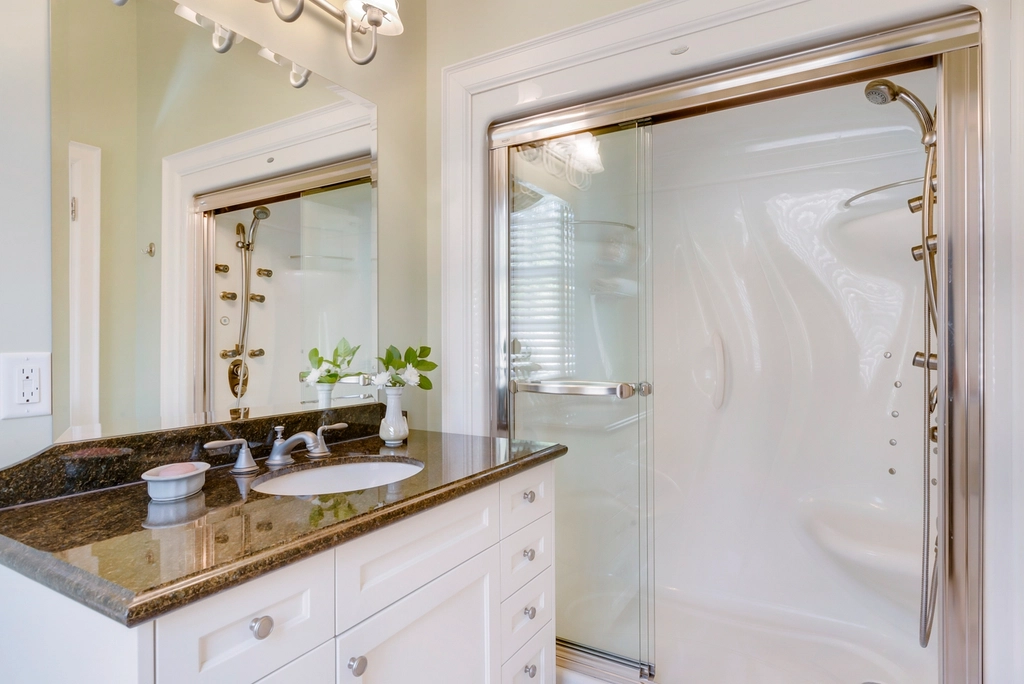
A guest bathroom remodel in a Covington home: updated finishes, a refreshed vanity, improved lighting, new flooring and a more functional shower area, designed around the existing space.

The Starting Point

The bathroom layout already worked, so there was no need for major structural changes. What held the room back were dated finishes, an aging vanity, worn flooring and lighting that did not provide the function or look the homeowners wanted. The goal was a cleaner, brighter guest bathroom that felt comfortable and fit naturally with the rest of the home.

“We didn’t need a bigger bathroom. We needed one that finally worked for us.”

—  Homeowner

What We Planned

The good news: the layout actually worked. The island was in the right spot, the work triangle between the range, sink, and fridge made sense. No walls coming down — that’s always a win for the budget. But a few things caught our eye right away, and we told her about all of them on the spot.

Issue 1

The Tub Was Taking Up Valuable Space

The existing tub was rarely used, so replacing it with a more practical shower created a better use of the available space.

Issue 2

The Vanity Area Needed More Light

The existing vanity didn’t provide enough storage or the lighting they wanted. We planned the new vanity and lighting together so the area would be more functional.

Issue 3

The Bathroom Needed a More Cohesive Look

The existing finishes had been installed at different times and no longer felt connected. The new tile, fixtures, vanity, and hardware were selected to work together as one design.

What We Found During Demolition

Once the existing finishes and fixtures were removed, we inspected the areas behind them before moving forward. Any conditions that required attention were addressed as part of the remodel so the new finishes could be installed over a properly prepared space.

interior-construction-project-with-exposed-brick-w-2026-03-17-00-36-34-utc (1)czNmcy1wcml2YXRlL3Jhd3BpeGVsX2ltYWdlcy93ZWJzaXRlX2NvbnRlbnQvbHIvZmw0MTI1ODM0NDE1Mi1pbWFnZS1reWJlaWo2Yi5qcGc.jpg
interior-construction-project-with-exposed-brick-w-2026-03-17-00-36-34-utc (1)cHJpdmF0ZS9zdGF0aWMvaW1hZ2Uvd2Vic2l0ZS8yMDIyLTA0L2xyL2ZsMzcxMzIyNzk4NDItaW1hZ2Uta3liZWpzb3UuanBn.jpg
THE PROJECT

Final Checks

Before handover, we checked the plumbing fixtures, shower area, vanity, lighting and new finishes. We also reviewed the completed work with the homeowners and addressed any items that needed attention before the project was complete.

The Finished Room

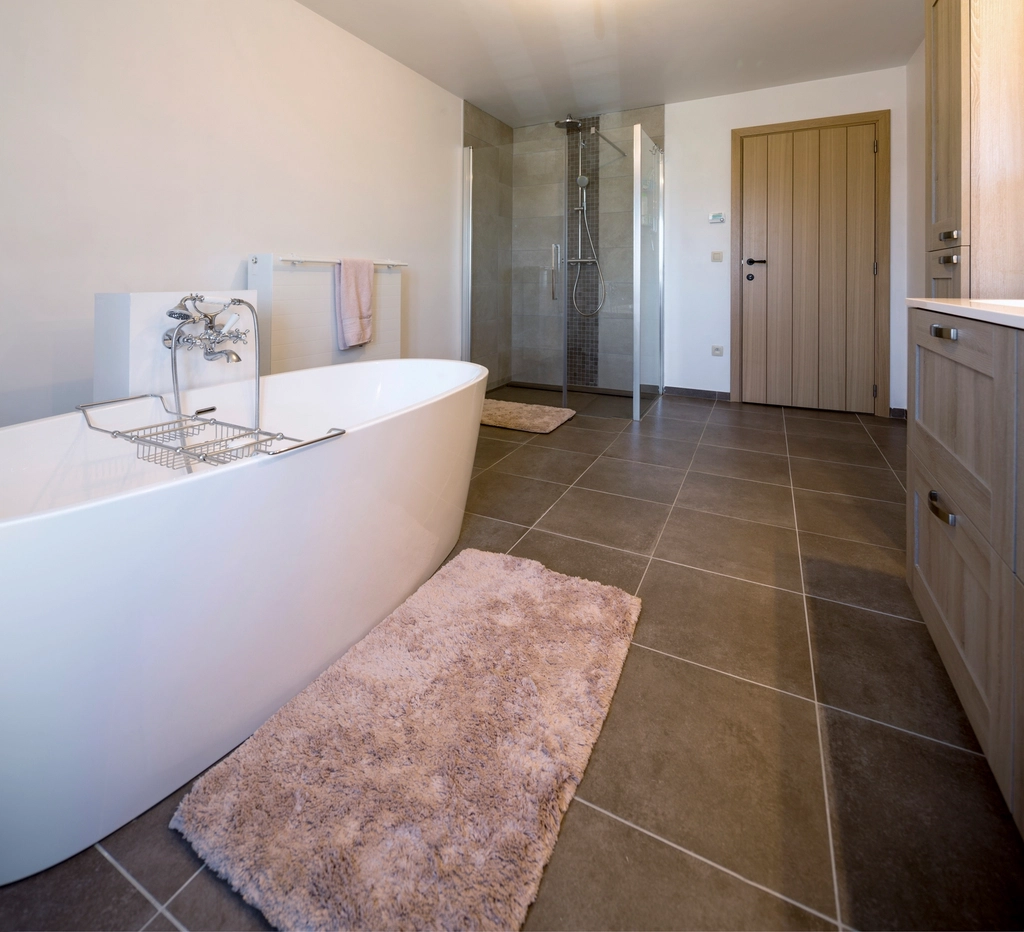
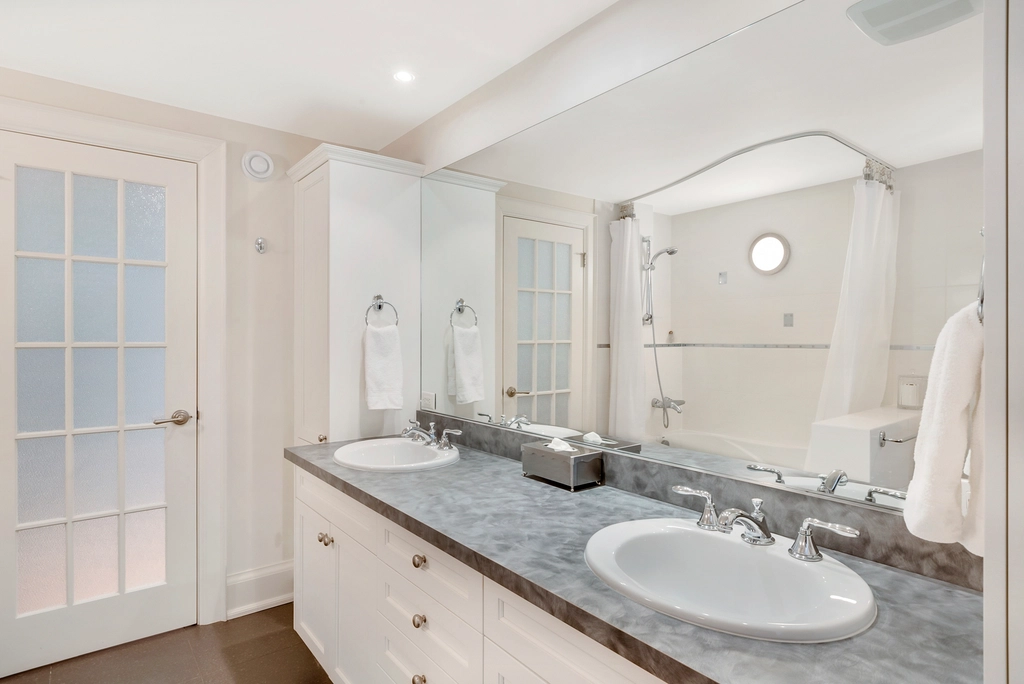
A refreshed guest bathroom with updated finishes, a clean vanity, improved lighting, refreshed flooring and a more functional shower area. The footprint stayed familiar, while the room became brighter, cleaner and easier to use.

weeks
0
permits
0
junctions
0 +
Gig Harbor · Primary Bathroom Remodel

The Bathroom They Finally Made Their Own

A primary bathroom remodel in a Gig Harbor home: updated finishes, a refreshed vanity, improved lighting, new flooring, and a more functional shower area designed around the existing space.

The Starting Point

The existing bathroom had a practical layout but needed an updated look and improved functionality. Dated finishes, an aging vanity, and outdated lighting kept the space from feeling as comfortable and polished as the homeowners wanted. The goal was to create a brighter, more comfortable primary bathroom while working within the existing footprint.

“We didn’t need a bigger bathroom. We needed one that finally worked for us.”

—  Homeowner

What We Planned

The good news was that the existing bathroom had a workable layout. We didn’t need to completely change the footprint to make a noticeable difference. The bigger opportunity was improving how the existing space was being used.

Issue 1

The Tub Was Taking Up Too Much of the Room

The existing tub had become more of a visual obstacle than a feature. Rachel and her husband rarely used it, so replacing it with a more practical shower allowed us to open up the room and give the space a cleaner, more functional feel.

Issue 2

The Vanity Needed More Function

The existing vanity didn’t provide the storage or counter space they wanted. We planned a new vanity around how both homeowners actually used the bathroom, with better storage, a more generous countertop, and improved lighting around the mirrors.

Issue 3

The Lighting Made the Room Feel Dark

The bathroom had adequate lighting, but it wasn’t doing the room any favors. We wanted the finished space to feel brighter without making it harsh, so lighting became part of the overall design rather than something added at the very end.

What We Found During Demolition

After the existing fixtures and finishes were removed, we inspected the underlying areas before continuing with the remodel. Any conditions requiring attention were addressed before the new bathroom finishes were installed.

interior-construction-project-with-exposed-brick-w-2026-03-17-00-36-34-utc (1)czNmcy1wcml2YXRlL3Jhd3BpeGVsX2ltYWdlcy93ZWJzaXRlX2NvbnRlbnQvbHIvZmw0MTI1ODM0NDE1Mi1pbWFnZS1reWJlaWo2Yi5qcGc.jpg
interior-construction-project-with-exposed-brick-w-2026-03-17-00-36-34-utc (1)cHJpdmF0ZS9zdGF0aWMvaW1hZ2Uvd2Vic2l0ZS8yMDIyLTA0L2xyL2ZsMzcxMzIyNzk4NDItaW1hZ2Uta3liZWpzb3UuanBn.jpg
THE PROJECT

Final Checks

Before handover, we checked the plumbing fixtures, shower area, vanity, lighting, flooring, and finished surfaces. We reviewed the completed bathroom with the homeowners and addressed any remaining items before completion.

The Finished Room

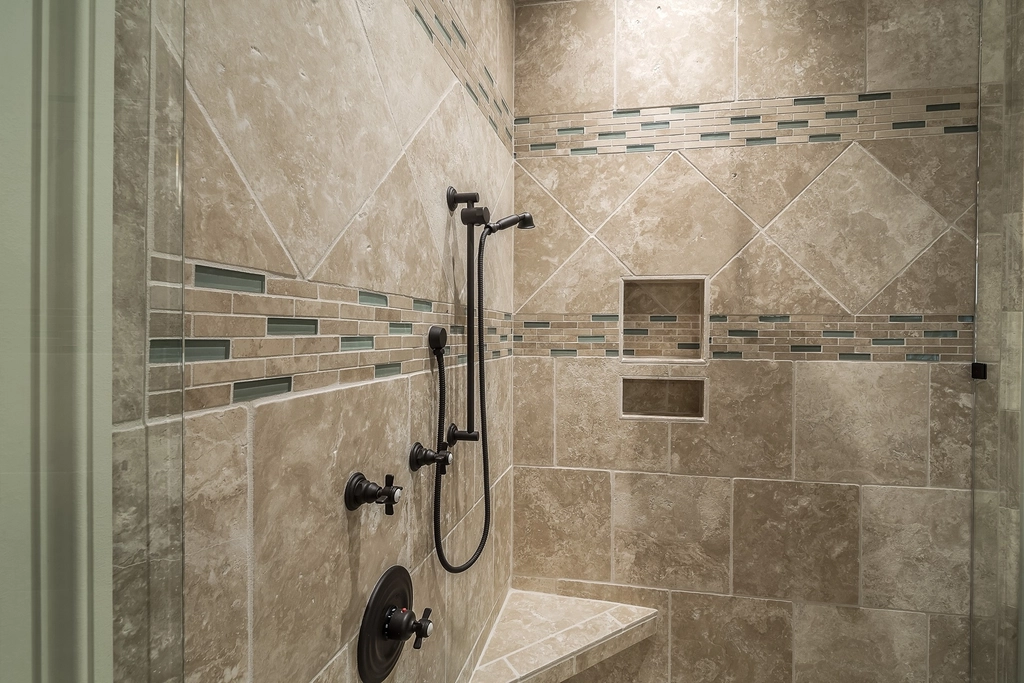
A refreshed primary bathroom with updated finishes, a functional vanity, improved lighting, new flooring, and an updated shower area. The existing footprint was preserved while creating a cleaner, brighter, and more comfortable space.

weeks
0
permits
0
days spare
0
Bonney Lake · Guest Bathroom Remodel

A Fresh, Functional Guest Bathroom in Bonney Lake

A guest bathroom remodel in a Bonney Lake home: updated finishes, a refreshed vanity, improved lighting, new flooring, and a more functional shower area designed around the existing space.

The Starting Point

The existing bathroom layout was practical, but dated finishes, an aging vanity, worn flooring, and outdated lighting kept the space from feeling as comfortable and finished as the homeowners wanted. The goal was to create a cleaner, brighter guest bathroom without changing the room’s overall footprint.

“We didn’t need a bigger bathroom. We needed one that finally worked for us.”

—  Homeowner

What We Planned

The good news was that the existing layout gave us a solid starting point. There was no need to completely reconfigure the room. Instead, we could focus on the things that would make the biggest difference in how the bathroom looked and functioned.

Issue 1

The Tub Was Taking Up Valuable Space

The original tub/shower combination was no longer serving the way Daniel and his wife used the bathroom. Replacing it with a walk-in shower opened up the room visually and created a more comfortable everyday setup without requiring a larger footprint.

Issue 2

The Vanity Area Needed More Light

The existing lighting left the vanity feeling darker than it needed to be. Better lighting became an important part of the remodel, along with a new vanity and mirror that gave the space a cleaner, more finished appearance.

Issue 3

The Bathroom Needed a More Cohesive Look

The existing finishes came from different eras of the house. Rather than chasing a highly trendy design, we focused on a simple combination of materials, fixtures, lighting, and finishes that would feel current while still fitting naturally with the home.

What We Found During Demolition

Once the existing fixtures and finishes were removed, we inspected the areas behind them before continuing. Any conditions requiring attention were addressed as part of the remodel so the new finishes could be installed over a properly prepared space.

interior-construction-project-with-exposed-brick-w-2026-03-17-00-36-34-utc (1)czNmcy1wcml2YXRlL3Jhd3BpeGVsX2ltYWdlcy93ZWJzaXRlX2NvbnRlbnQvbHIvZmw0MTI1ODM0NDE1Mi1pbWFnZS1reWJlaWo2Yi5qcGc.jpg
interior-construction-project-with-exposed-brick-w-2026-03-17-00-36-34-utc (1)cHJpdmF0ZS9zdGF0aWMvaW1hZ2Uvd2Vic2l0ZS8yMDIyLTA0L2xyL2ZsMzcxMzIyNzk4NDItaW1hZ2Uta3liZWpzb3UuanBn.jpg
THE PROJECT

Final Checks

Before handover, we checked the plumbing fixtures, shower area, vanity, lighting, flooring, and finished surfaces. We also reviewed the completed work with the homeowners and addressed any remaining items before completion.

The Finished Room

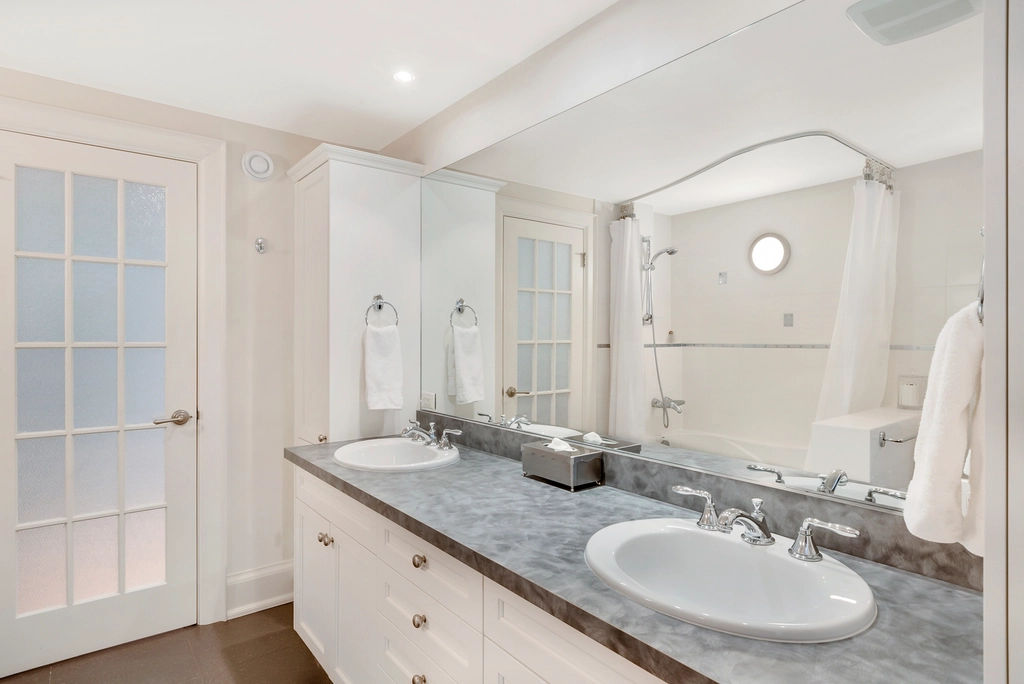
A refreshed guest bathroom with updated finishes, a clean vanity, improved lighting, refreshed flooring, and a more functional shower area. The familiar footprint remains, but the room feels brighter, cleaner, and easier to use.

weeks
0
permits
0
saved
$ 0 K
Auburn · Full Kitchen Remodel

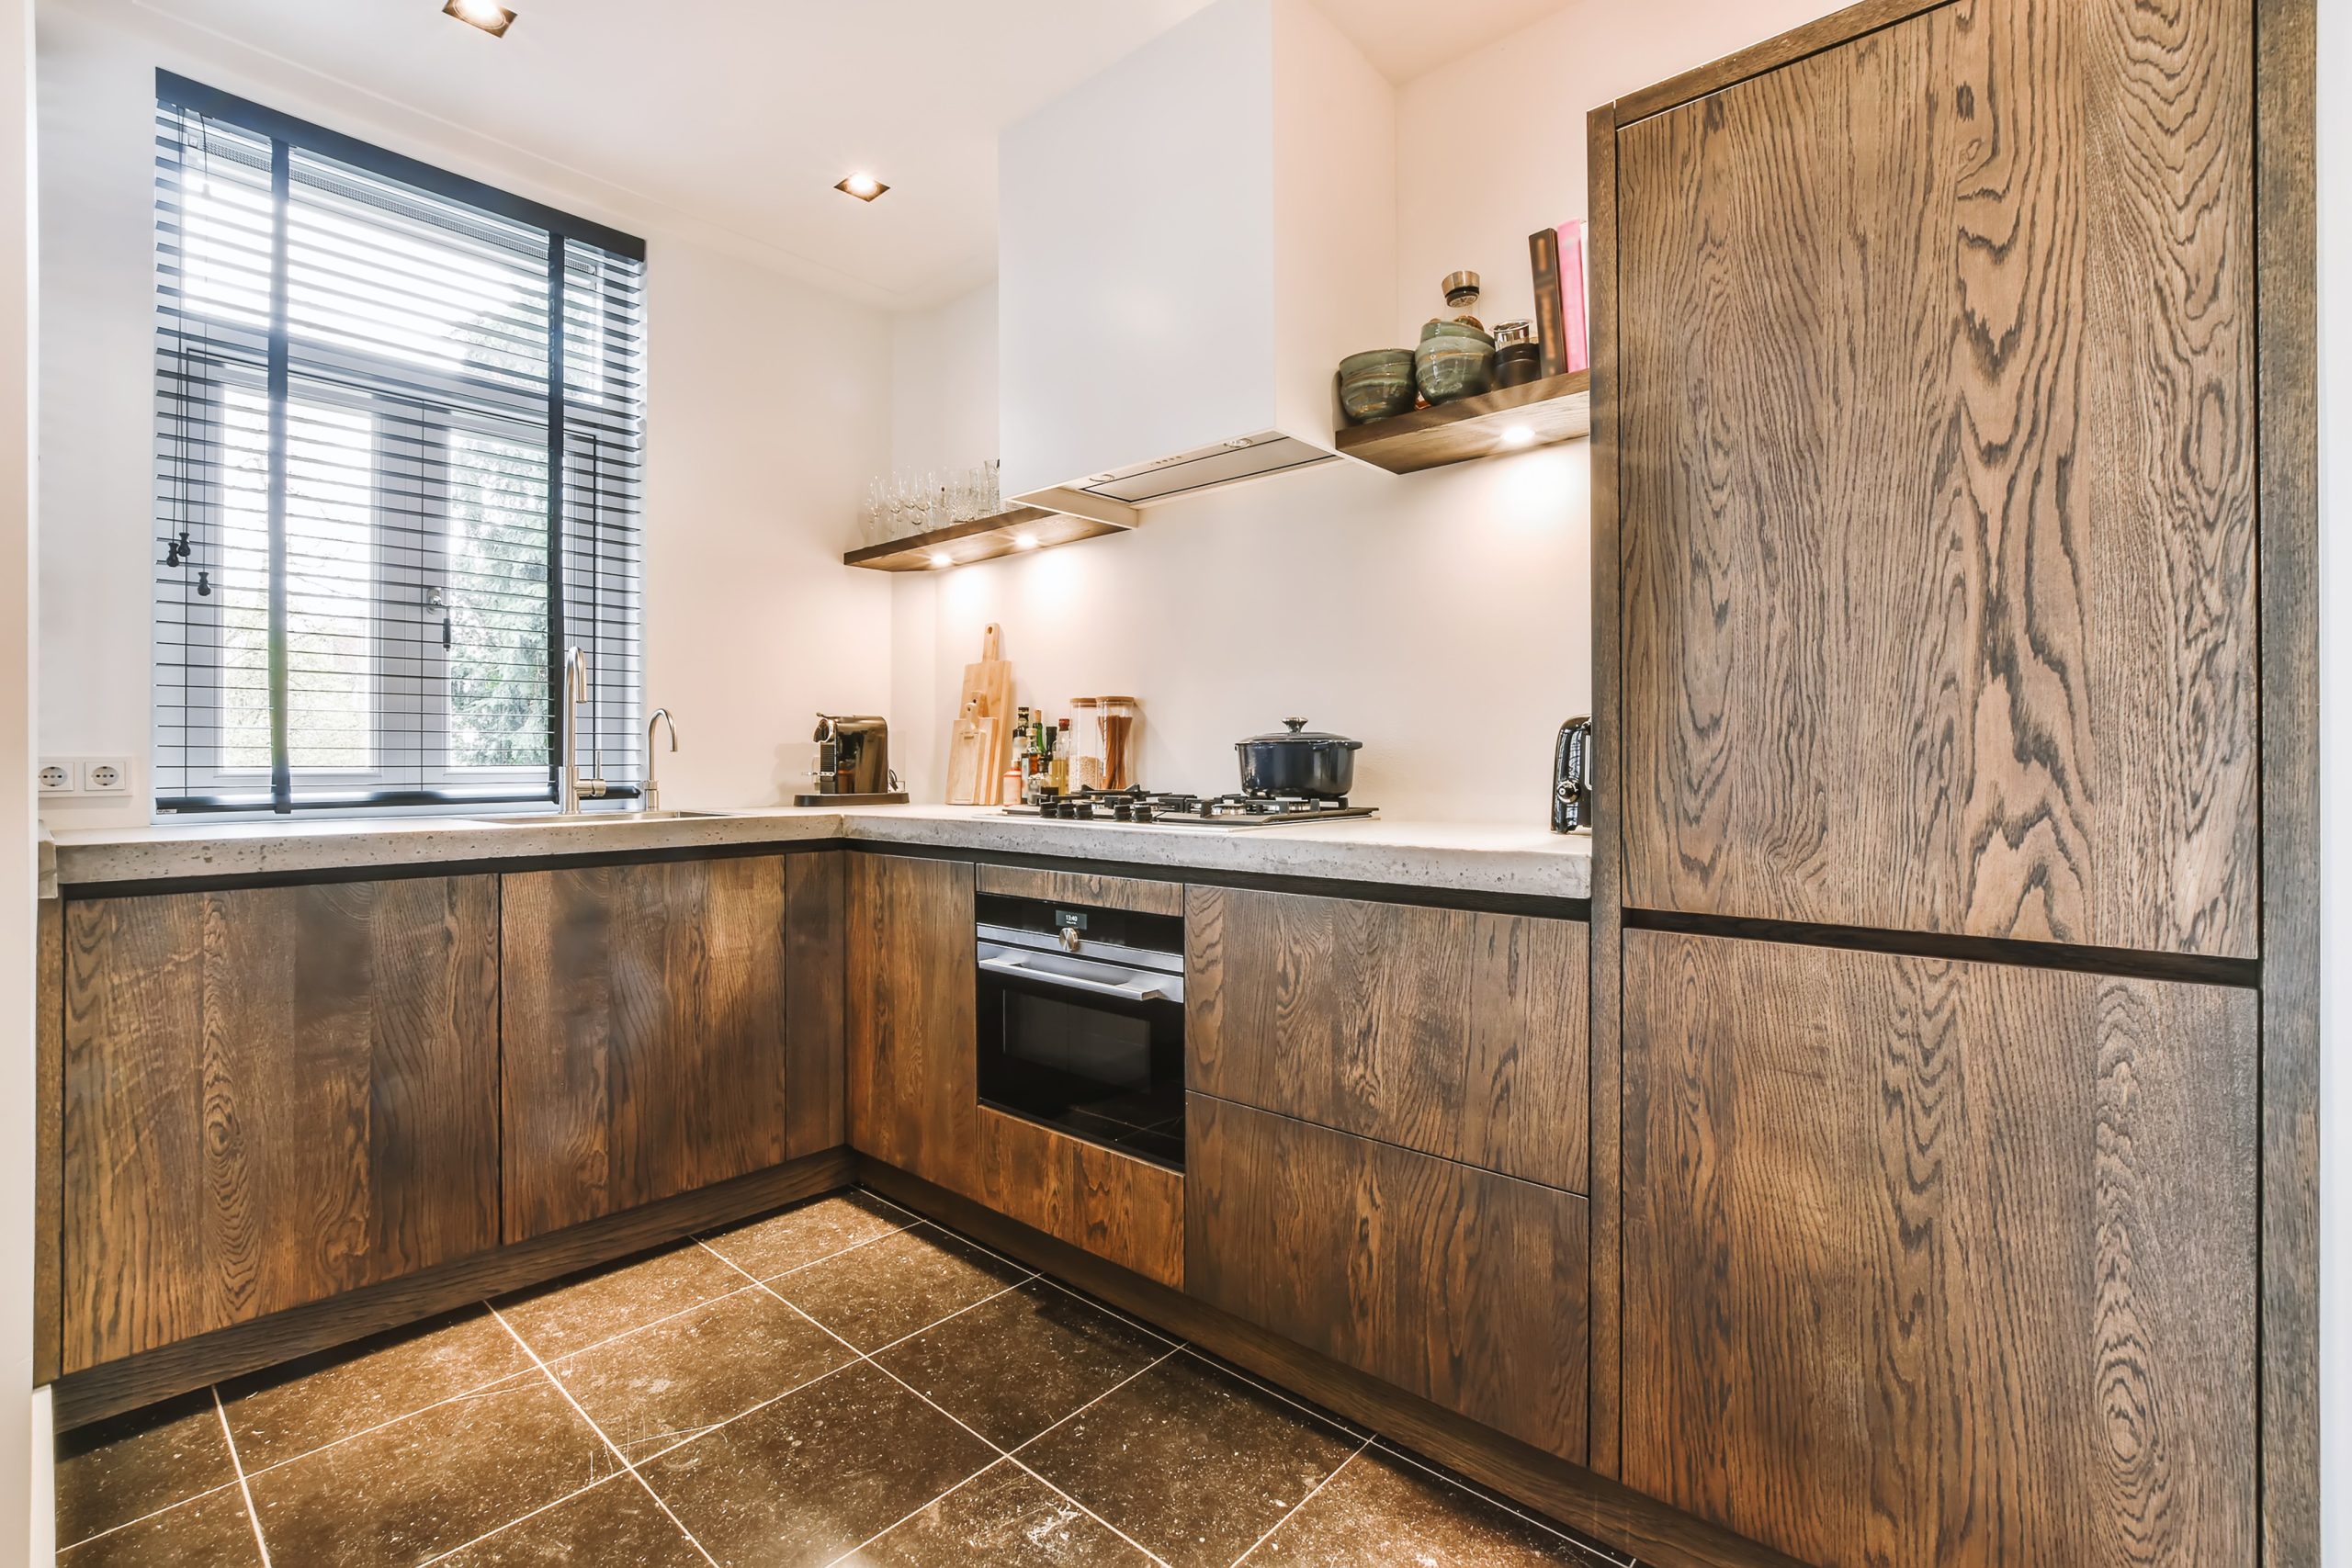
A Brighter, Better-Working Kitchen in Auburn

A full kitchen remodel in a late-1990s Auburn home: new cabinets, quartz countertops,
flooring, lighting and a properly vented range hood, built around a layout that already worked.

The Starting Point

The layout was sound. The island, sink, range and refrigerator were all in sensible places, so no walls needed to move. What held the room back was everything else: dark stained cabinets, a tiled island top with worn grout, ageing appliances and a tile floor that had seen better days. The goal was a lighter, easier kitchen that fit the rest of the house.

— Homeowner

What We Planned

The good news: the layout actually worked. The island was in the right spot, the work triangle between the range, sink, and fridge made sense. No walls coming down — that’s always a win for the budget. But a few things caught our eye right away, and we told her about all of them on the spot.

Issue 1

Electrical updates

Outlets and circuits affected by the remodel were brought up to current requirements.

Issue 2

Real ventilation

The recirculating over-range microwave was replaced with a range hood ducted to the outside.

Issue 3

A clean floor transition

The new kitchen floor was planned to meet the living-room flooring with a deliberate, finished edge.

What We Found During Demolition

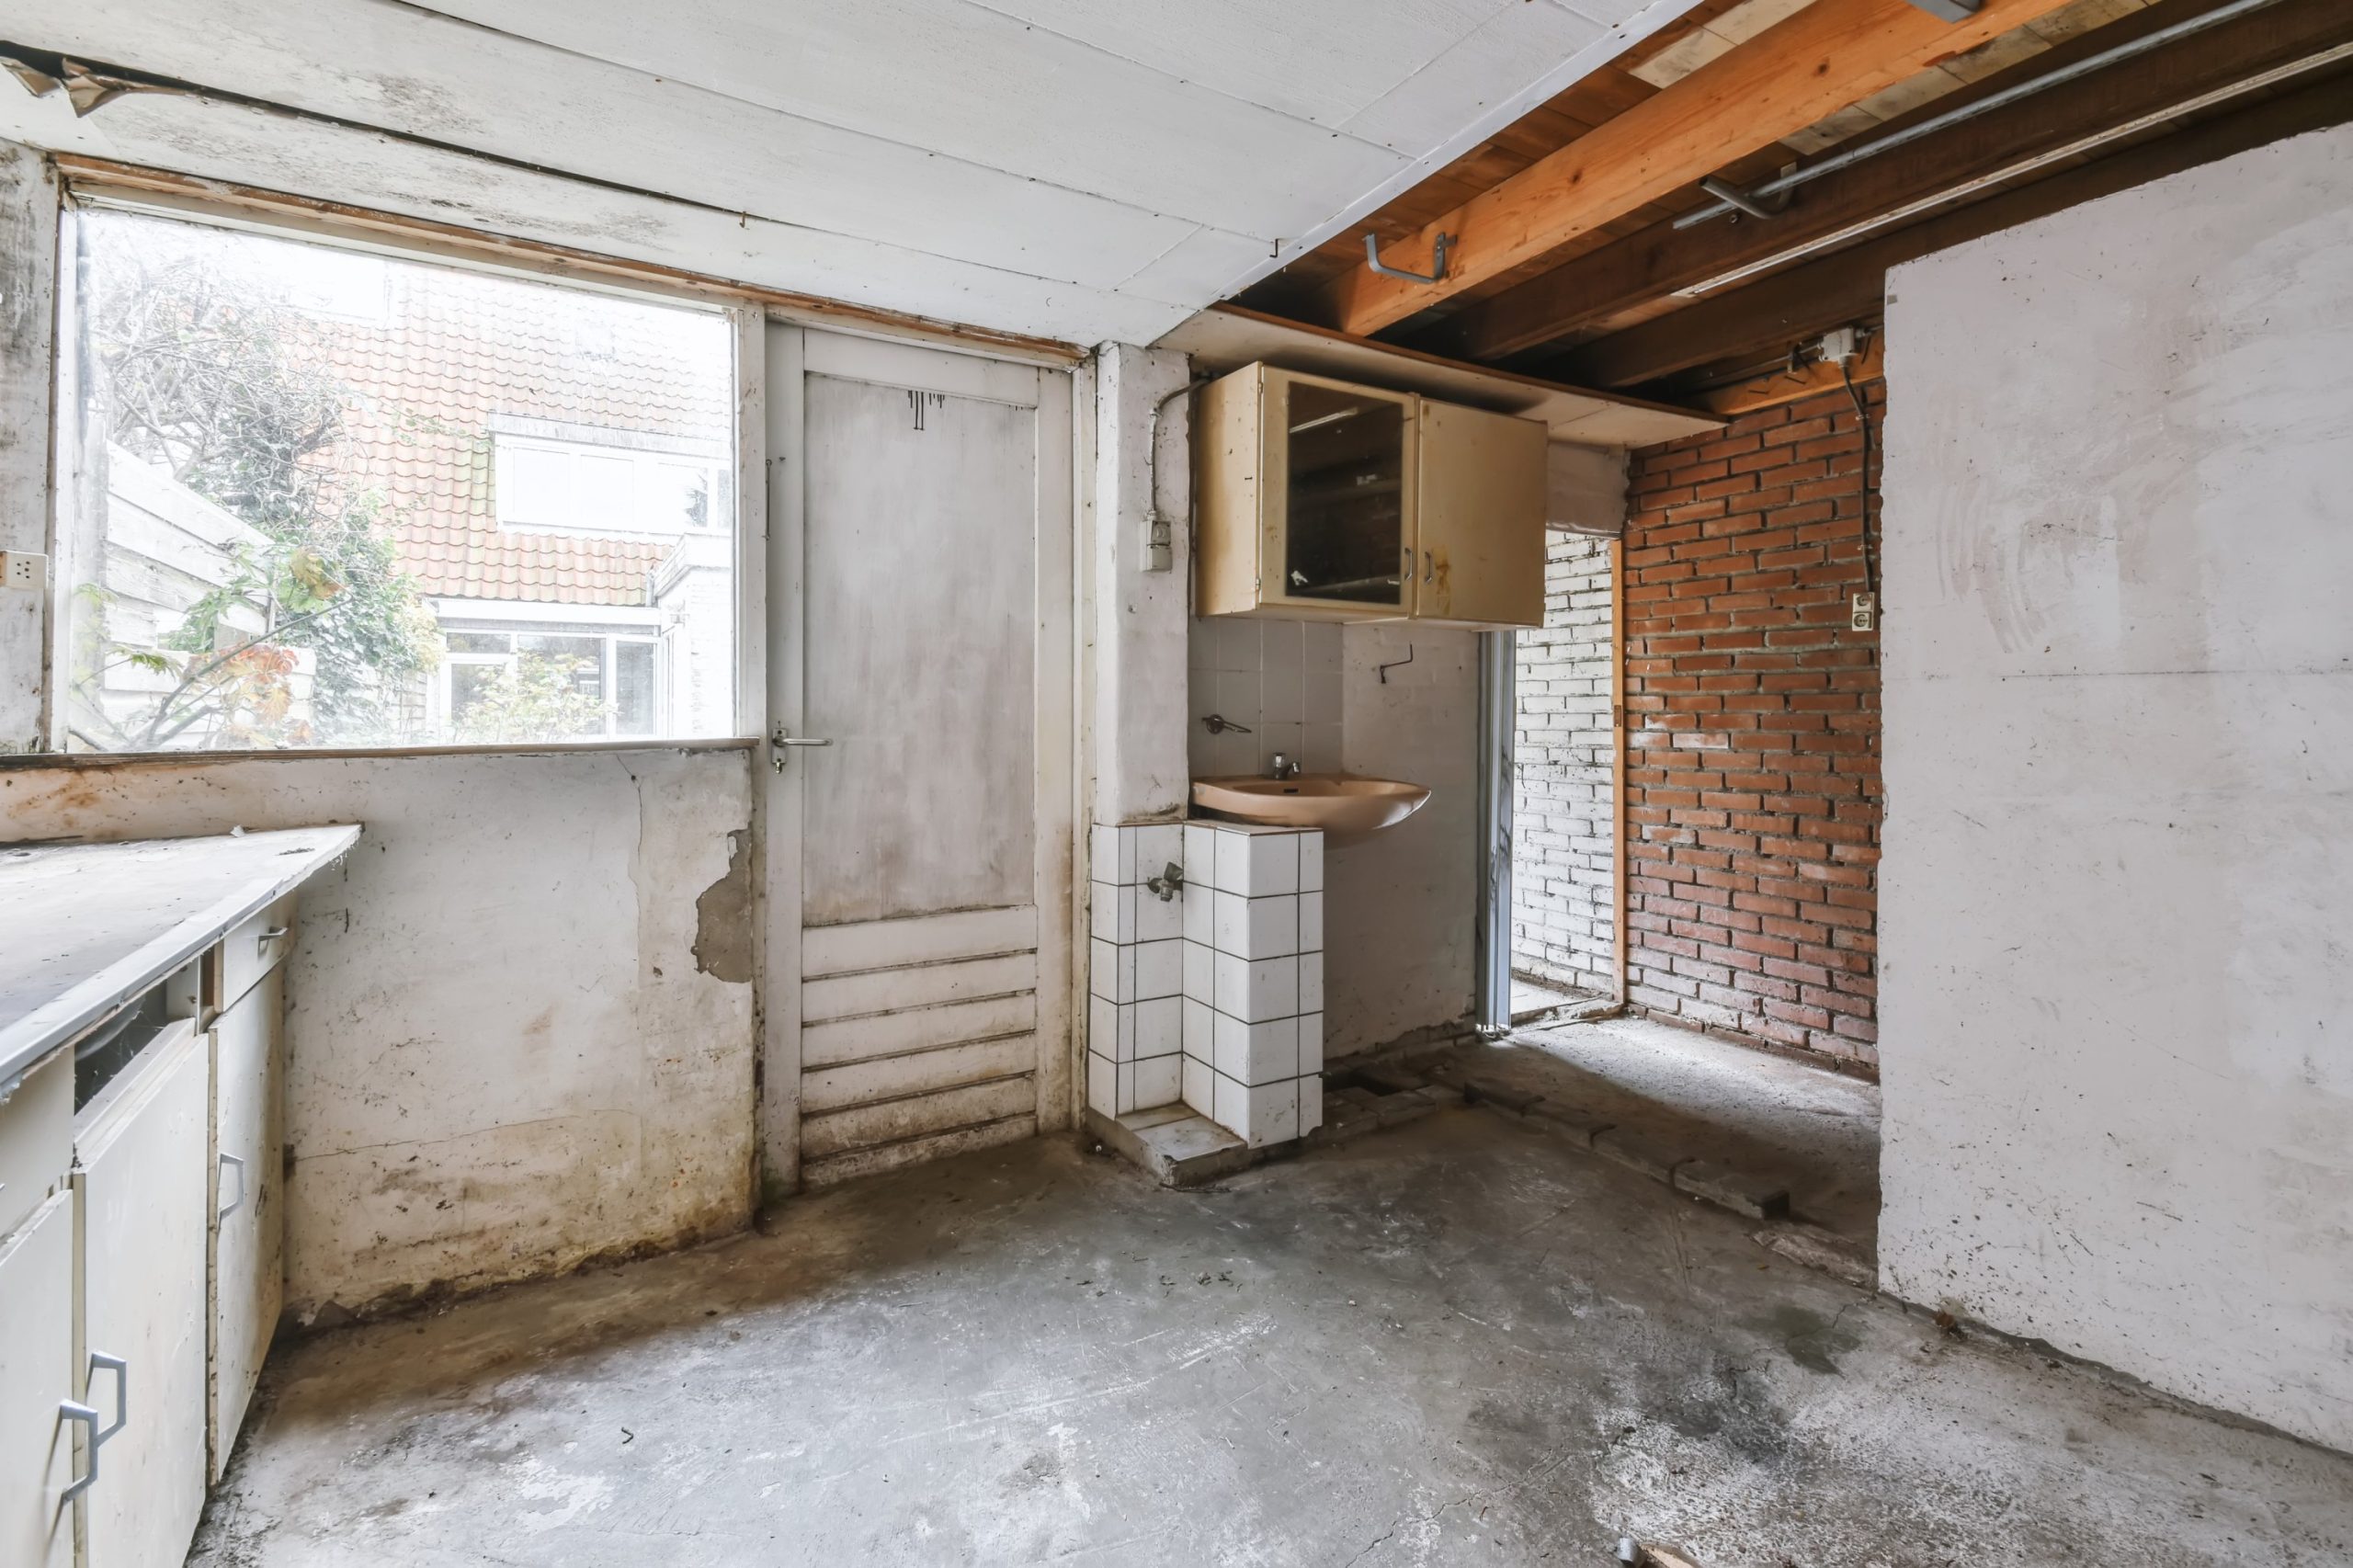
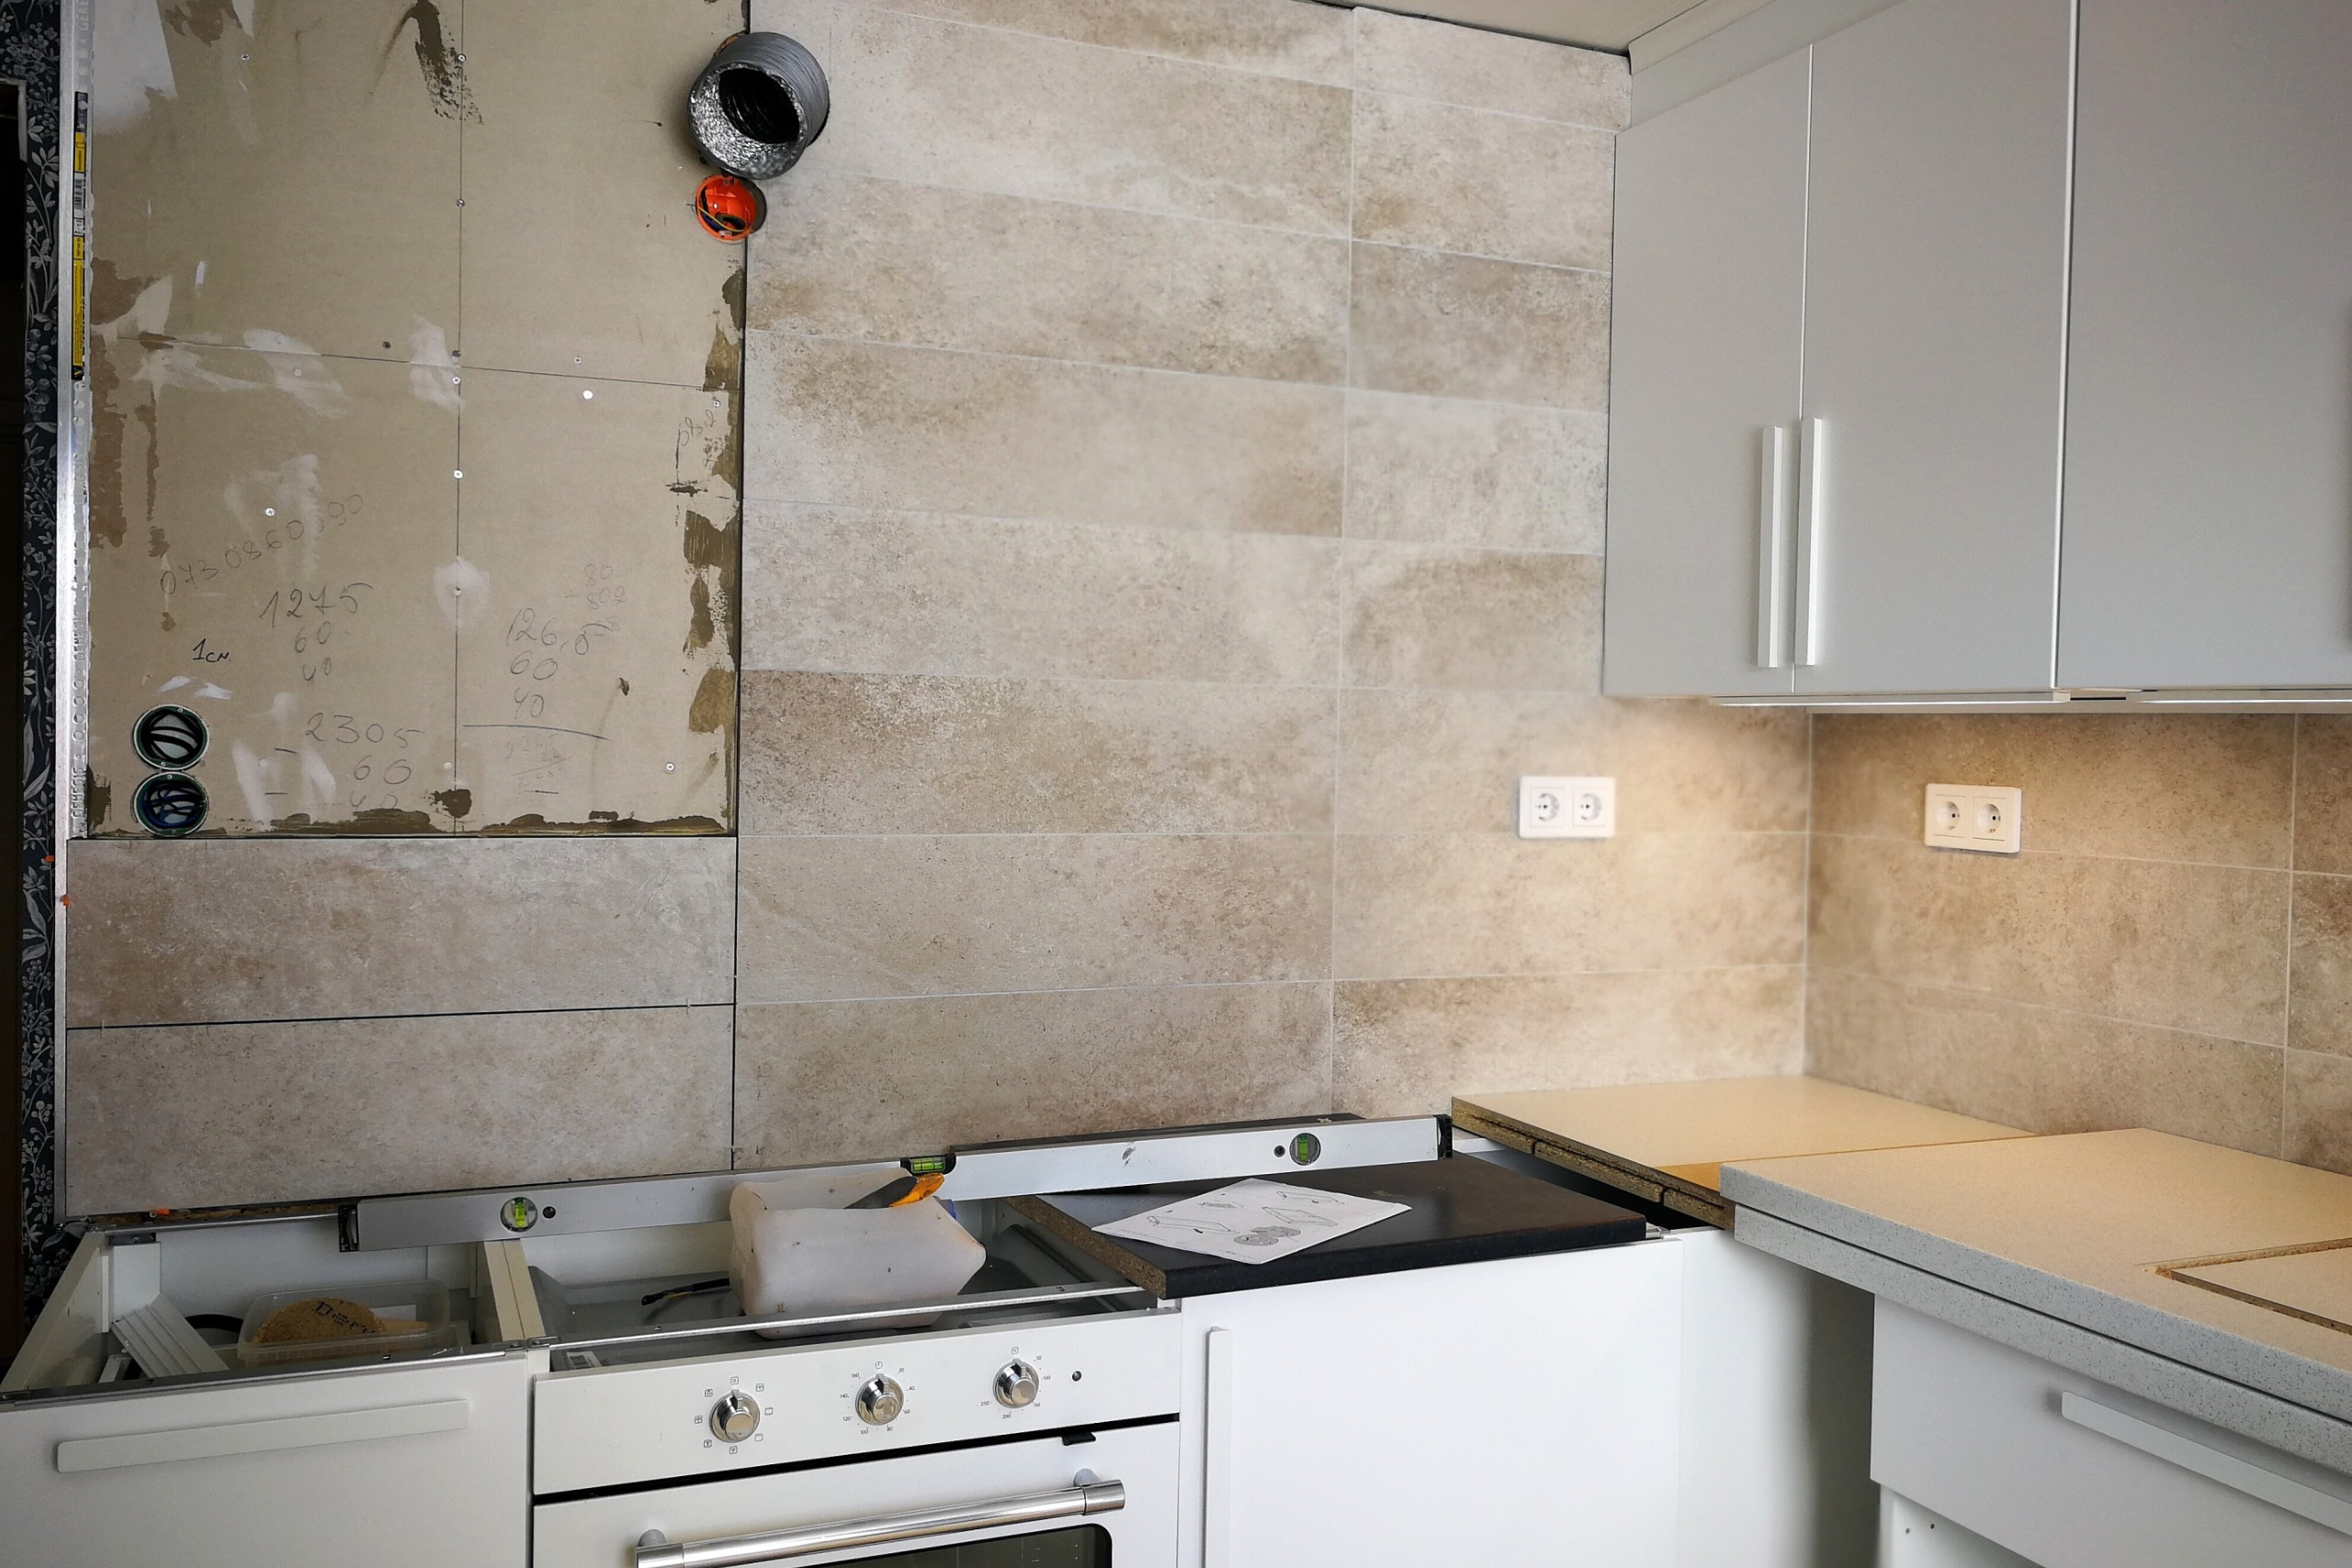
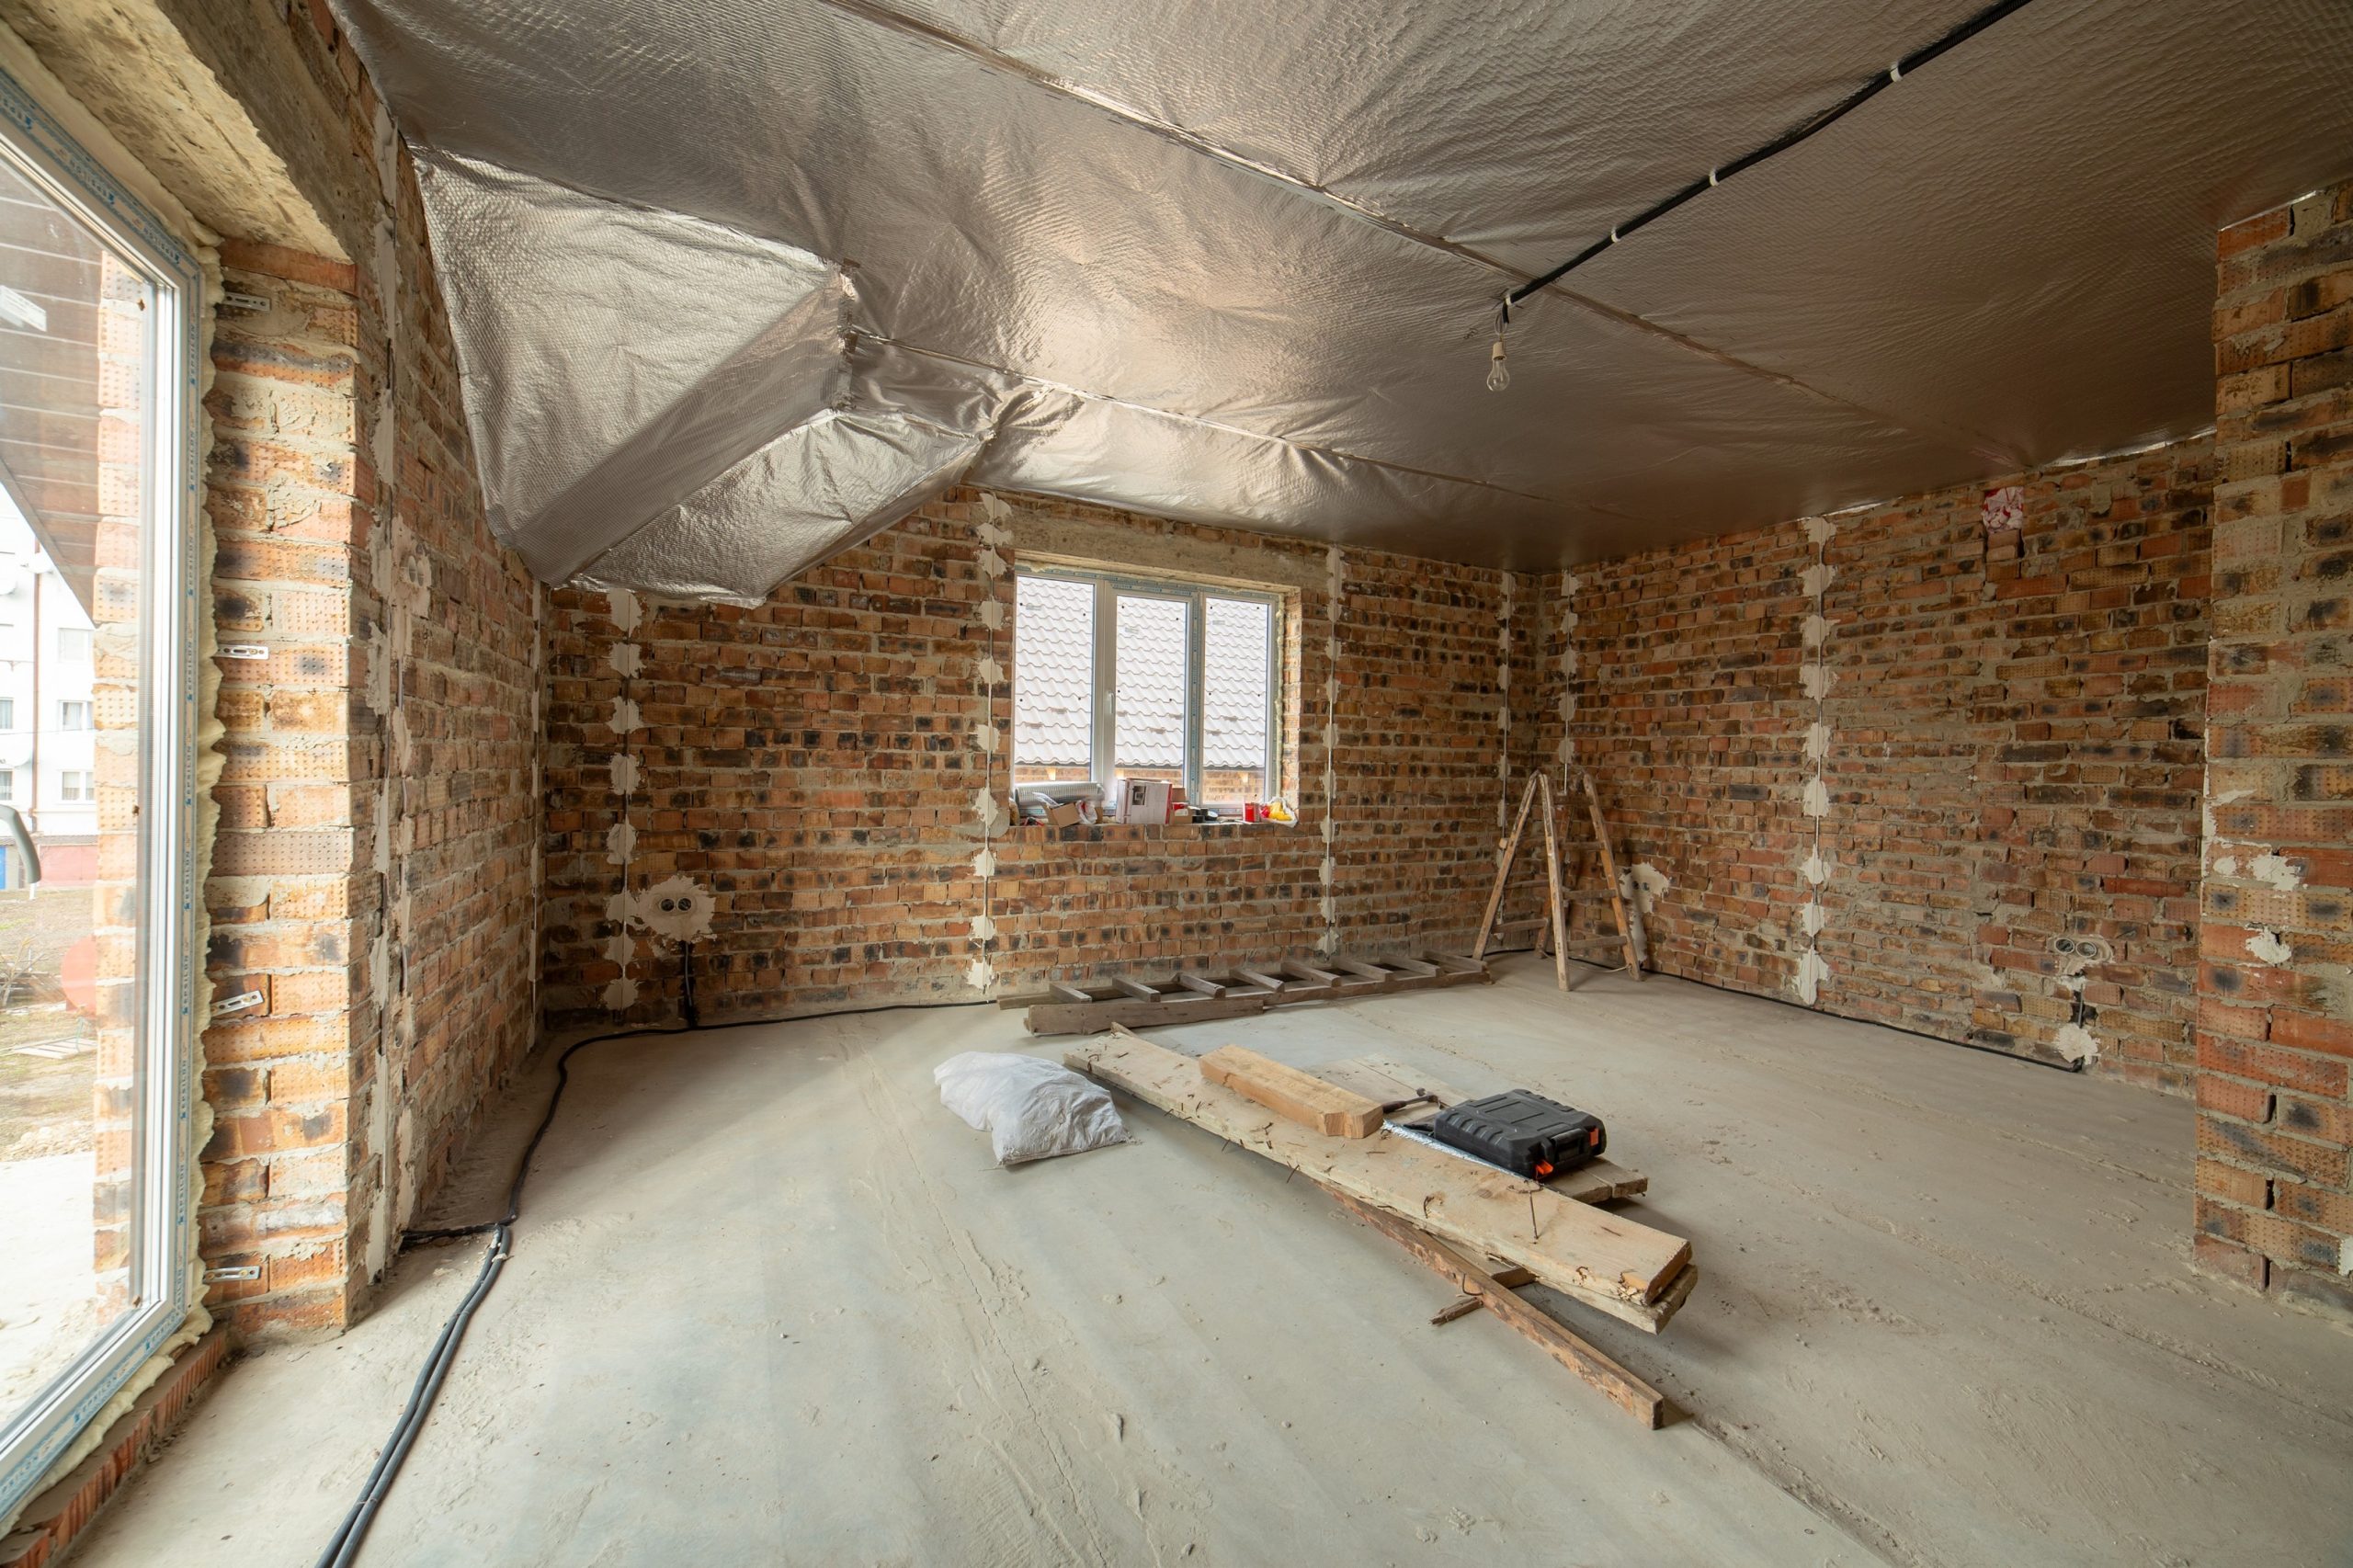
With the cabinets, countertops and flooring removed, we found moisture damage under part of the old island, left by an earlier sink leak. The damage was limited. We stopped, photographed it, explained the repair and gave the homeowners the price before continuing. The affected material was replaced before any new cabinets went in, with no surprises on the final invoice.

derelict-interior-with-sink-and-brick-wall-2026-01-07-07-38-25-utc (1) (1)modern-kitchen-with-wooden-cabinets-and-tile-floor-2026-03-18-12-09-51-utc (1)
Untitled designmodern-kitchen-interior-with-dark-wood-accents-2026-01-07-00-15-28-utc (1)
THE PROJECT

Final Checks

Before handover we tested every outlet and circuit that was part of the work, ran the hood to confirm it vents outside, checked every door and drawer for alignment, and walked the floor transitions. Anything that wasn’t right was fixed before the homeowners saw the finished room.

The Finished Room

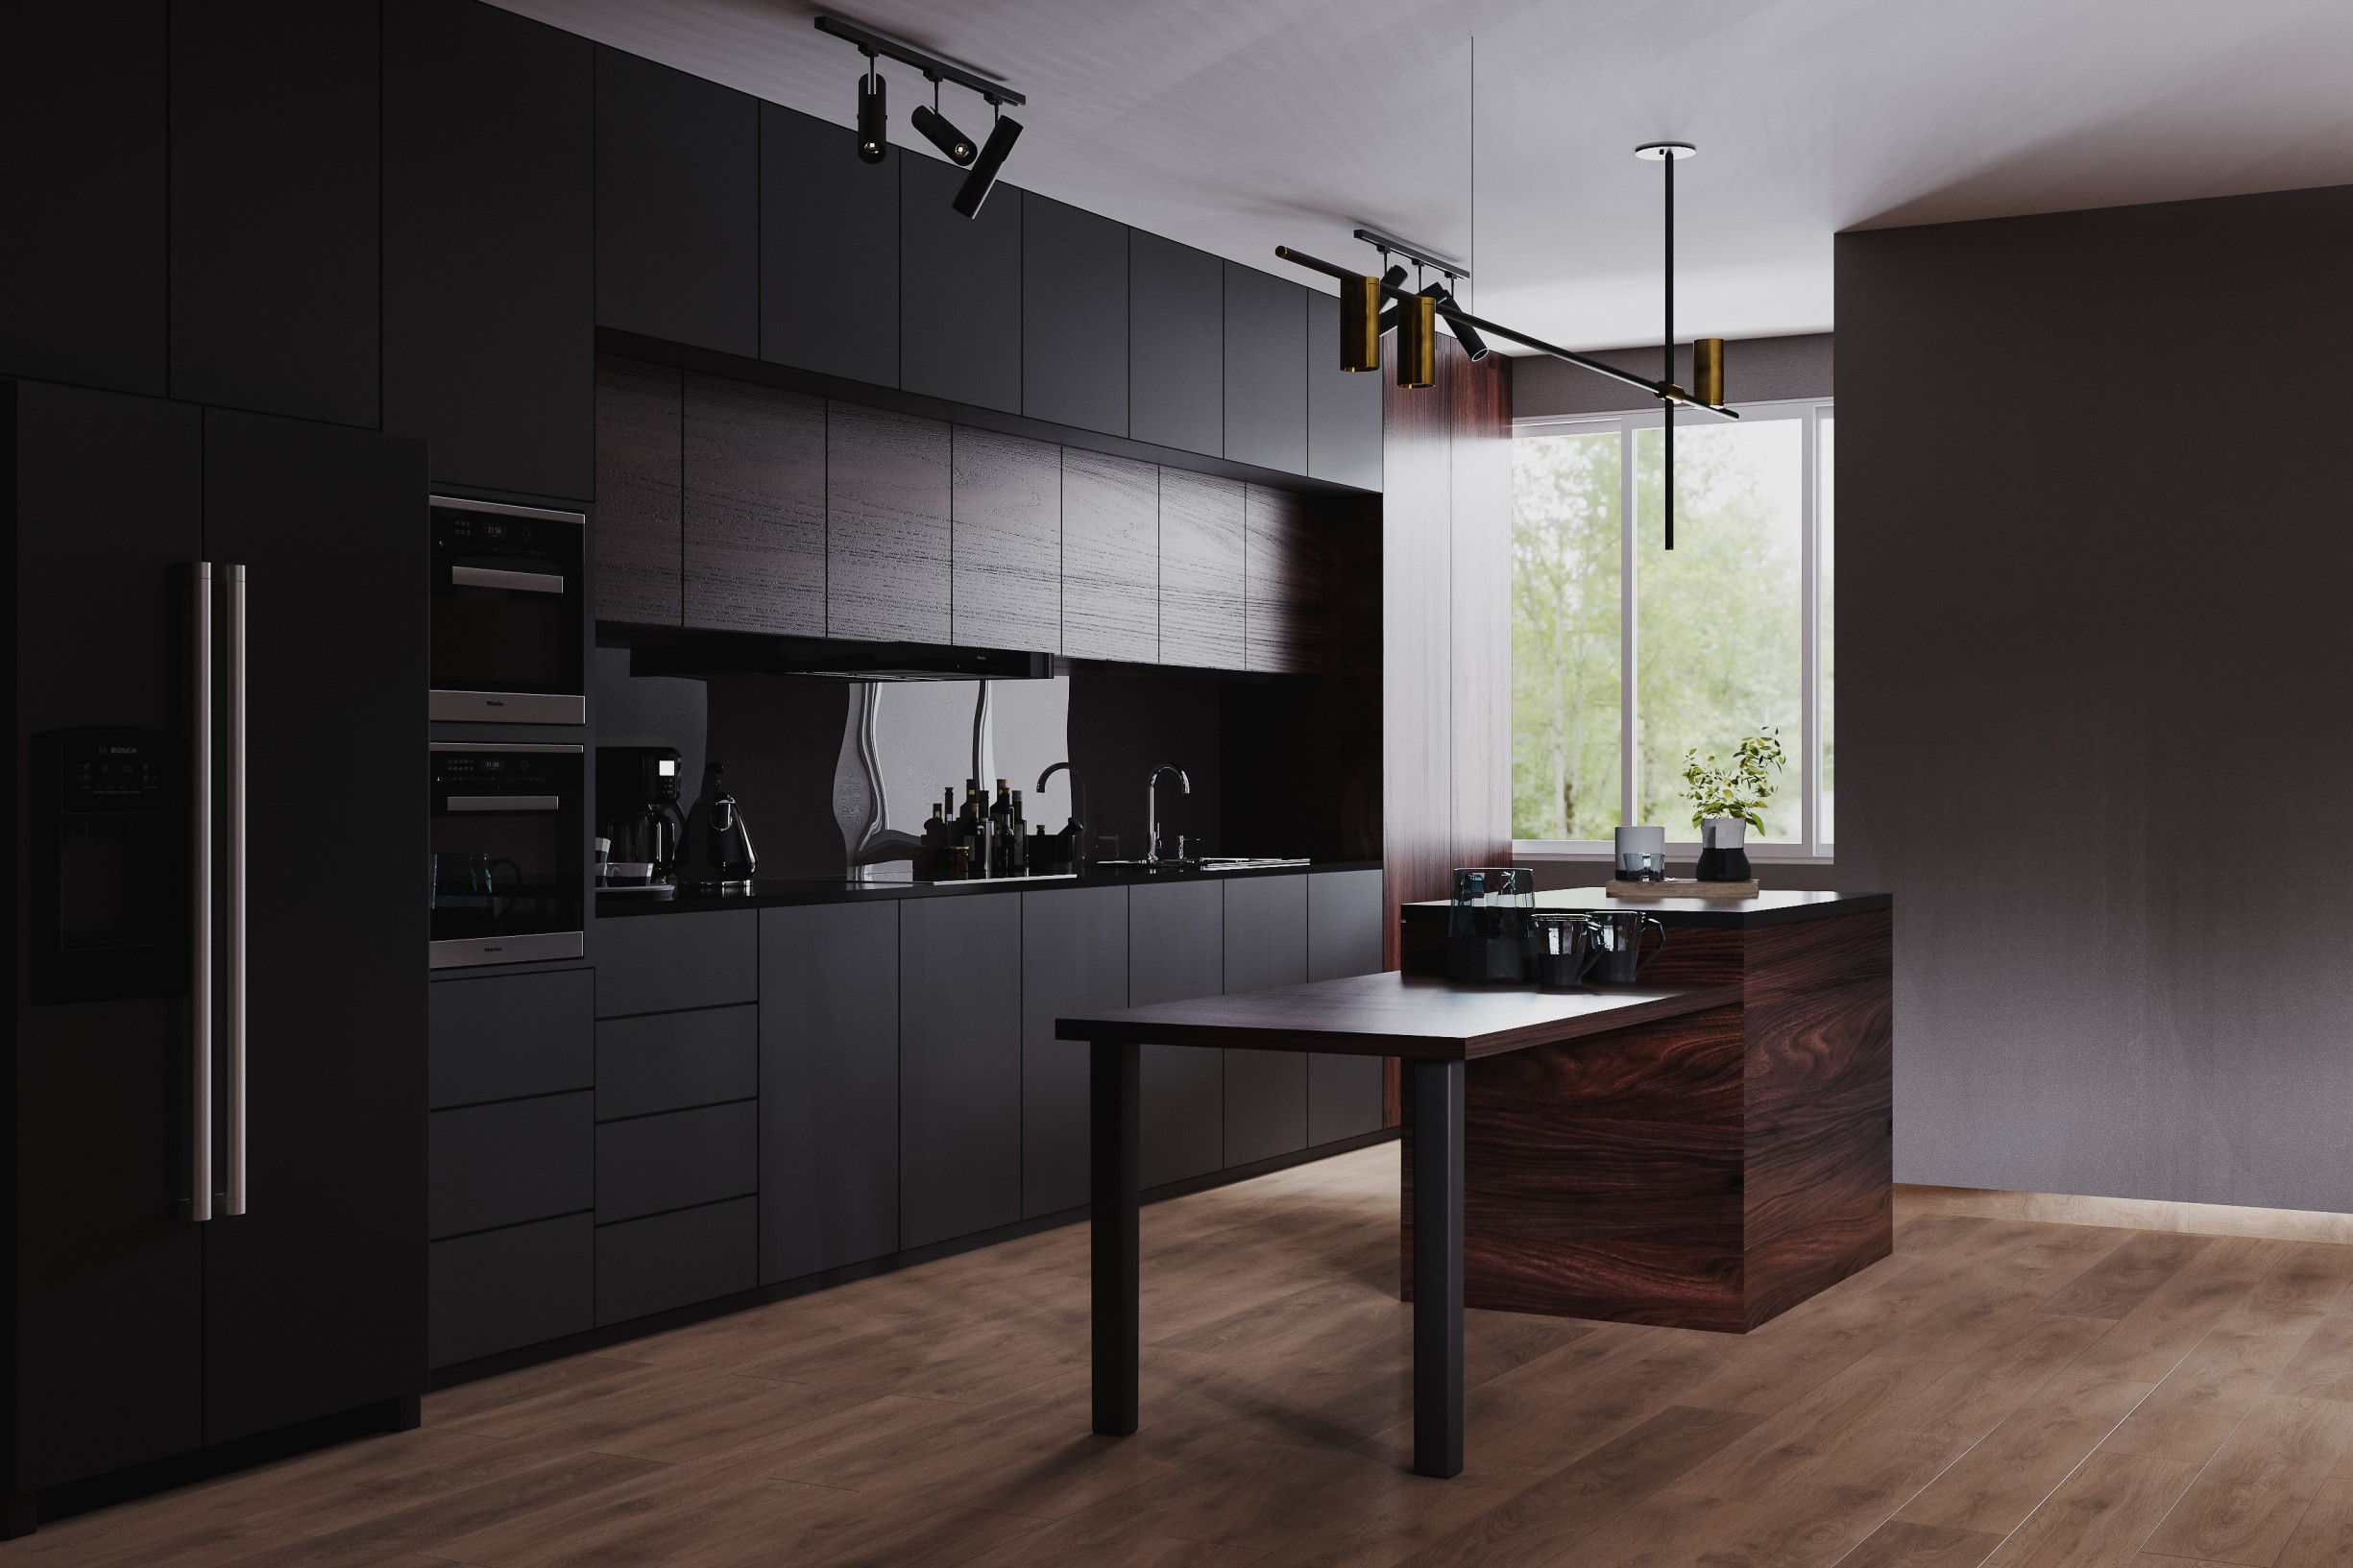
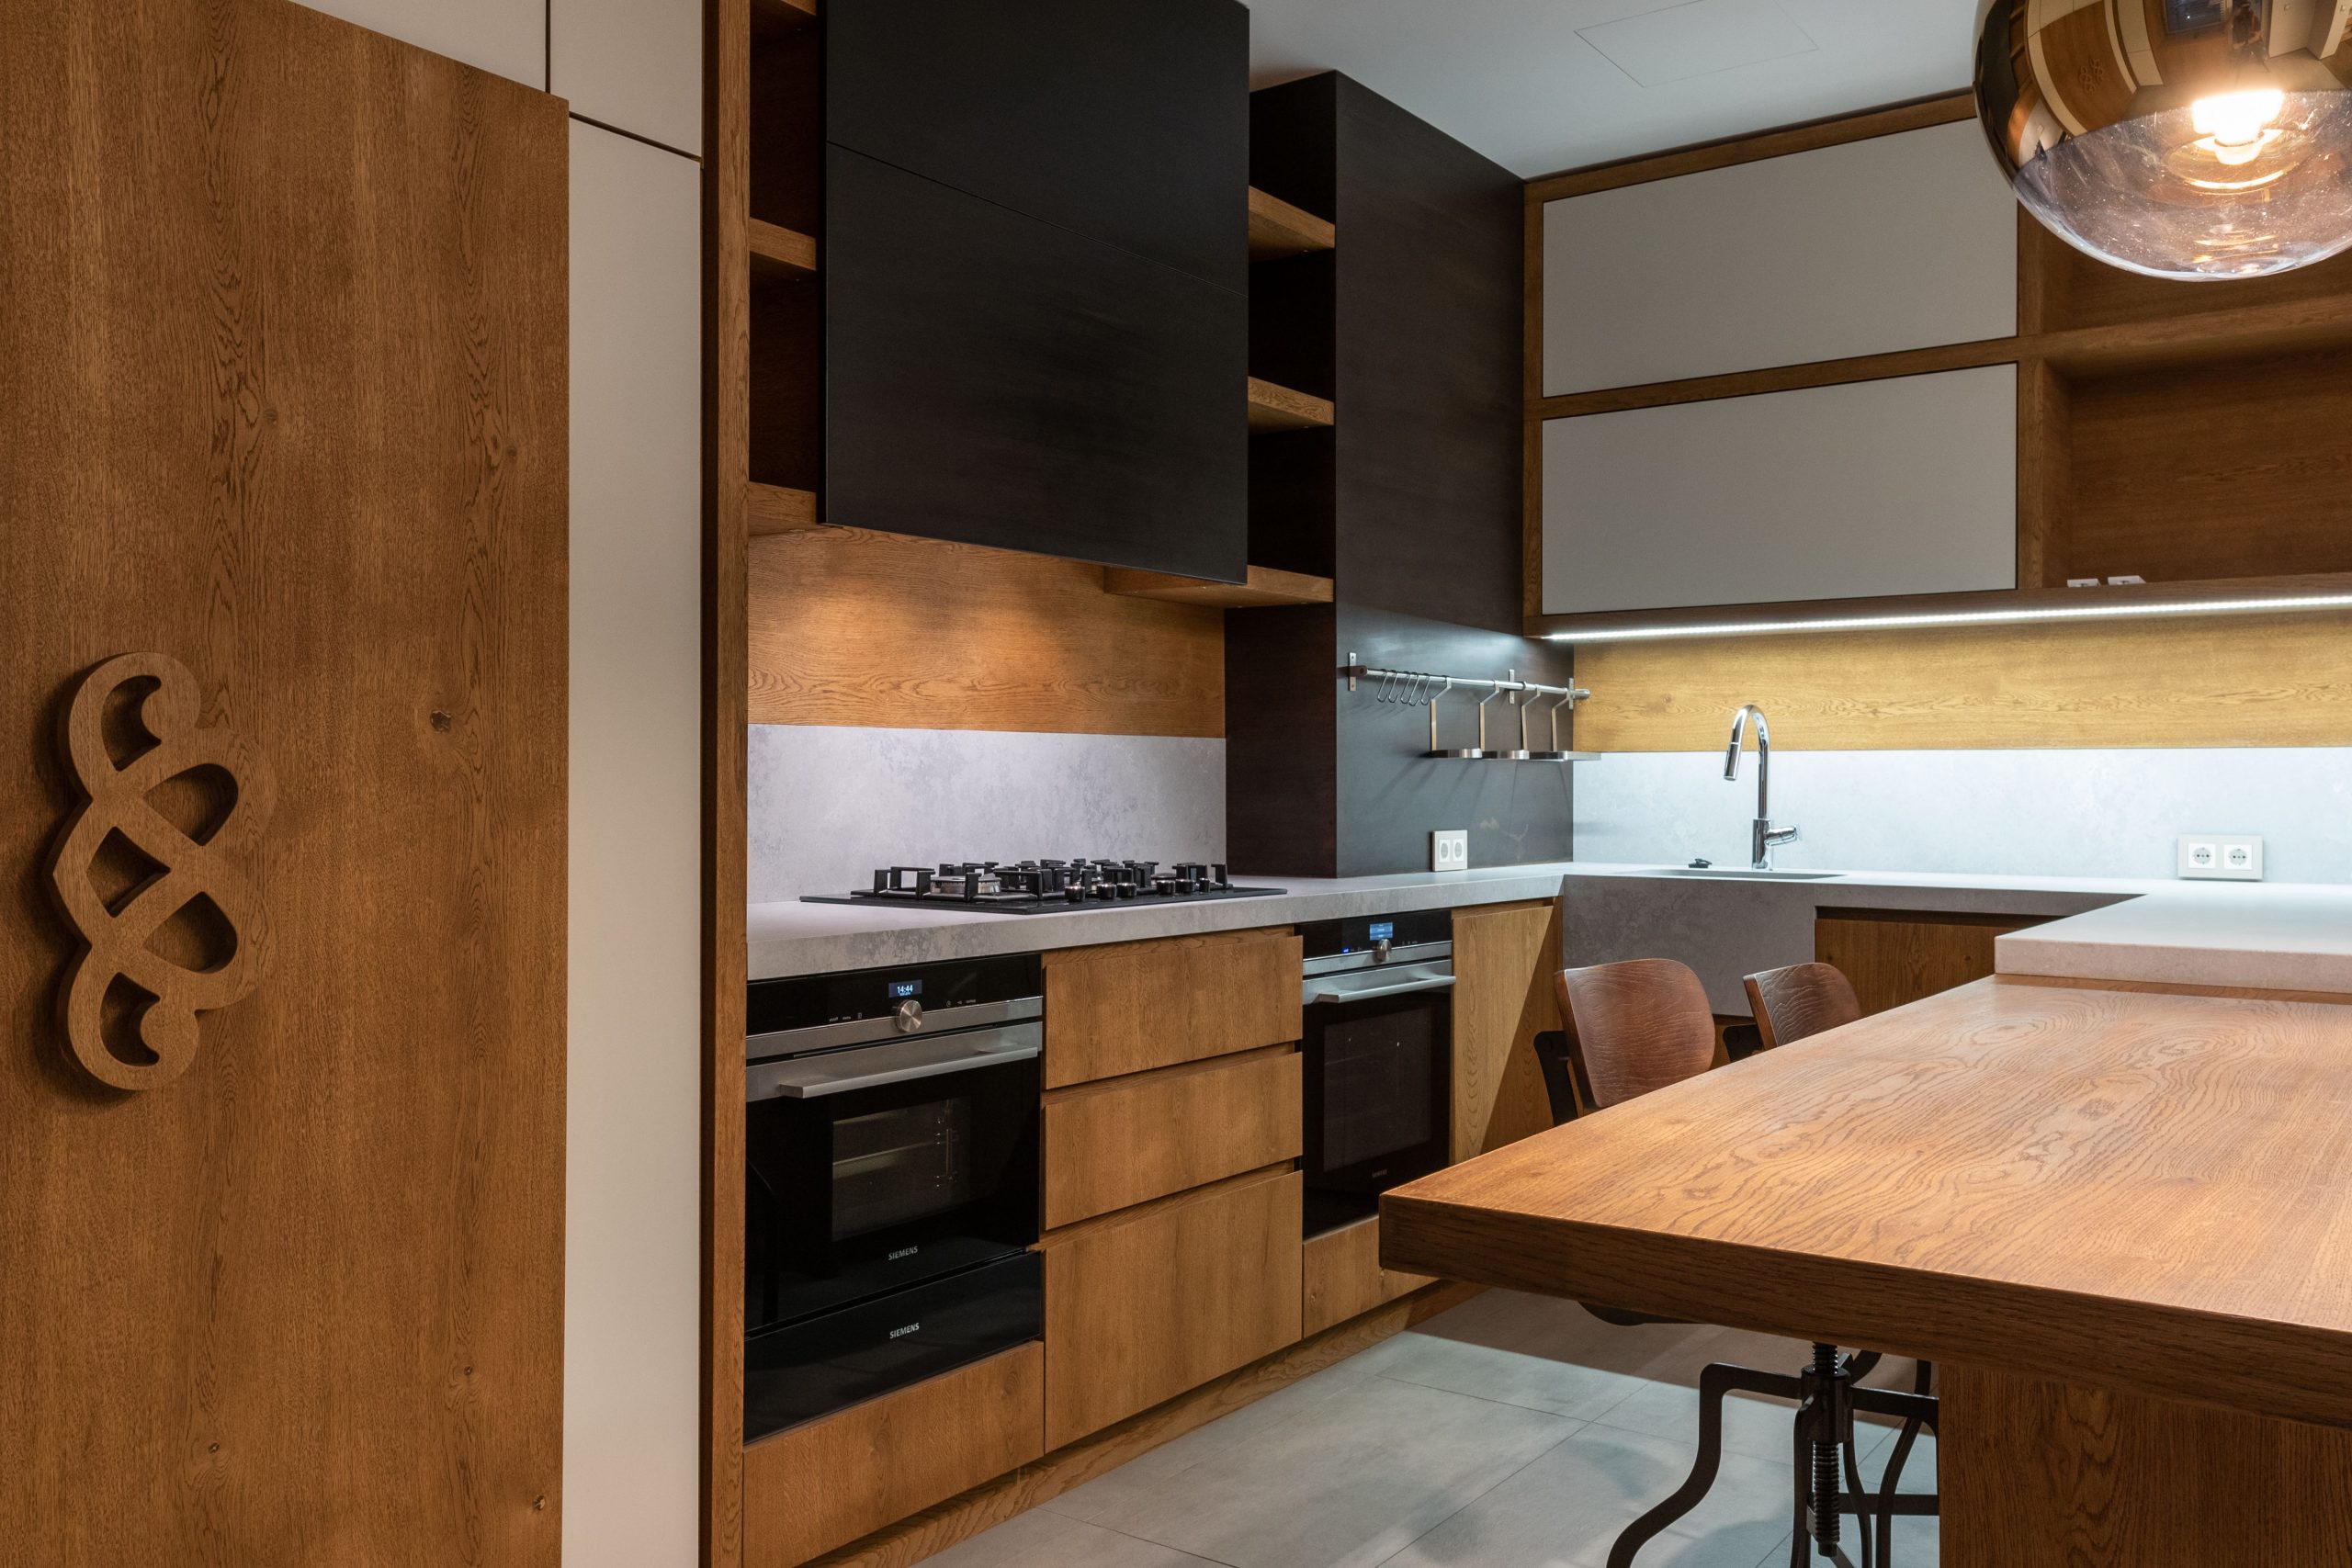
Light painted cabinets, a quartz island, new flooring carried cleanly into the living room, under-cabinet lighting and a range hood that finally clears the air. Same footprint, a completely different kitchen.

weeks
0
permits
0
saved
$ 0 K